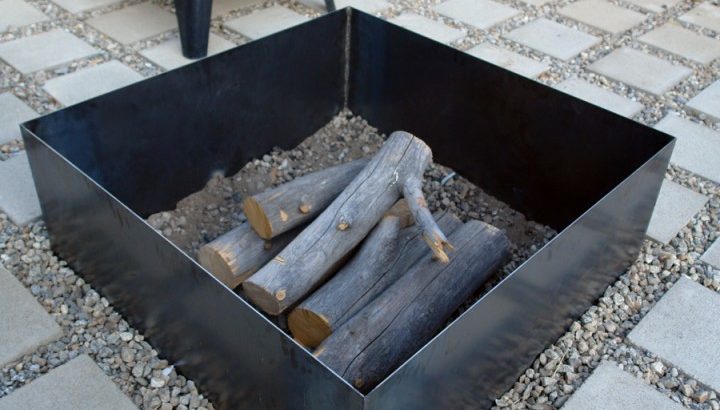
Outdoor Concrete Firepit:
A concrete fire pit is always safer than any other outdoor fireplace, which protects us from any kind of fire accident or damages. This type of pit is self-sufficient firing object that keeps you warm or cozy during the icy temperature and gives an assurance of safety in one receptacle. If you have a place where you can build a fire pit permanently then a concrete fire pit is the best thing to construct. Building such pit by DIY process is not a big deal to make if you know the right procedure, so go ahead make one for your own backyard area after checking the constructing methods below-
Supplies You Need Here:
To build a concrete pit, you will require some lumber pieces, saw or wooden cutter, nails, drill machine, aluminum clumps or L brackets, a shovel, iron sticks or rods, a large packet of concrete mix, fire bricks, some mixture of mortar clay, sand and portland cement along with a trowel and a float.
Methods:
- Firstly, build two thick wooden squares using those lumber pieces and set each side of every single square tightly with two aluminum clumps or L brackets on each corner.
- Now, when you have two perfect box frames, set them aside and select the place for your concrete pit.
- After selecting the place, set the outer frame on that place to get an apparent shape and size of your pit.
- Then, take out the frame after marking, dig around the marking about 8 inches down into the ground.
- Sprinkle some water on the place and spread a 3 ̎ layer of gravel on to the dug ground.
- Now, place both the molds on that place put a larger outer ring on the level and smaller inner ring inside outer one.
- Check once with the measuring tape whether the smaller inner ring has been placed perfectly at the centre or not!
- Then, set two extra lumber pieces about 2x3s onto the larger frame along with the smaller frame.
- Now, insert some iron sticks into the ground and set them as per the gaping space of two frames.
- Open up the packet of concrete mix inside a wheelbarrow and make a thick paste by adding adequate water in it.
- Now, put the concrete mix in between the gaping of two frames over the iron sticks that you have fitted before.
- Push the mix all through the corners as well as the whole gaping and let the layer dry for at least 20 hours before going to the next step.
- Now make another paste of concrete by using mortar clay, sand, and Portland cement.
- Use this mixture to set the firebricks one at a time vertically against the inside frame.
- When all the bricks set in place and you have covered up the outside of the entire inner frame, spread another layer of concrete over the top.
- Again let the whole this cure for the next 20 hours, and after that gap, take out the additional lumber pieces that you have attached to the both frames.
- After this duration, fill the entire empty space with the layers of sand-cement and concrete mix till the top of your frame level.
- Once your adding-layer process is done, smoothen up the top surface with a trowel or a piece of lumber.
- Then, use a float on the top layer to give your fire pit an extremely nice flawless shape from the top.
- After that, cover the whole which with a piece of cloth to dry it up appropriately.
- After 48 hours, take out the cover and remove the molds from your concrete pit.
- The inside frame could give you little difficulties to get out of the base but, once you take out both the frames perfectly, your firing place is all ready to utilize with a protective bricklayer from inside!
