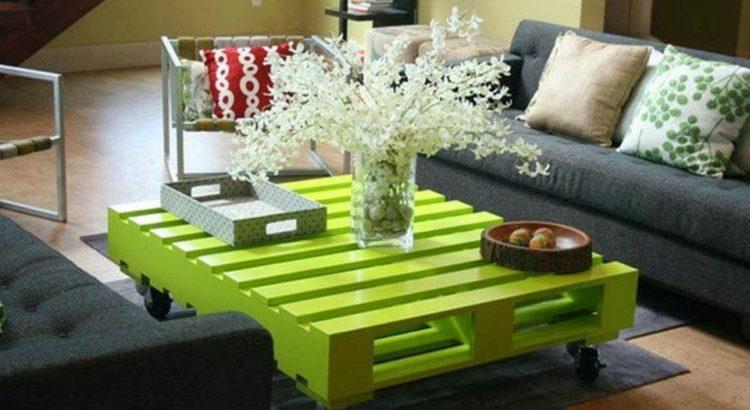
DIY Rustic Coffee Table:
Despite the touch of modernity, some people still believe in traditionalism or pastoral theme and apply such pattern on their furnishing as well! Thus, a rustic pattern coffee table is preferable for those people instead of any contemporary centre table, whether their living room is furnished complete urban way or not. Thus, for those country lovers, here we are displaying you a rustic coffee table pattern from some domestic geeks, check it out-
Materials You Need:
To build this type of rustic table, you will need two 2 ̎x2 ̎ x8ft wooden piece, two2 ̎x4 ̎ x8ft wooden pieces, four 1 ̎x8 ̎ x8ft wooden pieces, one 4 ̎x4 ̎ x4ft wooden beam, 4 wheels with 2 screws, some 2 ̎ trim head screws, 3 1/8 ̎ trim head screws, one packet of wood filler, wood stain, polyurethane, and sanding block.
How to Build:
- Firstly, cut out all the lumber pieces by measuring them properly and they are four 2 ̎x2 ̎ pieces with 46 ̎ measurement, six 2 ̎x4 ̎ pieces with 26 ̎ measuring, eight 1 ̎x8 ̎ 46 ̎ long pieces, four 4 ̎x4 ̎ 10 ¼ ̎long pieces.
- Use your measuring tape to cut out the exactly-shaped lumber pieces for your table, and after cutting all the pieces you will have a stack of 22 wooden pieces in your hand.
- Now take a hammer and an iron pipe to beat up the 1 ̎x8 ̎s and 4 ̎x4 ̎s pieces to get a perfect drastic look for your table.
- Then, grab three of 2 ̎x4 ̎ and two of 2 ̎x2 ̎ wooden pieces to arrange them in a shape of ‘E’ that has a long borderline or rather say, a perfect window frame.
- Secure them together using two 2 inches screws with the help of a drill machine.
- After that lay out four of your 1 ̎x8 ̎boards and place your frame over these pieces like the way we are showing.
- Make sure that all sides are aligned and flush properly, and then, attach the frame with those pieces using the 2-inch screws.
- Be certain to get two screws into each 1 ̎x8 ̎ on the right, left, and middle of your table.
- Now, follow the same steps as before and make a similar wooden table top part in the similar process.
- When you have two identical pieces to use as the top and the bottom of your table, go to the next step of assembling those parts!
- Take four 4 ̎x4 ̎ pieces and place them in roughly the dimension of your table.
- Bring the top part of your table that you have craft earlier and place it across the 4 ̎x4 ̎ pieces.
- Align the 4 ̎x4 ̎ with the corners of your table and then, secure them up by using two 3 1/8 ̎ into each 4 ̎x4 ̎ pieces.
- Now, flip the table over and place the other half of your table across the 4 ̎x4 ̎ pieces.
- Make sure that the 4 ̎x4 ̎s and corners are aligned before securing them with screws.
- Once you screw them up, flip the thing back over, apply wood filler to cover up the visible screw holes and color the whole thing with your favorite wood stain.
- After the stain coat dries give your table a poly layer and after drying the poly out, place a wheel on each corner of your table. Now it’s all ready to use and move from one room to another.