Drawers are great material to keep our stuff secure in an organized way, and the best part is that it takes an extremely smaller place to stay but holds ample of products in its smart structure diversity.
We mostly prefer to use wooden or plastic-made drawers which are beautiful to look at and increase the whole beauty of our room as well along with keeping our goods in order.
However, these readymade drawers are pretty much expensive and sometimes don’t come with the exact size we seek for our room, hence preparing our own drawers through the DIY process would definitely be a brilliant idea in this regard.
Using cardboard to make this type of drawers is one of the best crafting ideas ever, as cardboards are easy-to-access from our houses, flexible enough to twist or turn in the way of crafting, and most importantly come with a free-of-cost quality.
So, here we go with an outstanding DIY drawer project in this regard using cardboard as its base material, let’s check them out and sharpen your crafting skill once with this super easy DIY project at home-
DIY Storage Drawer Out of Cardboard
Supplies You Need:
- Large and thick cardboard piece or shipping boxes
- Sharp crafting knife
- Measuring scale
- A thick wooden piece
- Marker
- Glue
- Wrapping paper
- Scissor
- Cardstock paper
- Pair of Drawer slide
- Drill machine
- And two steel handles for your drawers
How to do ( images)

How to Prepare the Drawer:
- Take the cardboard pieces or separate the pieces of a shipping cardboard box properly
- Now, certain the exact size of your drawer and bring a hard wooden structure for the base of your drawer
- Take the proper measurement of that structure so then, you can certain the needed-drawer size appropriately
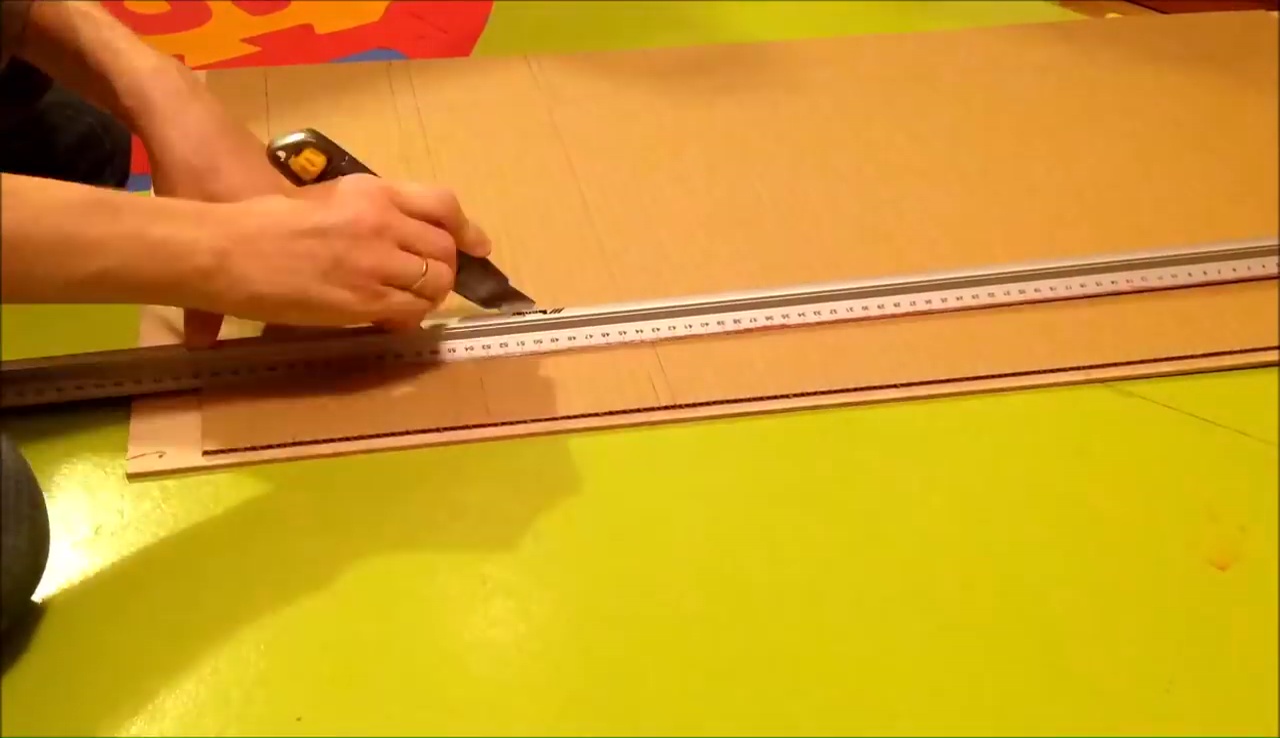
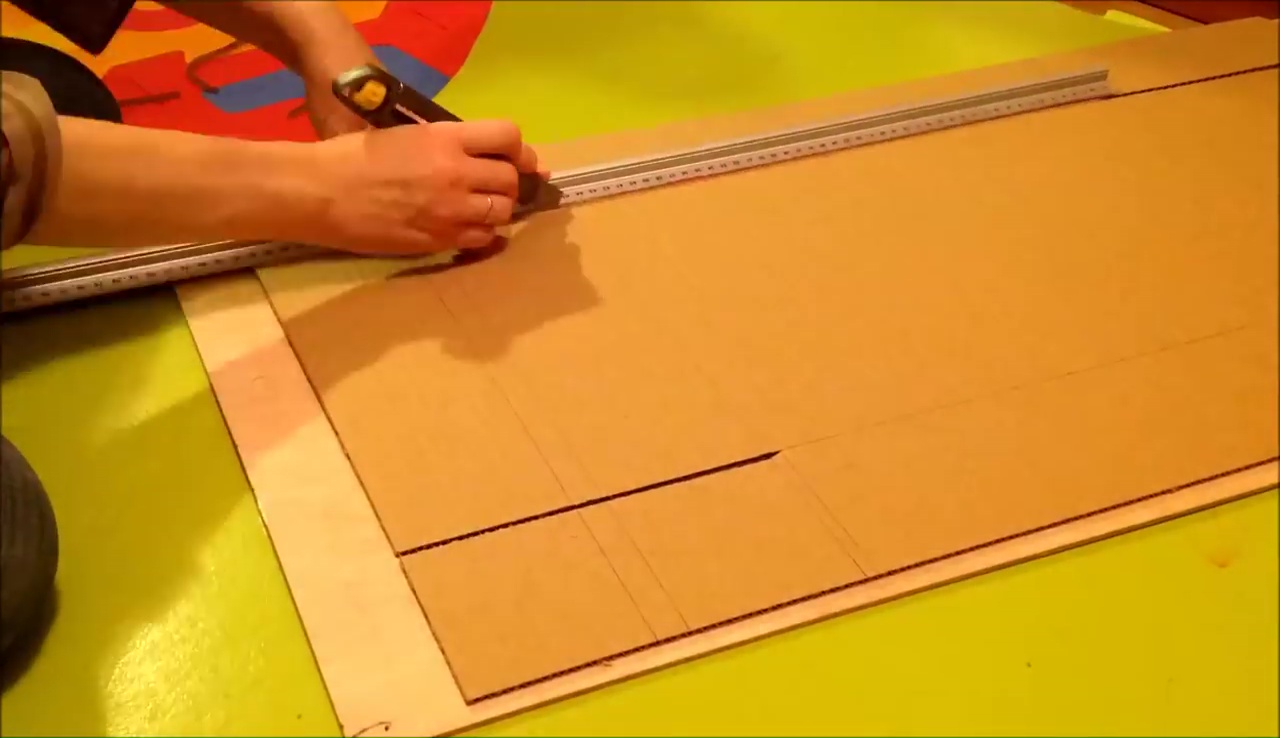
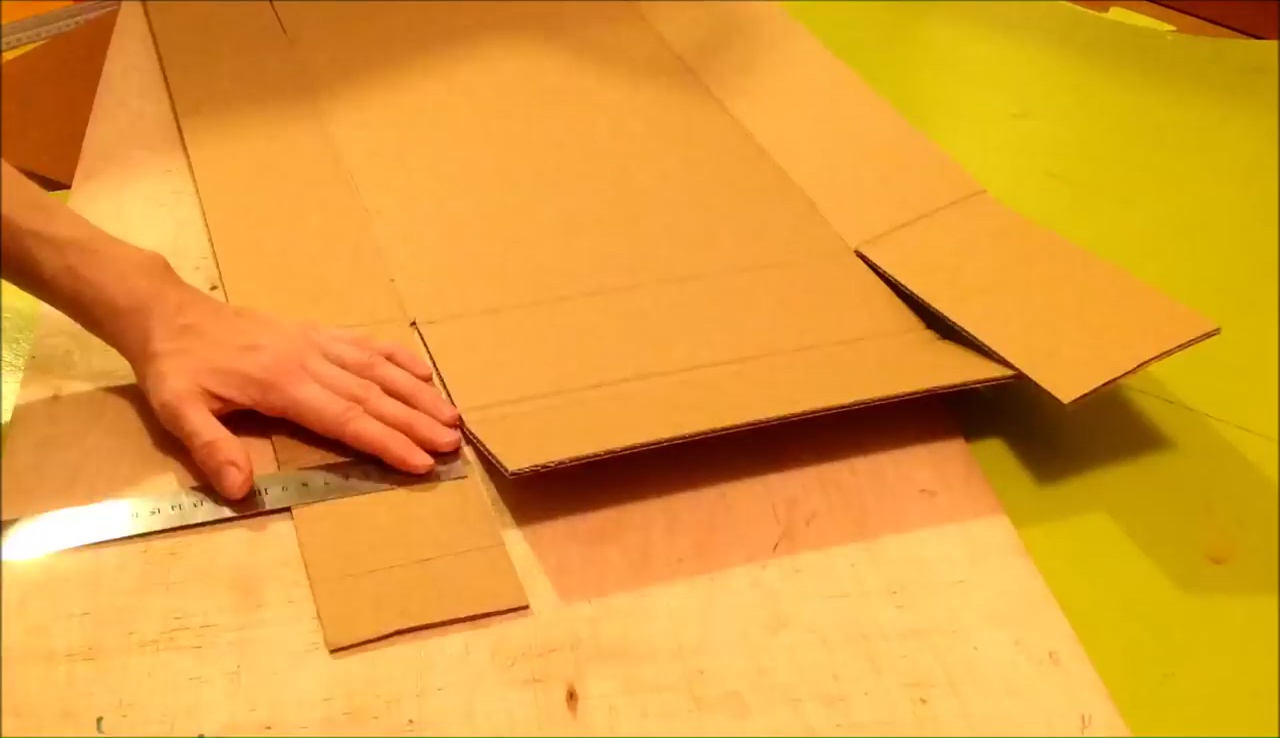
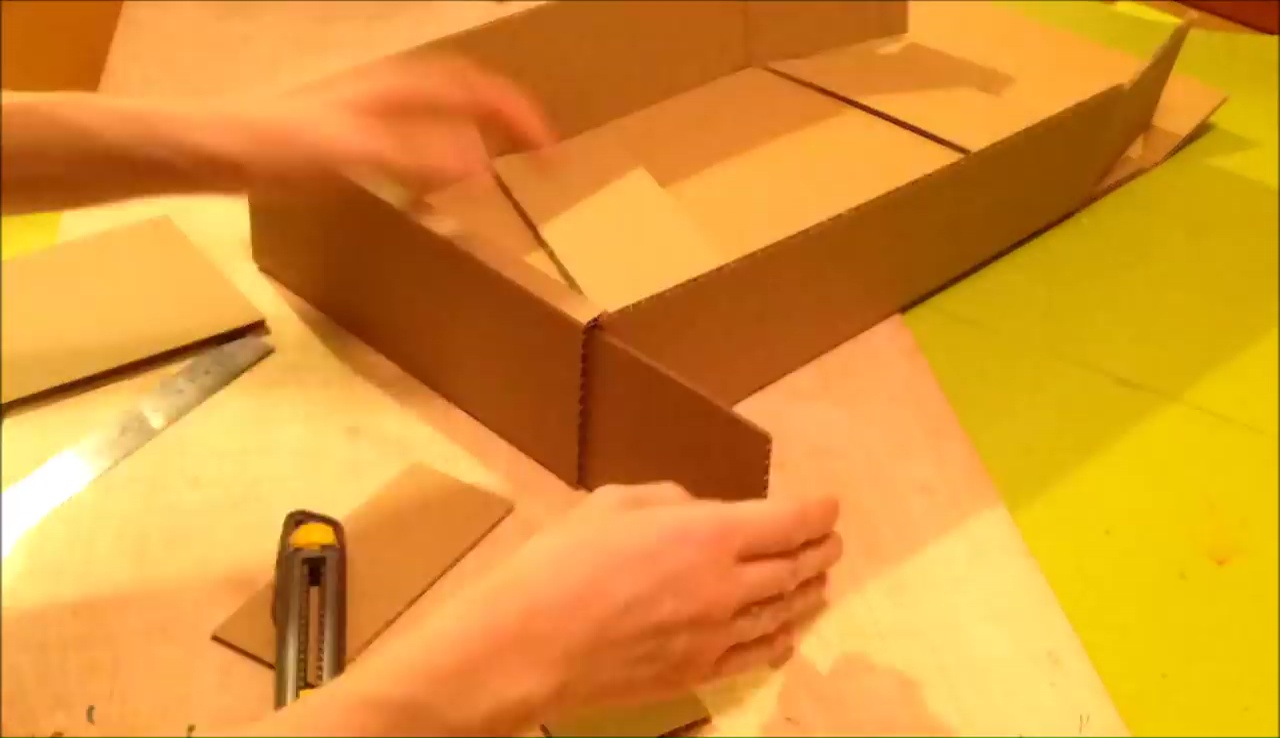
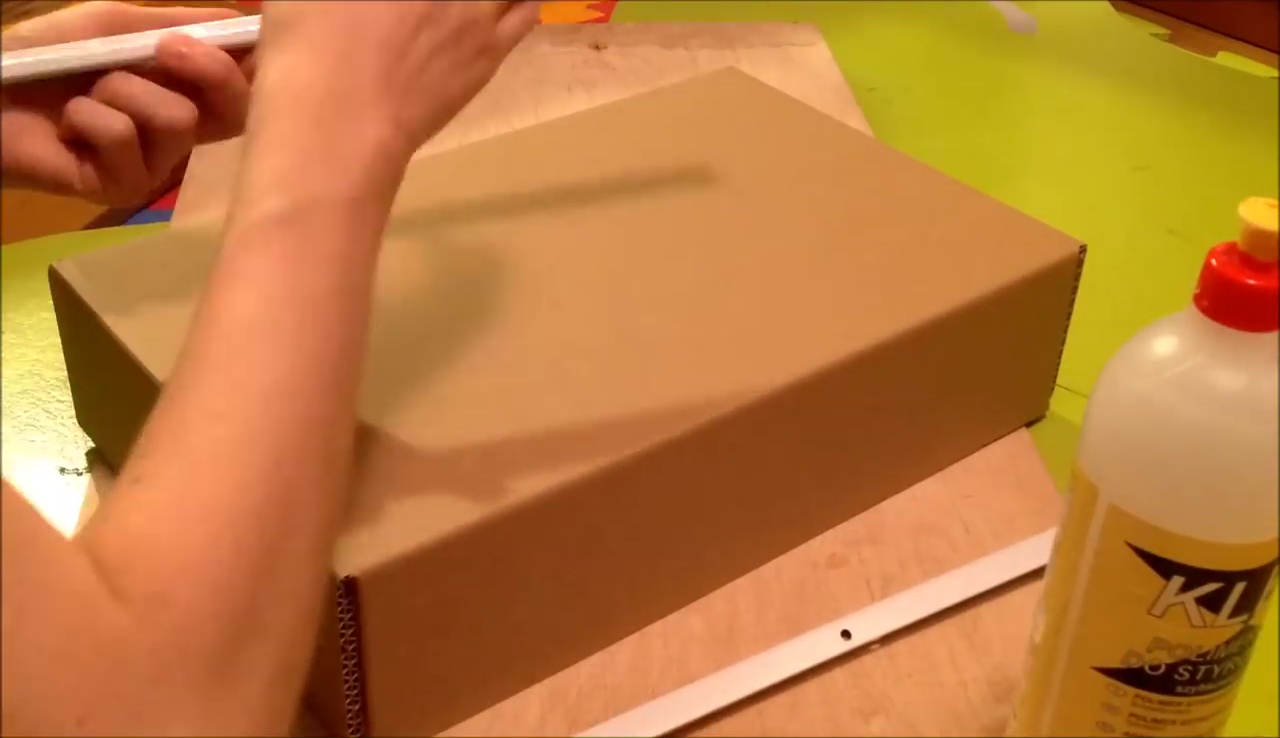
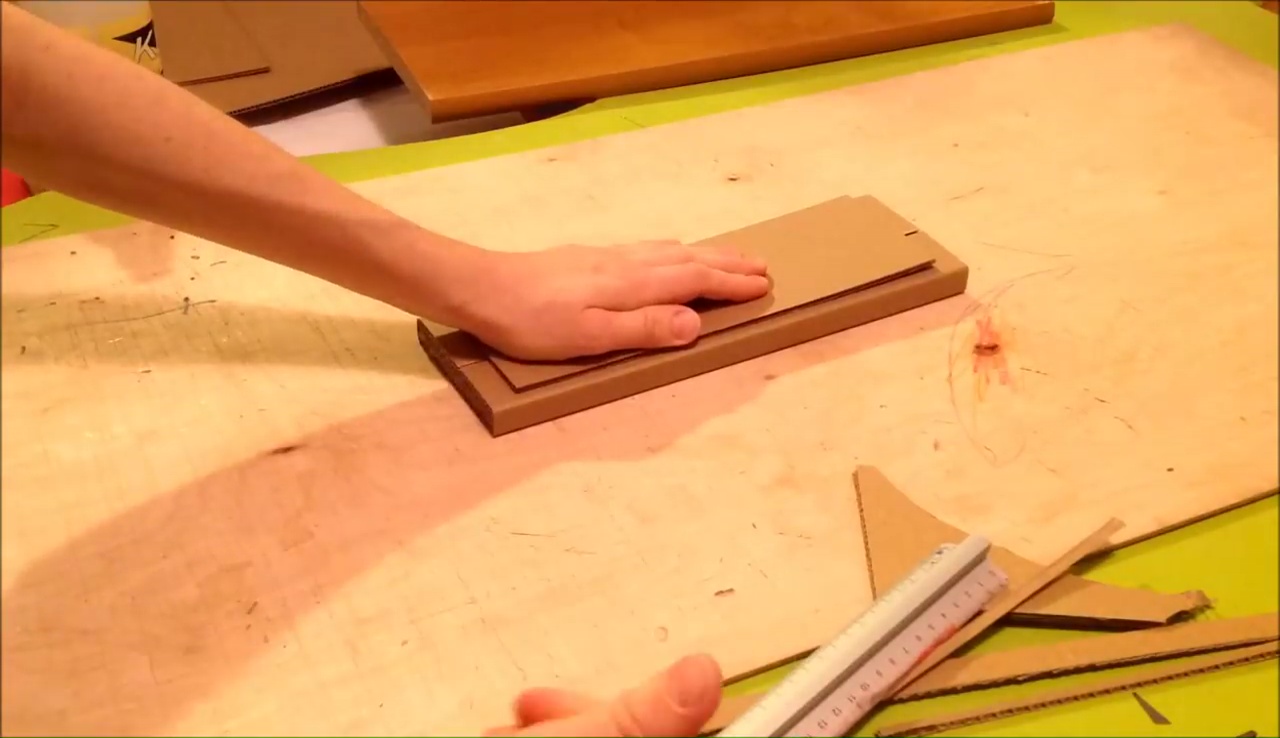
- Take one cardboard piece, cut & fold the edges similarly showing in the video and use a marker along with a scale to keep the folding lines straight
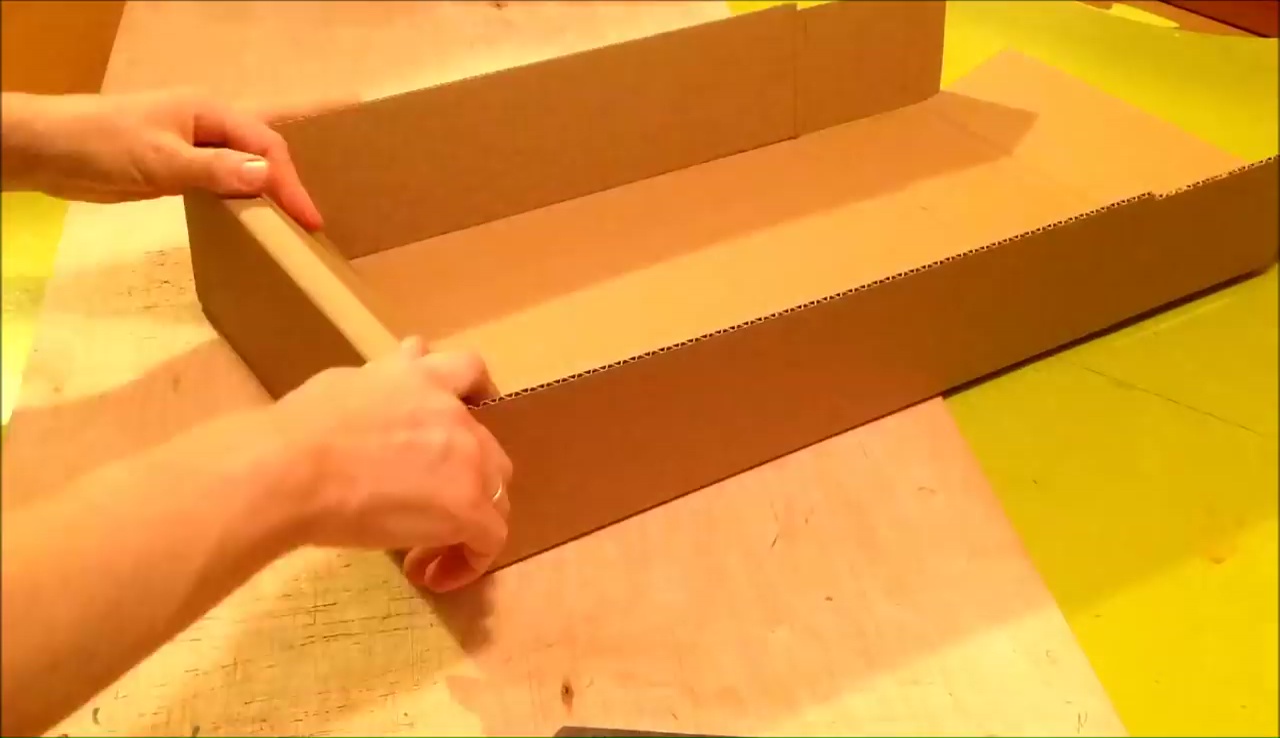
- Press each fold with a thick wooden piece to twist the thick cardboard easily in a perfect way
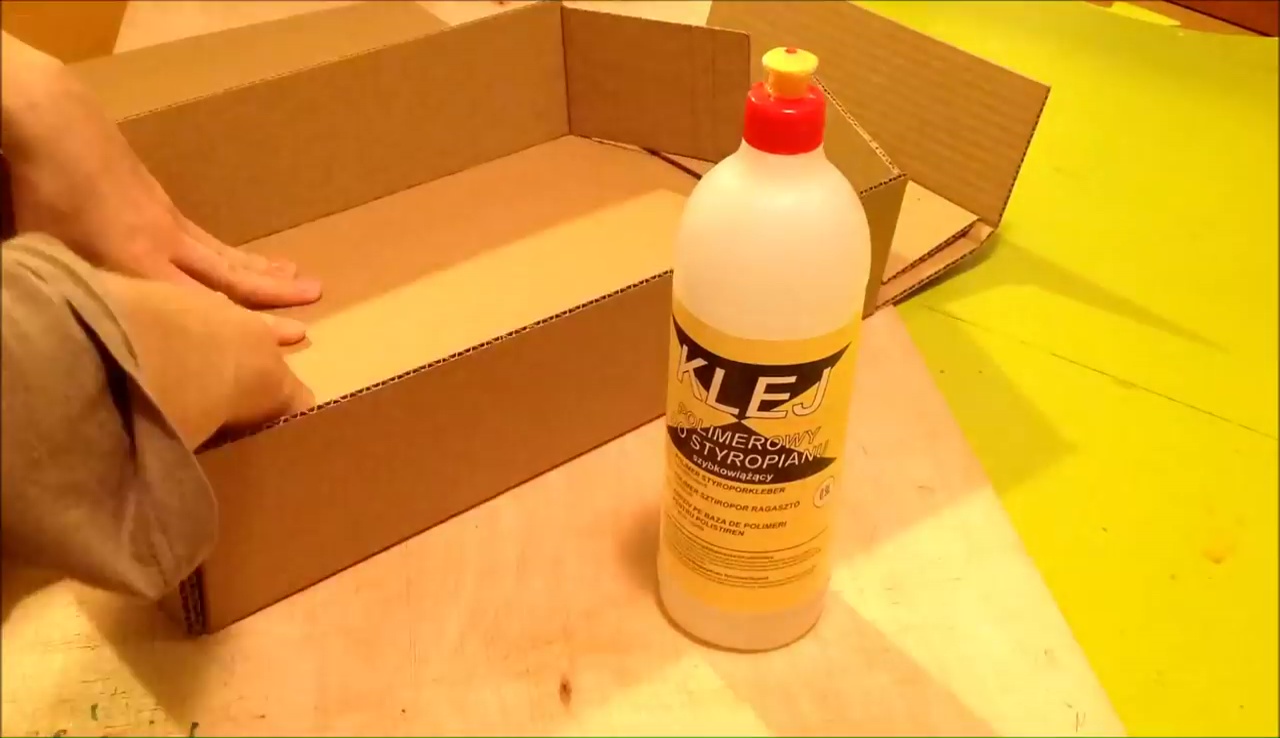
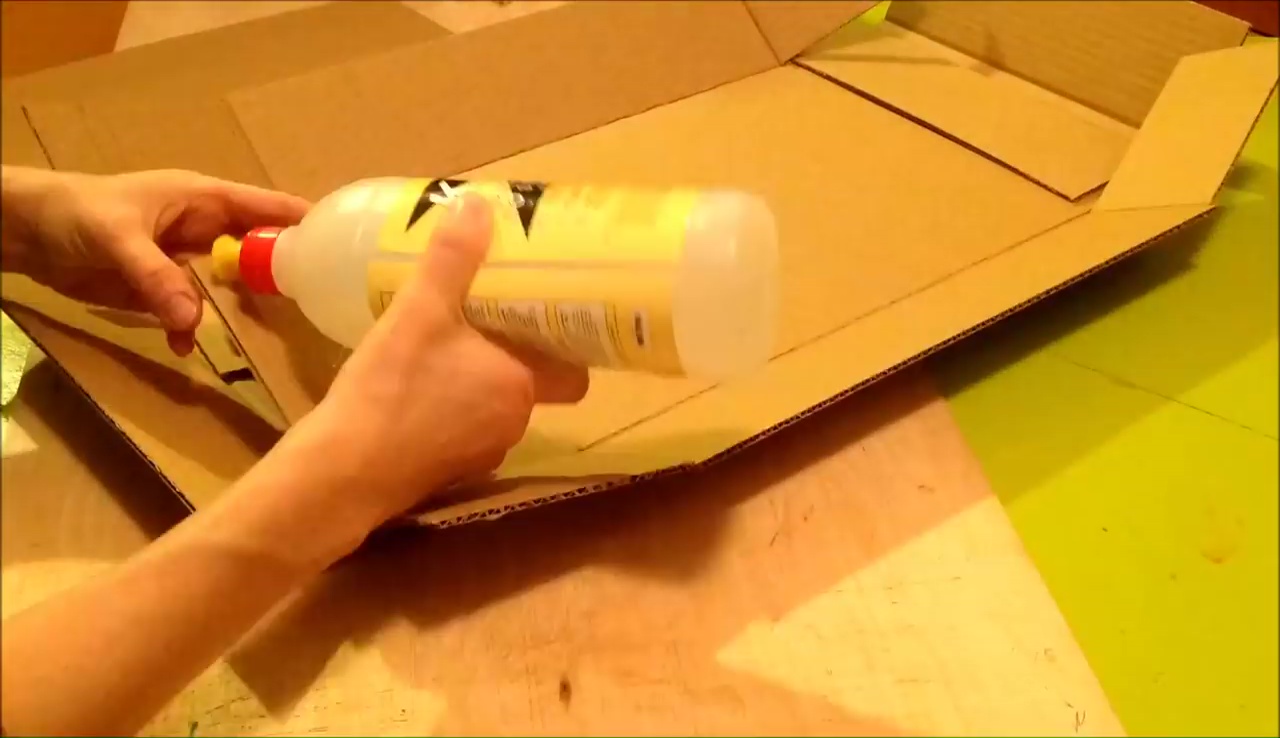
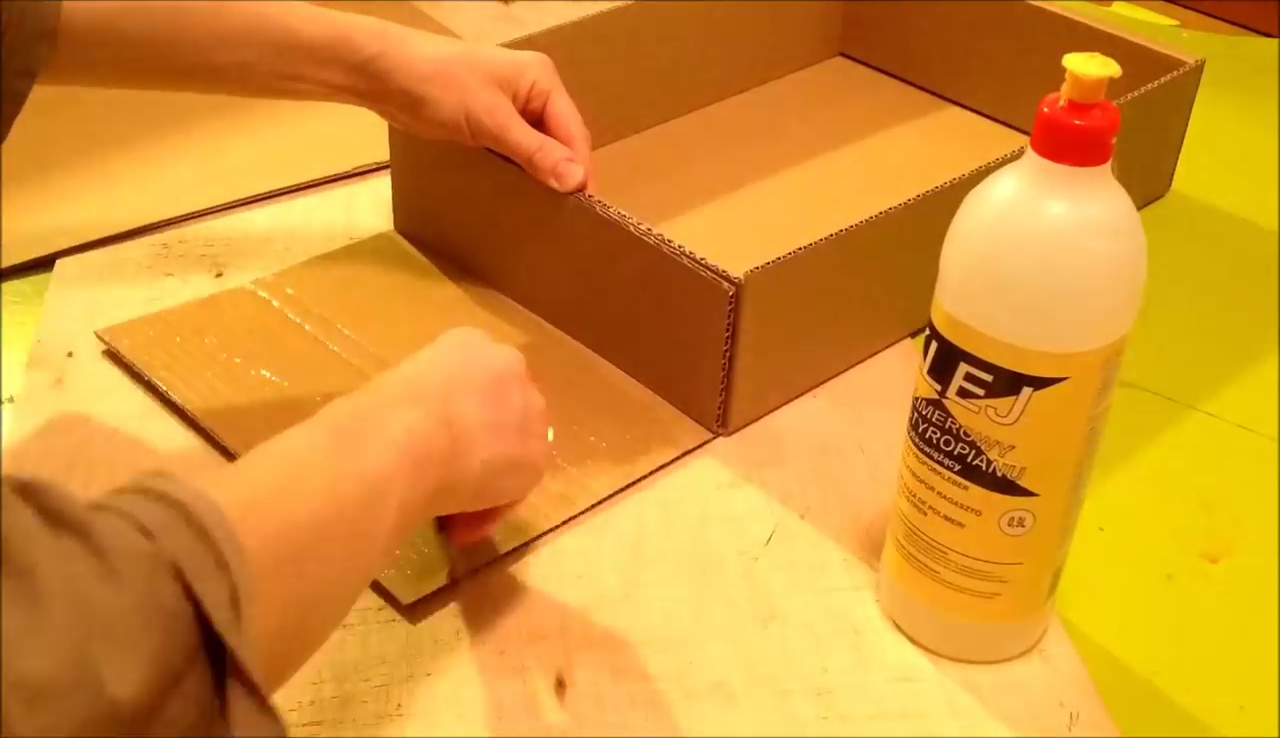
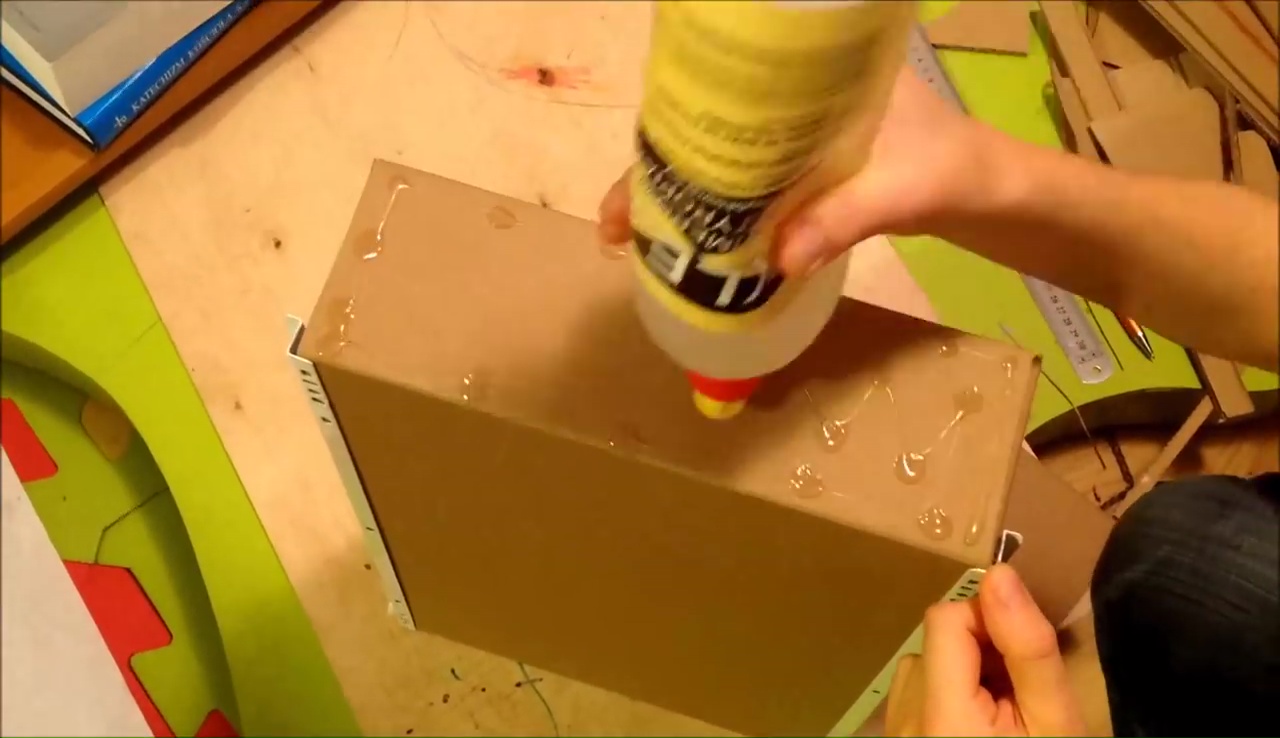
- When you think that each side is folded properly and slit exactly the way you want, keep fixing them with an adequate amount of glue
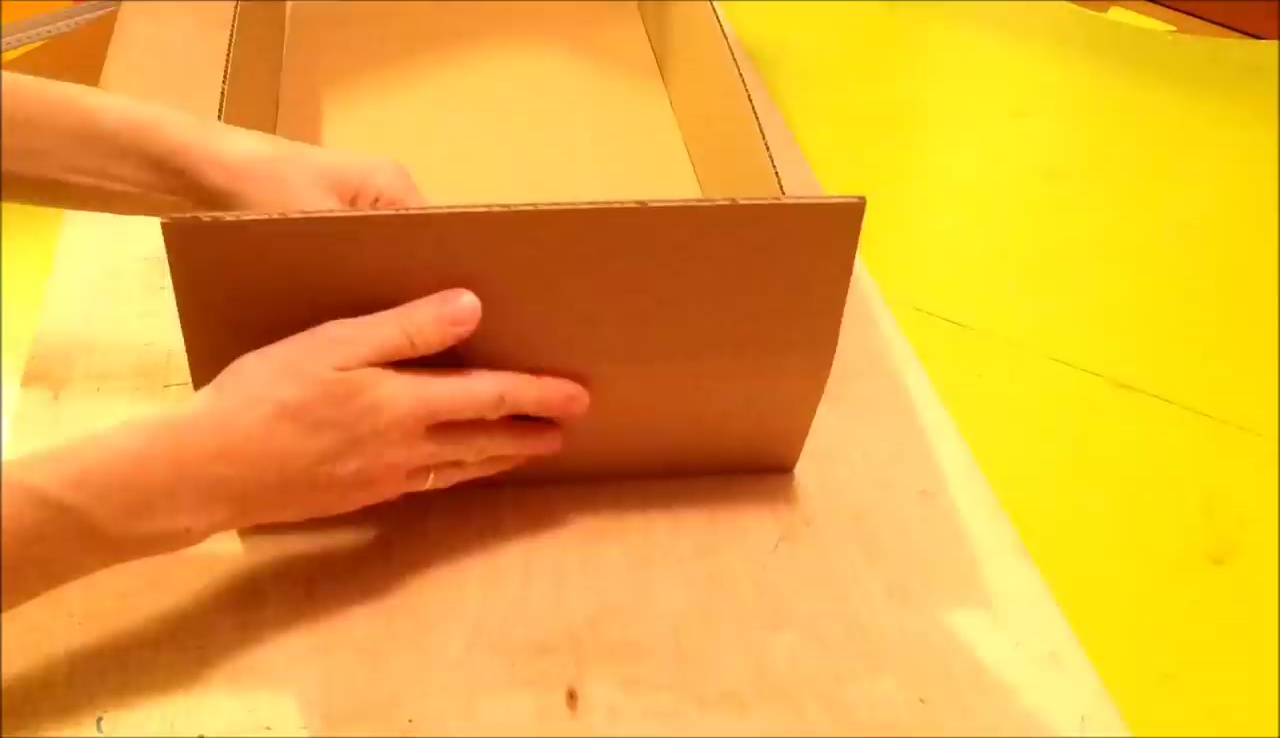
- Make the front and bottom sides thicker than the other sides by cover those sides with an extra piece of folded cardboard
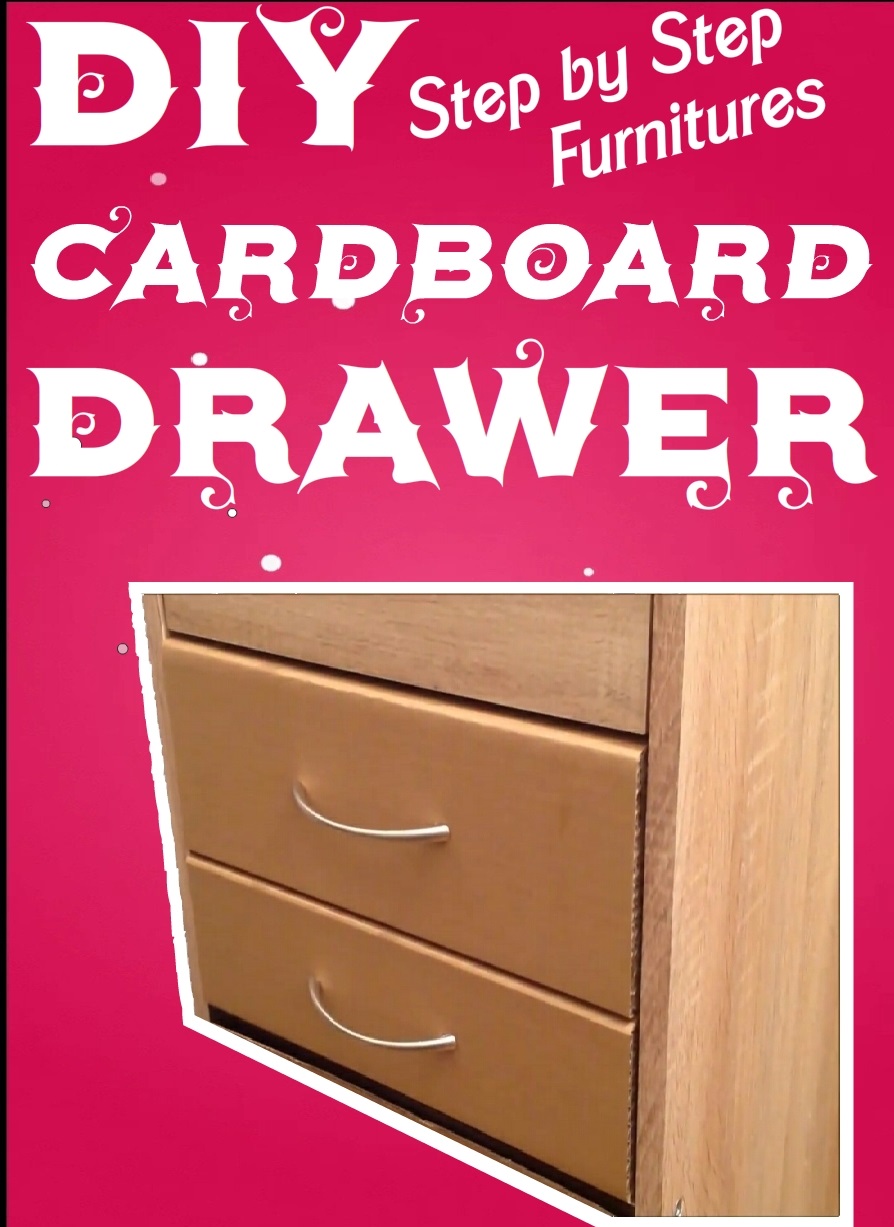
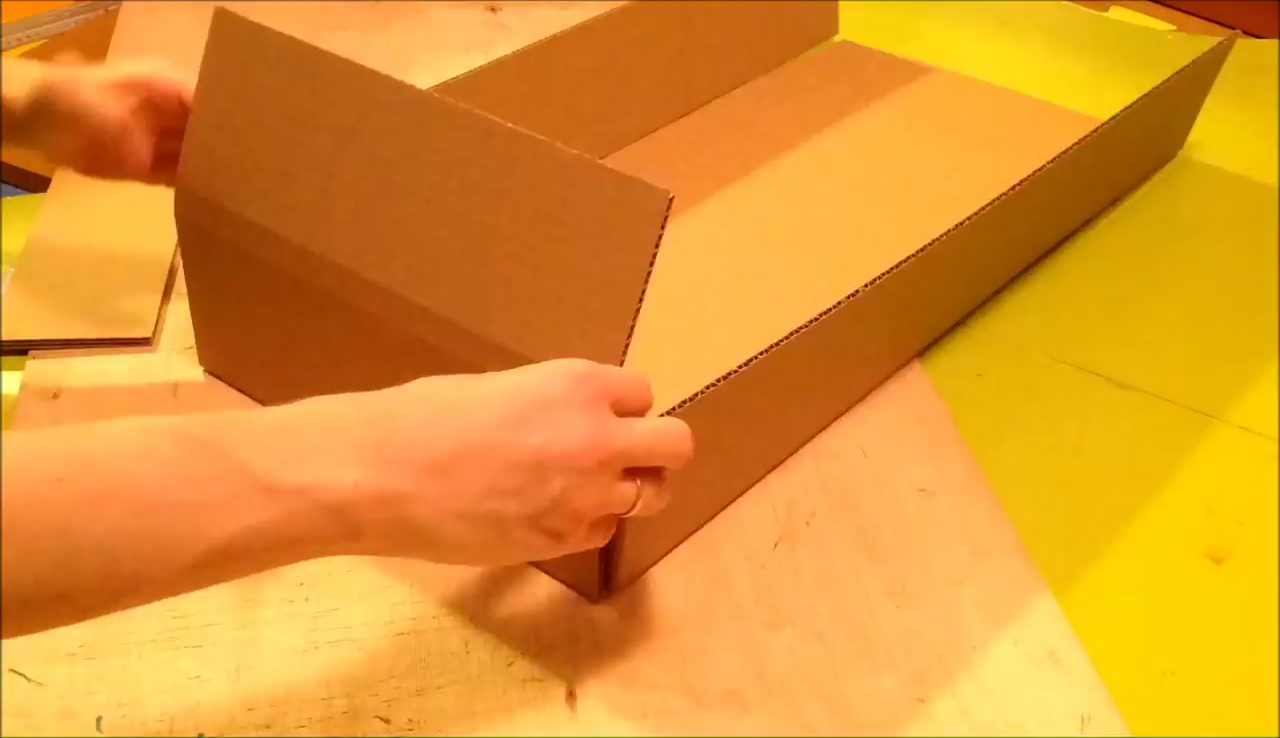
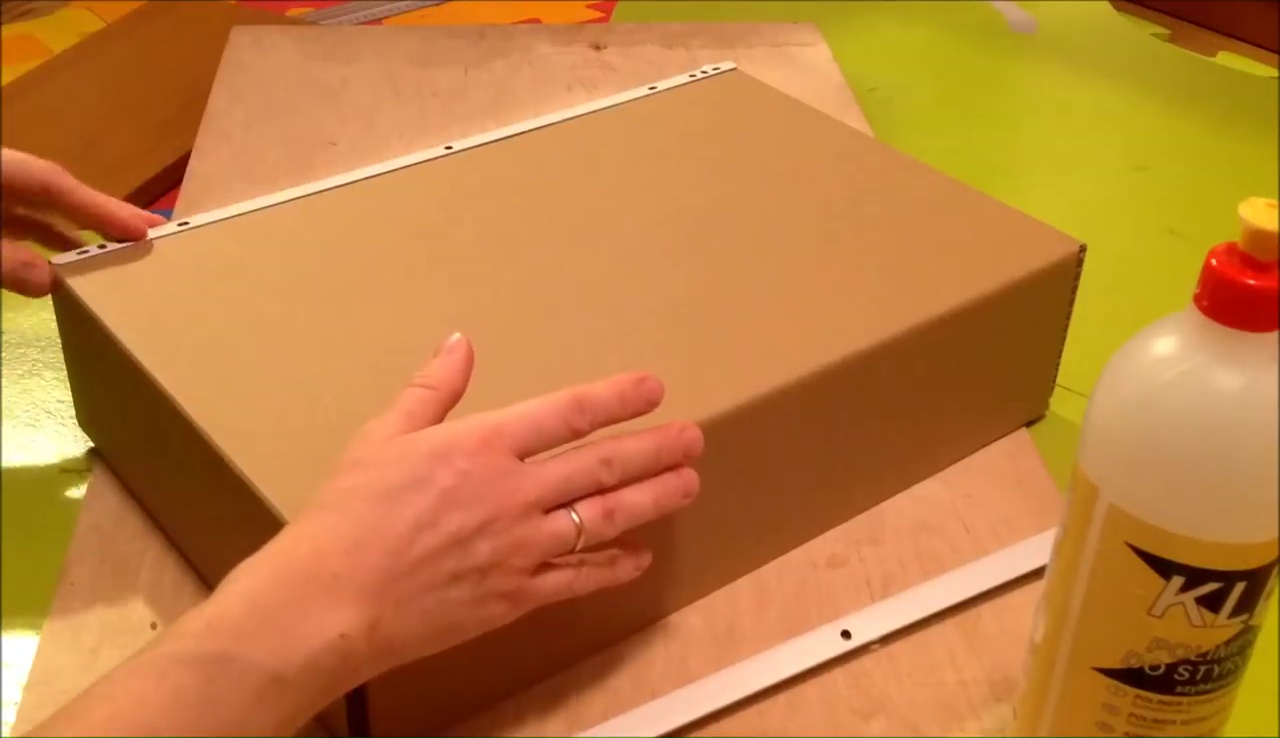
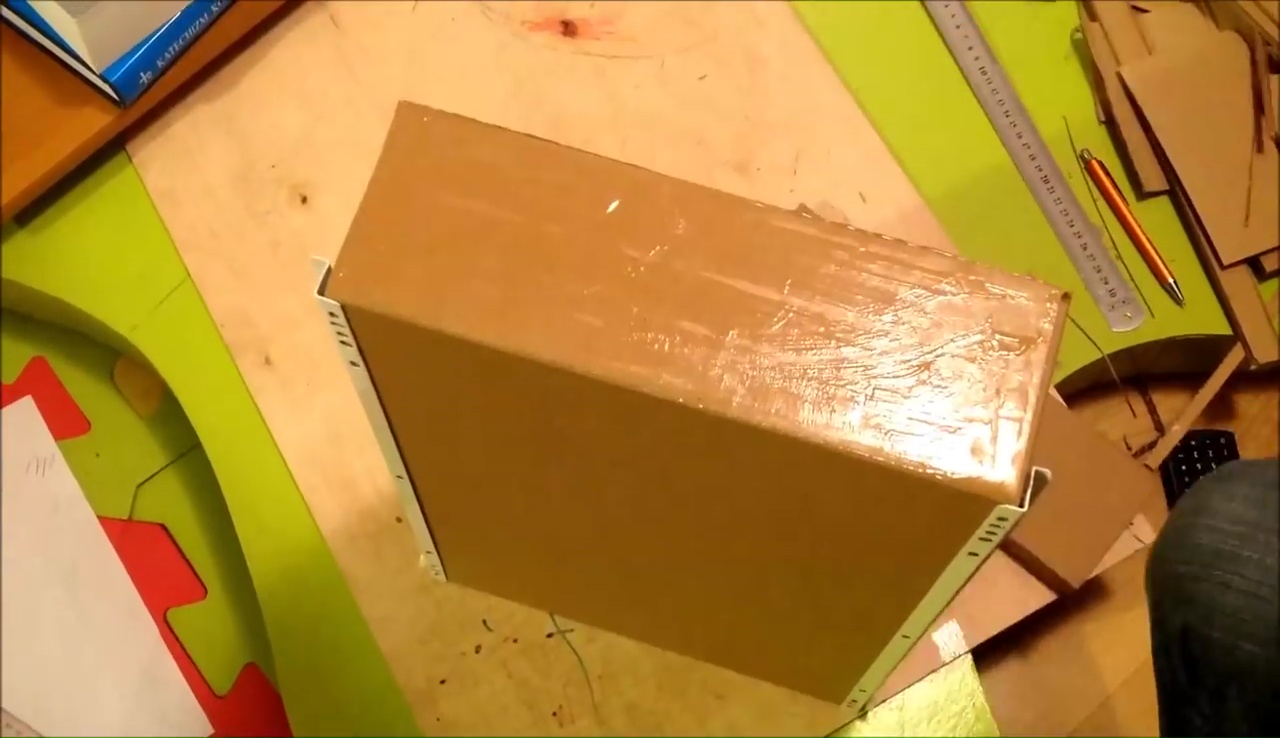
- Once you complete the whole structure of a drawer by fixing them properly, you will get a rectangle-shaped box with smooth and thick edges
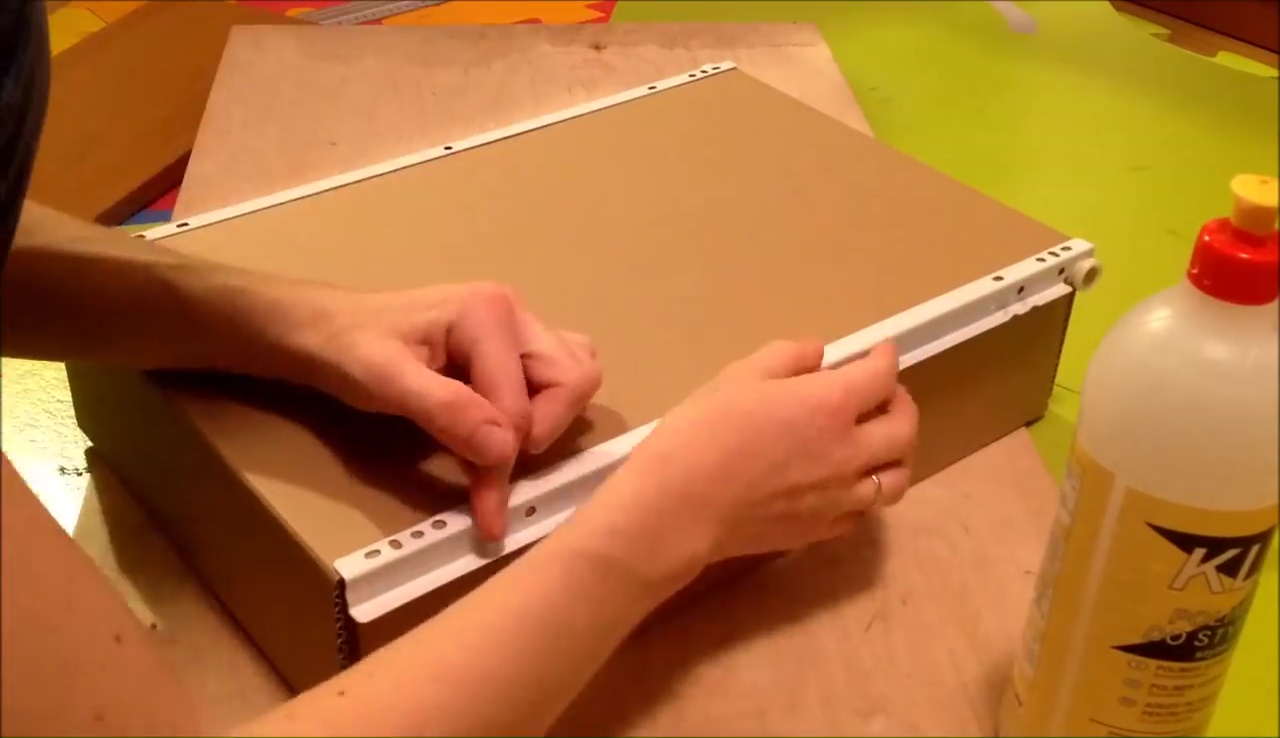
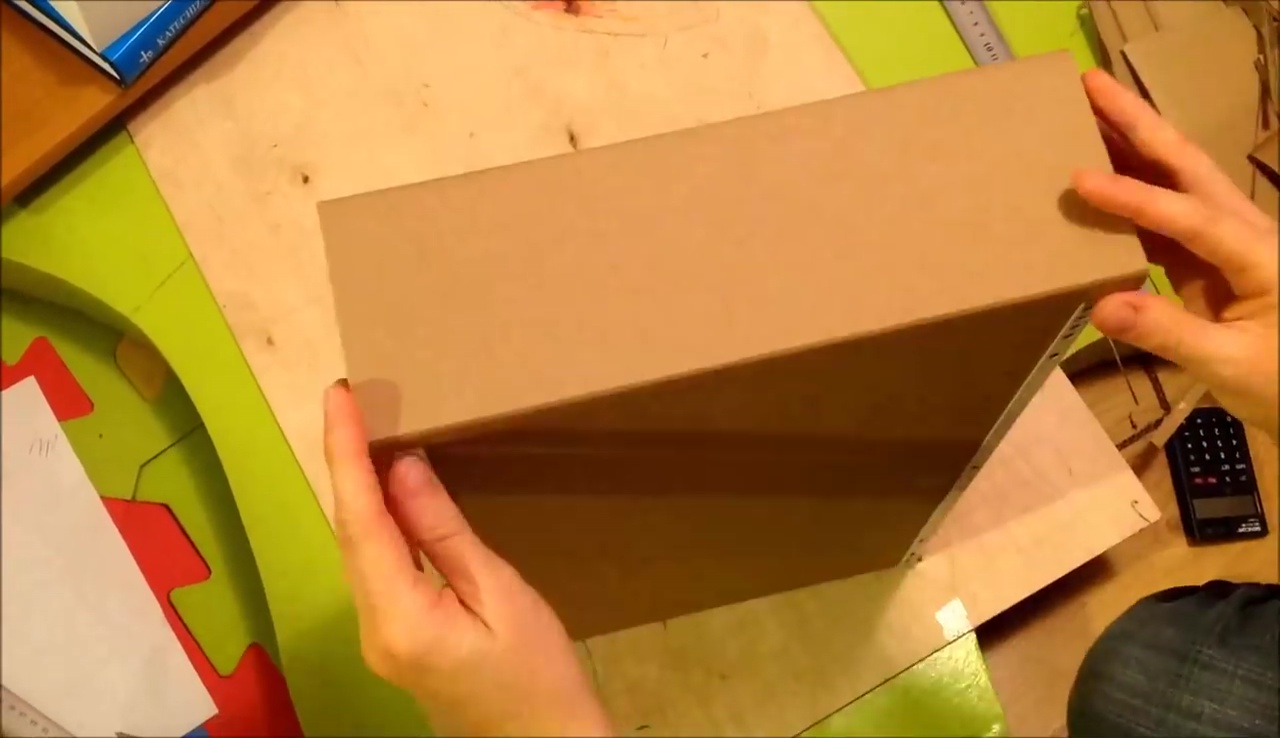
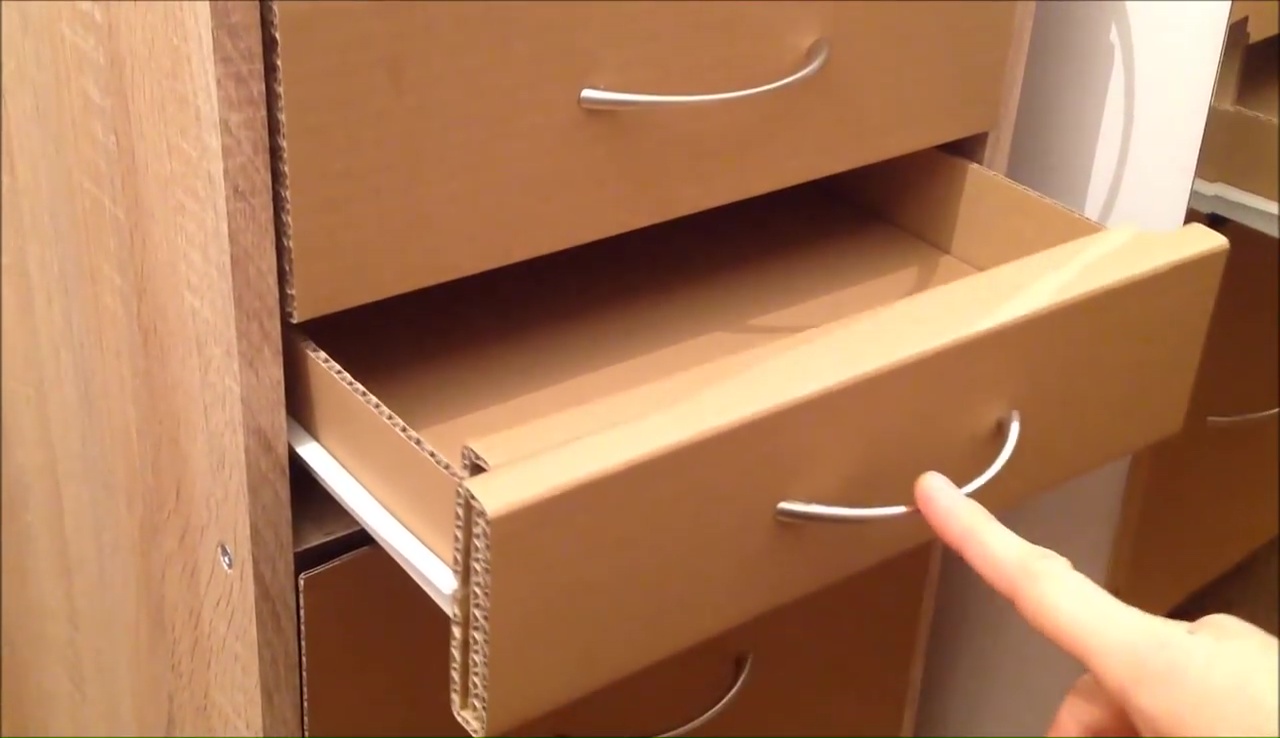
- Now, turn the upside down off that box and set two metallic sliding sticks lengthwise on the back sides of that box
- This will help to keep the sliding technique, like open or shutting process smoother like a readymade drawer
- Use glue that can stick to the metallic substance to fix these sticks properly under your box
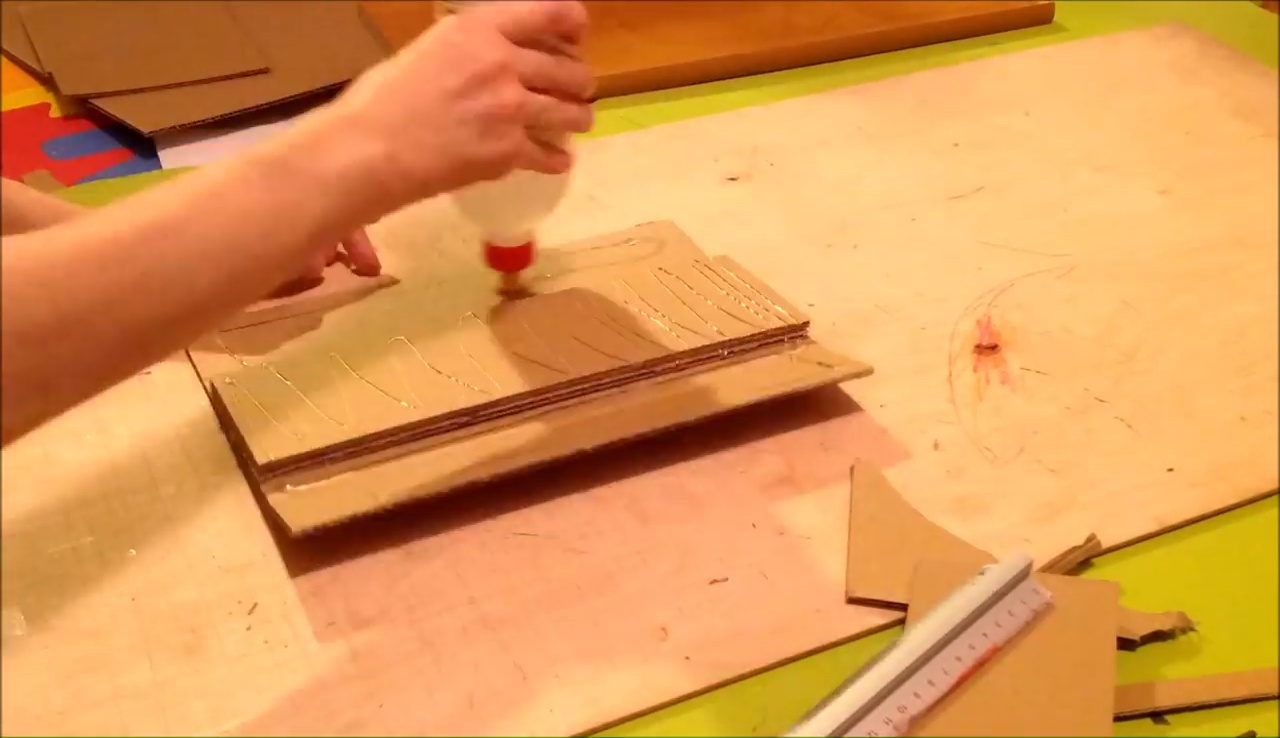
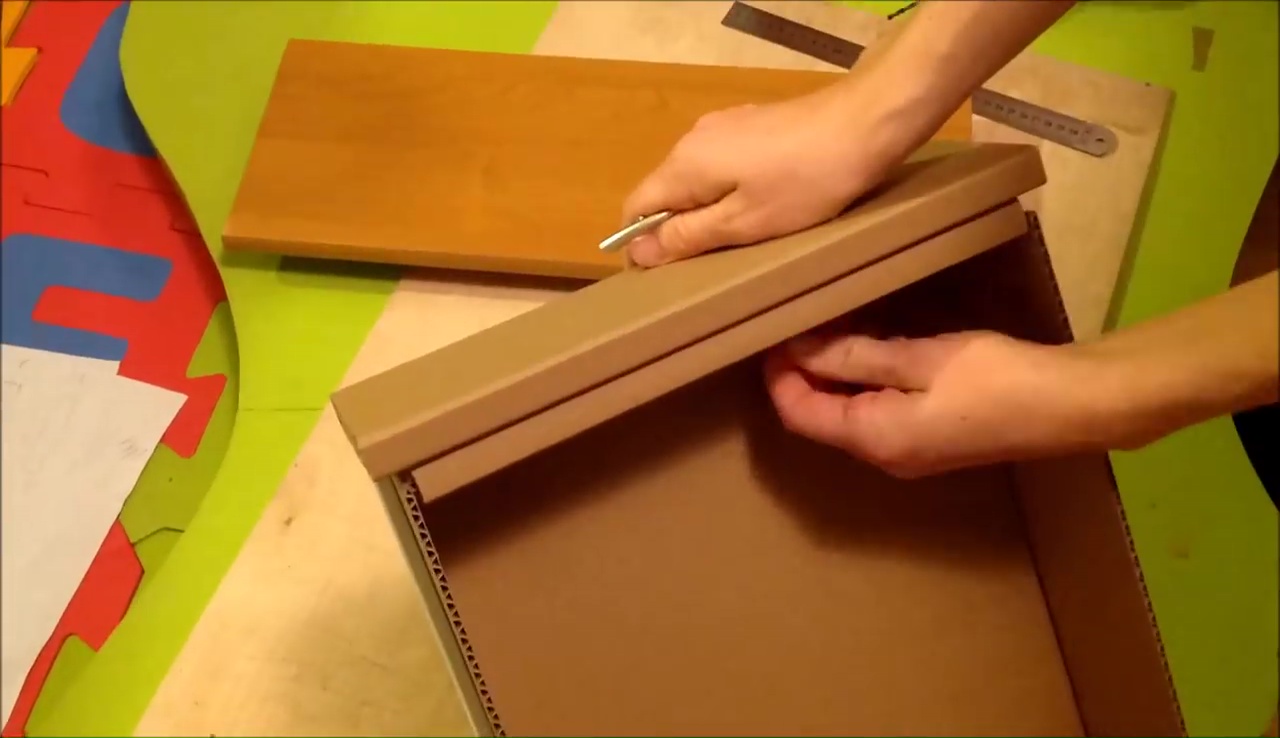
- Now cut a big rectangle-size piece from a cardboard and measure it with the front side of that prepared-box
- Use a scale, cut the sides, fold them firmly and then, join them properly with the help of glue
- Once your finish this fixing process you will get a slightly thick small cardboard rectangular that is similar to the front side of your drawer
- Now, repeat the same process again and prepare a rectangular box as well as a thick cardboard front side again following the same procedure
- Fix those two thick pieces at the front sides of both rectangular boxes and make sure they are at least 1 inch bigger than the front measurement from every side
- After attaching them with glue and drying them for several hours under direct air attach the handles of those drawers perfectly
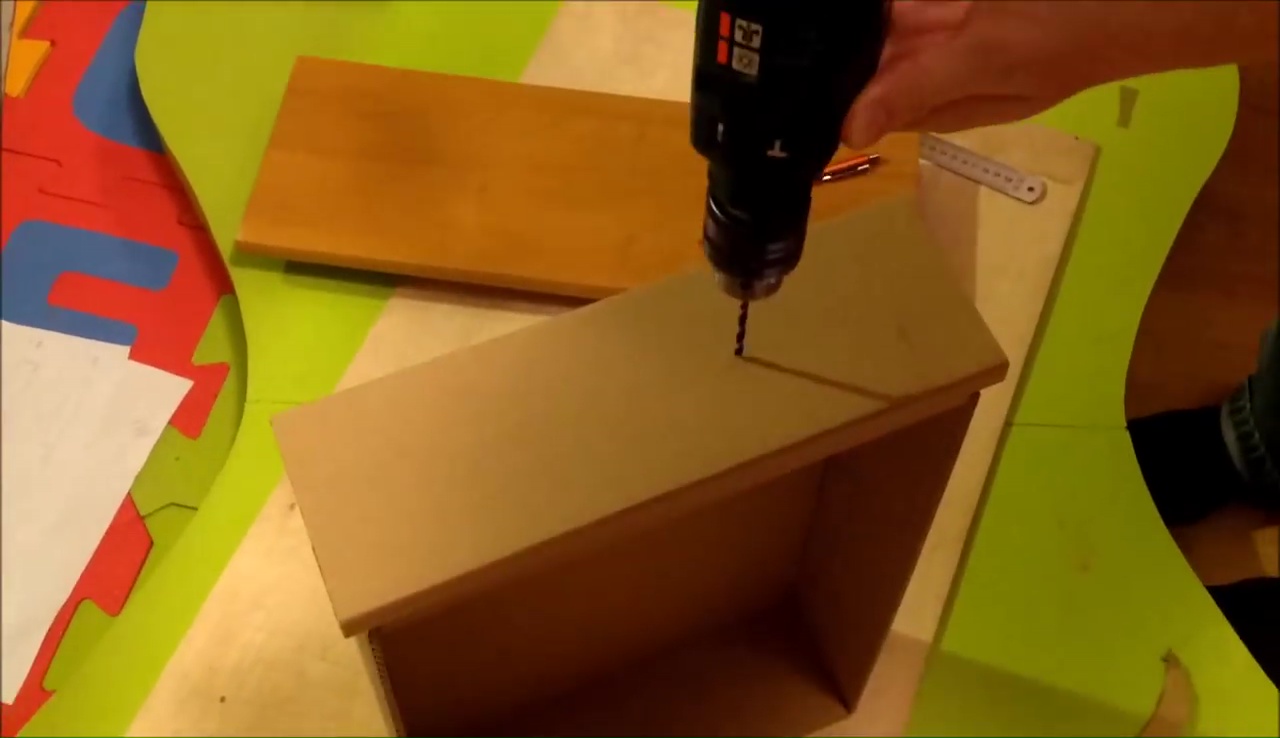
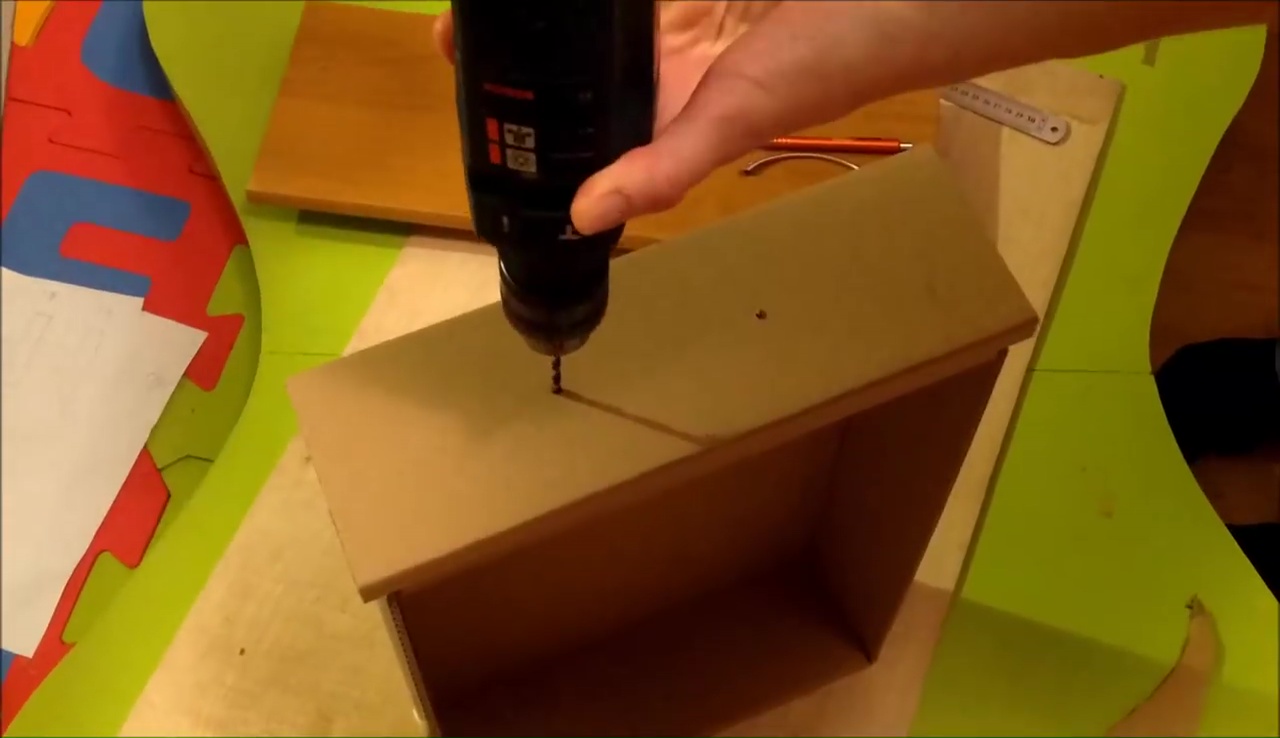
- To attach them, use a marker to take the exact points of setting a steel-handle on each box using a drill machine and make two holes over the front side
- Attach the handle and secure it properly with glue or tapes so then, it couldn’t move or shake when we drag the handle to open or shut the drawer
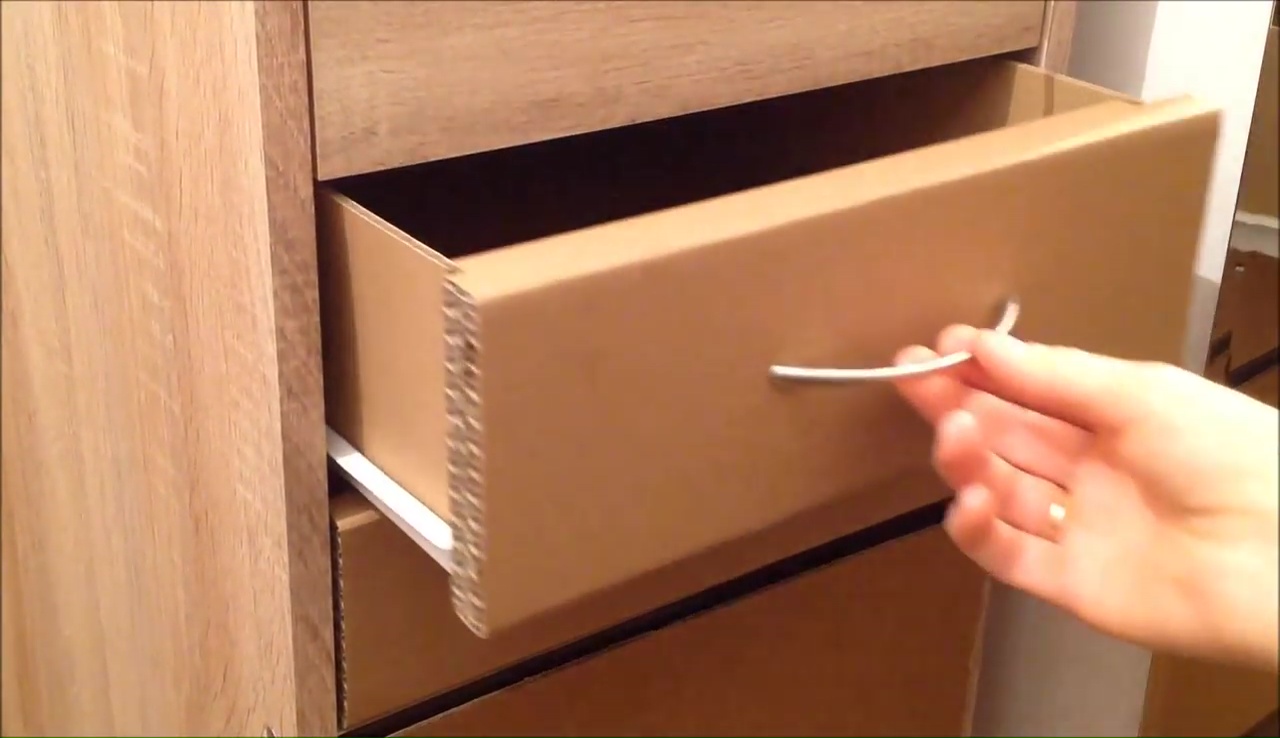
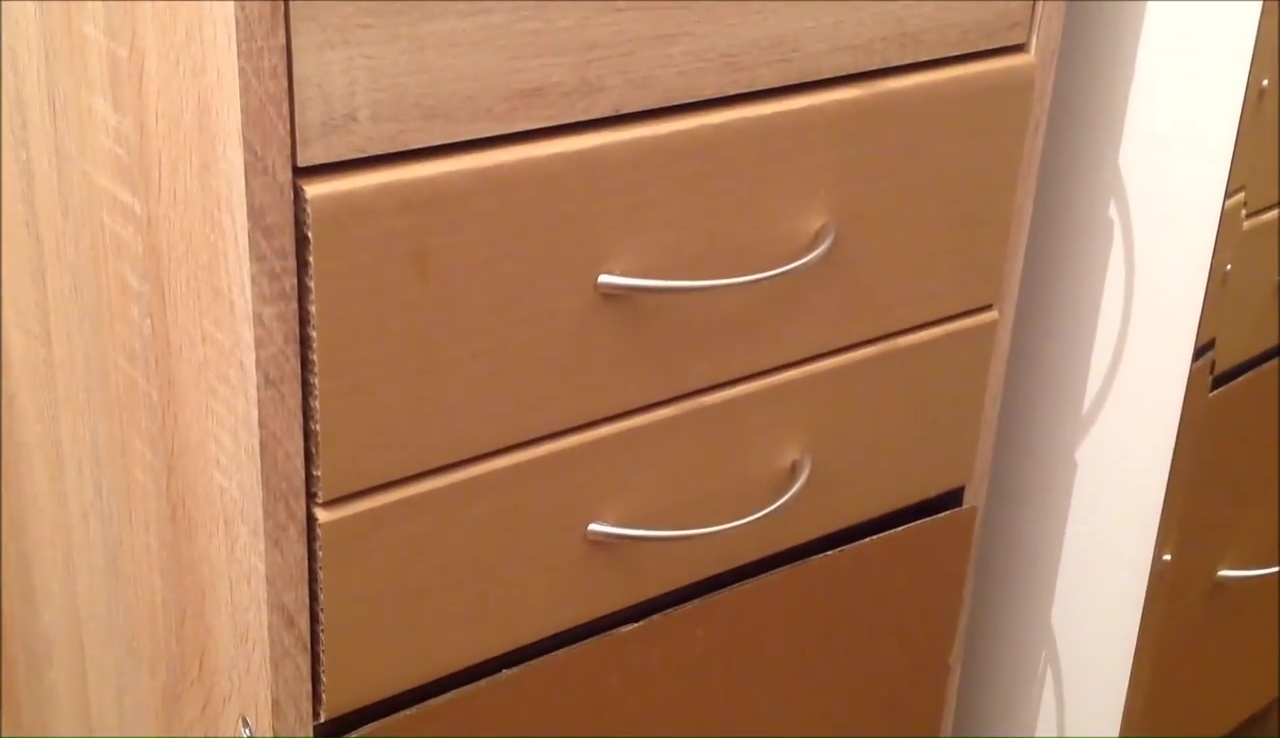
- Complete the other drawer box similarly following the same process and then, set them inside the wooden structure appropriately
- Wait for one whole day to let the glue layers dry out properly before putting your stuff inside this drawer, and then enjoy the secrecy of your goods in an organized manner with these DIY cardboard drawers smartly.
Project Source