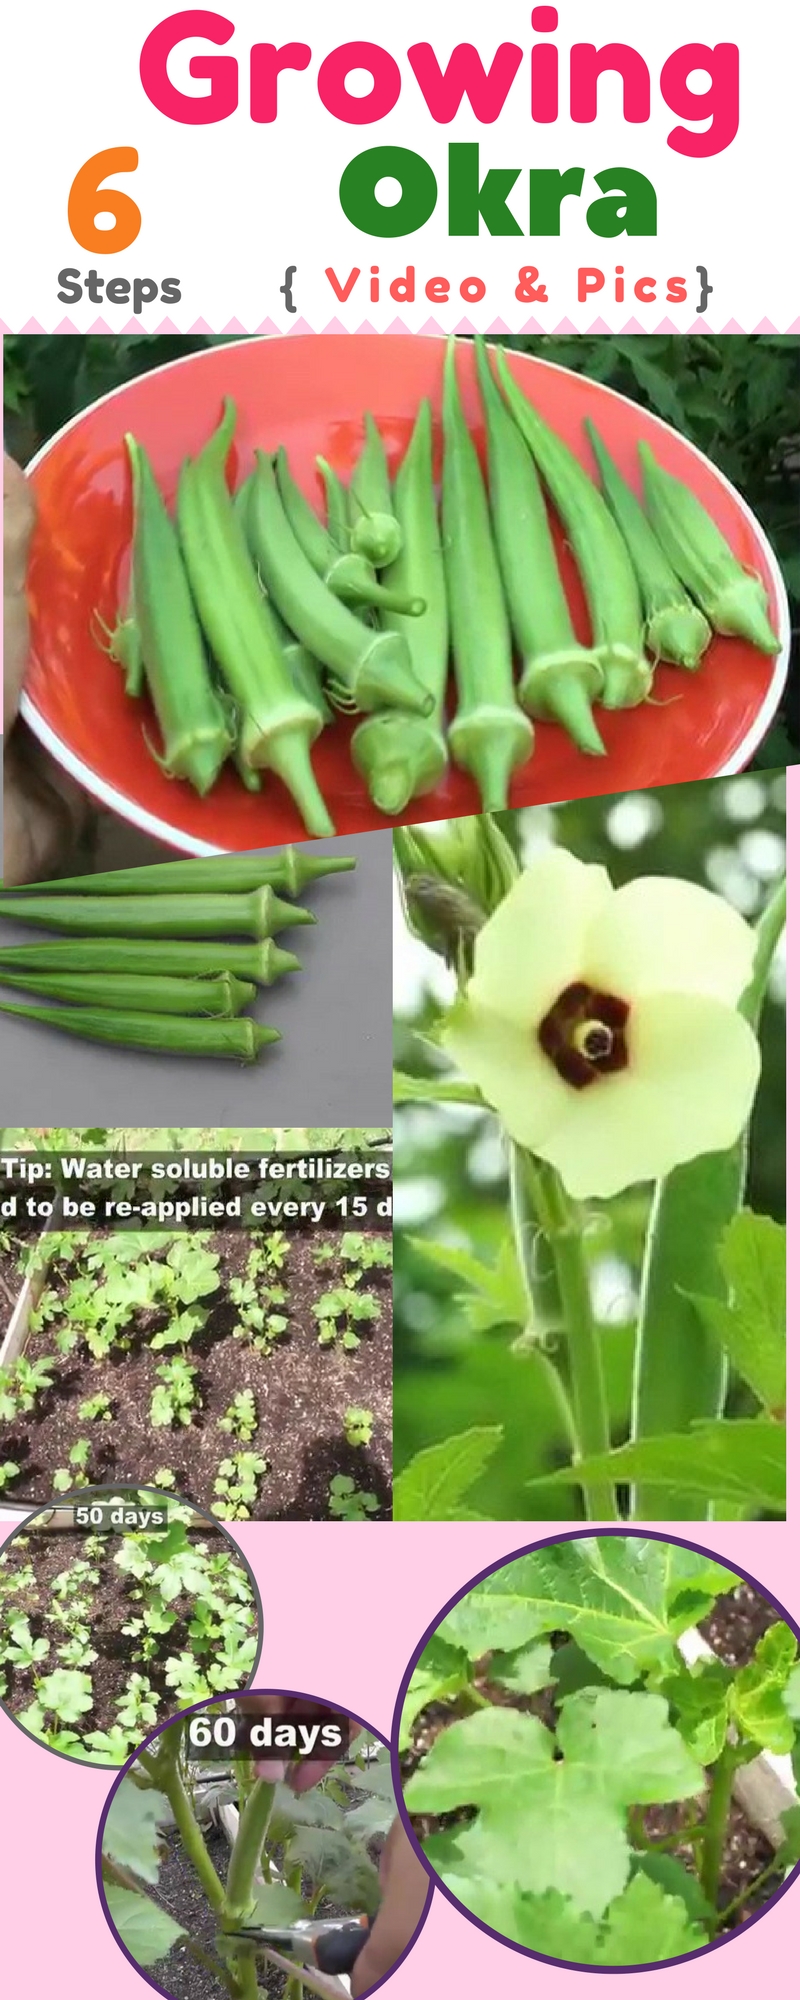
Okra is a highly beneficial nutritious vegetable that is used in various healthy and delicious dishes in several countries. This green vegetable originally belongs from Africa and known by various names in different countries like ‘lady’s finger’, ‘Bamia’, ‘Gumbo’ etc.
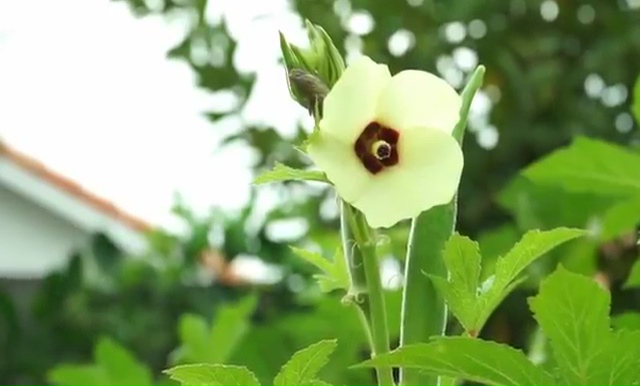
Okra relates to the hibiscus plants thus, this plant produces beautiful eye-catchy flowers too, apart from super healthy vegetables. Gardeners usually grow the okra seeds indoors and transplant them in their garden area after a certain period.
You can even cultivate in the indoor space for the whole session as well; if you are going to cultivate comparatively smaller amount of okra plants and try to keep the process more effortless for you. Let’s check out both the process in this article below-
Growing Okra:

Soil needs for okra:
- Okra needs fully fertile soil with well-drain quality.
- This plant does best in a soil type that has the pH level in between 6.5 to 7.0. So, always check for the right acidic consistency of your soil. you can use limestone or bone meal to your soil for adjusting the proper pH level
- Mix plenty of compost to your soil, before starting the plantation as this vegetable claims a very rich soil type for its perfect growth.
- Apply organic fertilizer or any slow release fertilizer like 4-6-4 to provide the ideal nutrition to the roots.
- Till your field with the depth of 10 to 12-inch deep with adequate fertilizer, where you want to sow your plant.
- Make sure that the soil is warmed up with the temperature of 65 ̊ F or more heat, before planting the seeds, and never let the temperature of your soil down than 60 degrees F throughout the whole growing season.
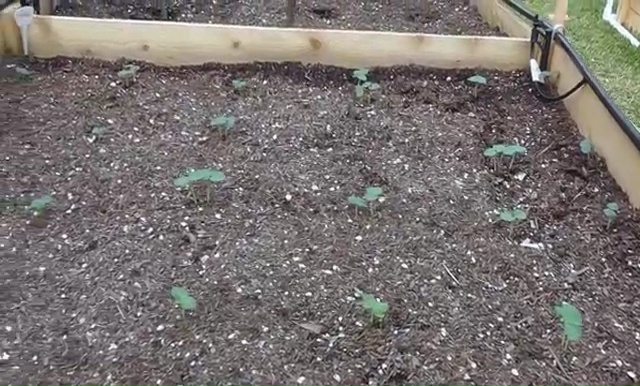
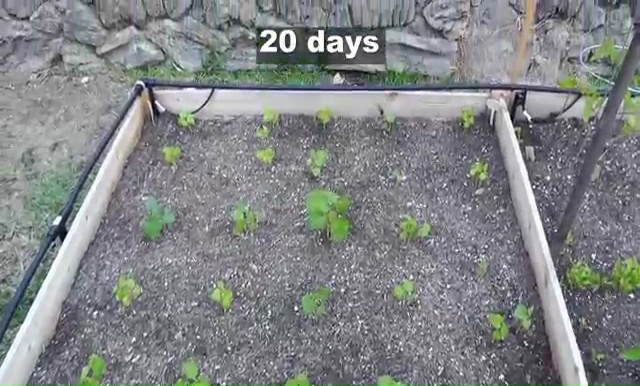
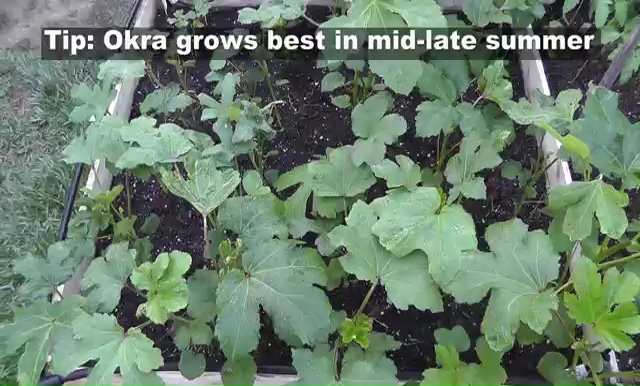
How Can I Grow Okra in Raised Beds
Best Season for okra:
- Okra is the vegetable of the summer season, and its seeds need full sun hot to germinate or grow.
- Consequently, try to start your plantation 2 to 3 weeks before the last frost, so the plants could get the fullest sun heat of the whole summer season.
- Never let the temperature below than 55 ̊ F, even the night! So, we would recommend you to arrange some bright LED light if possible for the night, especially, when you are going to cultivate okra at your indoor space!
- The daytime temperature must be around 85 ̊F or above during the entire growing session.
Planting okra:
- To start the plantation, select the warmest spot in your garden and prepare the soil there.
- To make the perfect soil, remove all the rocks, pulverize clumps and weeds from that place.
- Now, spread 8 to 12 inches layer of fertilized loose soil which contains slow release fertilizer, organic compost, and sandy soil elements.
- After preparing the soil, sow the seeds ½ inch deep into the soil and make sure that the each seed is 6-inch apart from each other.
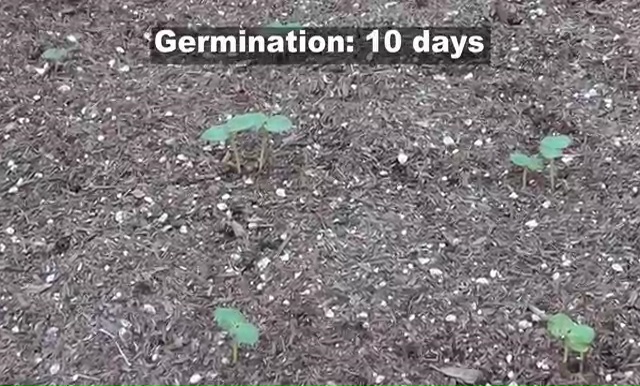
- Then, water the soil heavily and wait for the germination. It will be better if you can soak your seeds overnight, before planting them in your garden, particularly for the speedy germination.
- If you want to plant your seeds indoor first then, bring a wide seed tray and fill it up with fertilizer potting mix along with peat moss manure.
- Now, sow the seeds in each section of the tray and water them thoroughly, after cover them up with some additional potting mix.
- When the seedlings are 1-foot tall, carefully transplant them in your prearranged garden area.
- For transplanting them, dig 2-inch deep holes and make sure that the plants are 4 to 5 inch apart from each other.
- Never break or hurt the small taproot of your plants during the transplantation or it may kill or rot your young plant completely.
- After transplanting them perfectly, pat the bases of each plant slightly with fertilized soil and then water them securely.
- Finally, after accomplishing the every single plantation step carefully, all you need to do is that take proper care of your plants from every probable way!
Growing Okra

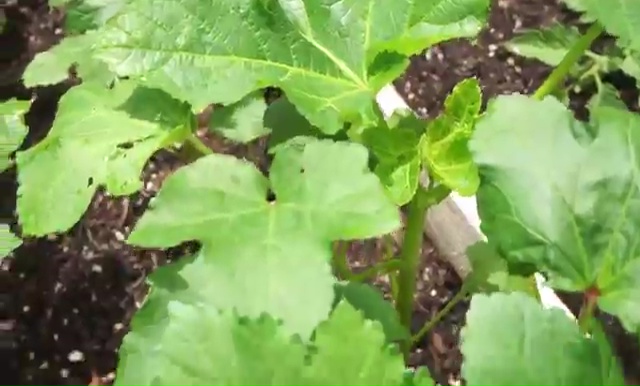


How to Care for Okra:
- Okra plants are dearth-tolerant, thus you don’t need to take any extra care for them, just validate the adequate watering and feeding system along with 3 or 4 other requirements.
- Try to provide 1-inch of water every week to your okra plants, whether they are planted in the garden area or indoor garden space.
- Mulch your soil with some moist containing mulch elements which not only retain the wet climate near the base of your plants but at the same time keep those unwanted weeds away from your plants, which may harm or prevent the growth of okra.
- Once the plant reaches the height of 4 to 5-inch tall, mulch your plant with some unique objects like spread pine or cedar to retain more warmth and secure the root attractively.
- Try to water your okra plant in the morning, so then they have enough time to utilize the wetness before nightfall.
- Try to avoid the leaves carefully, while watering okra plants and avoid watering them afternoon as well, to shun the damping possibility of roots.
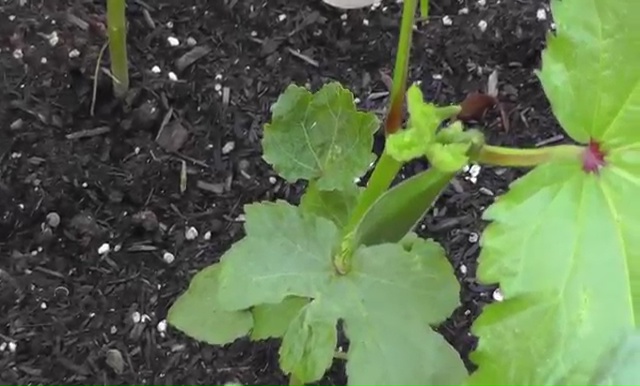
- When the young stems reach the height of 3 to 4 inches long, seedling them, and leave the strongest one to grow.
- After 3 to 4 weeks of your transplantation, feed your okra plants with compost or organic manure as okra needs plenty of stimulants to grow properly.
- Use nitrogen base fertilizer exactly after 6-week later your plantation to the best outcome of your crops.
- Side dresses your plants before composting them with slow release fertilizer and make sure of not fertilize them with too much amount of manure. Otherwise, it will damage the growth of your plant instead of benefiting them!
- Now, you need to keep an eye on pests and diseases to stay away and not to get infected by them at any cost.
Okra Pests and Disease:
It is superfluous to say that this kind of luring vegetable is often infected by numerous pests and disease if you don’t take proper protection from them! Aphids, armyworms, corn earworm, cucumber beetles, loopers, spider mites, Thrips, etc. are some common insects which frequently attack okra plants along with its fruits and leaves. On the other hand, charcoal rot, Enation leaf curl, Fusarium wilt, powdery mildew, root-knot nematode, southern blight, white mold, yellow vein mosaic, etc. are those typical diseases of okra plants which may occur for improper climate for your plants.
Loopers or such little creatures can be hand-picked from the plants to control the larvae crisis from your crops. Some other insects can be managed by the pesticide objects like Bacillus Thuringiensis, which efficiently kills every single worm and insect from your plant effortlessly. Use some organic insecticide liquids to get a harmless outcome on your crops. Applying silver colored plastic as mulch could give temporary relief from such troubleshooting as well.
To control the disease from your plant, use a harmless fungicide and always use disease-free fresh seeds for plantation. Some diseases are contagious in reality, thus, damage to crush or burn that infected area, once the attack a single portion of your plant, rather than using fungicide components on them! Keep the drainage system perfect and eternally provide sufficient sunlight to your plants, to avoid any kind diseases to your okra plant.
Harvest and Storage Ideas for Okra:
Harvest:
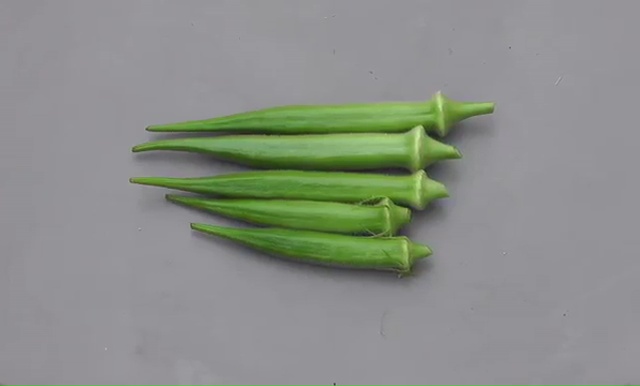
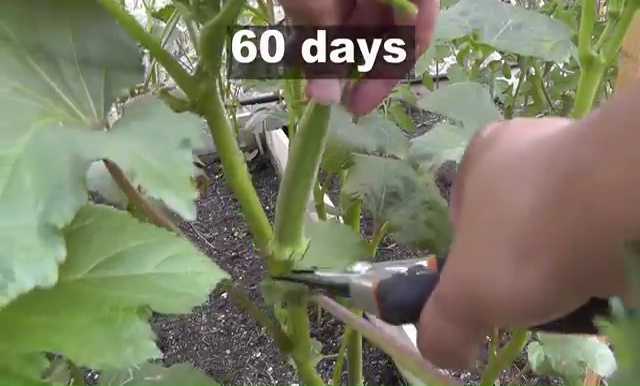
- Okra pods generally get ready for harvesting almost 2 months after planting.
- When the pods reach the length of 3 to 5-inch long, take a sharp knife and cut from the vine directly.
- Usually, pods must be harvested 4 to 6 days after flowering.
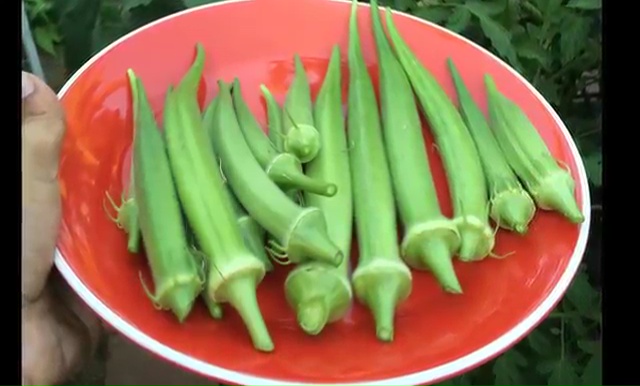
- Once, you see the first set of pods seem mature, harvest them immediately and let the next set enough room for mature.
- Keep the harvesting process running and pick okra from your plants every day, until you receive all the crops from your plant.
Related Video: Growing and Harvesting Ladies Finger (Okra)
Storage:
- After completing the harvesting process appropriately, store them in the darkest and coolest corner of your house.
- You can refrigerate them in your fridge as well, just put them in a plastic bag before placing okra in the refrigerator.
- Slice some fresh okras, pour them into a heavy duty freezer bag and put the bag in your refrigerator. You can keep them fresh for more than 2 days in this way!
- To freeze okra and preserve for an extended period, blench them and wrap in freezer bags.
- To blench them wash okras thoroughly and remove stems. Then, boil them in a container for 1 or 2 minutes and immediately drown them in ice water. Finally, drain them off and package in an airtight container before placing them in your freezer.
- You can apply blench process over a whole okra as well as okra slices, according to your needs.
Also check for growing zucchini, how to grow broccoli, best yields on growing brussel sprouts.
How to grow okra in containers
Growing Okra in Pots:
- To plant okra indoor, take a garden pot with the capacity of 10 liters.
- Make some drainage holes at the bottom of your pot and highlight the with some broken pieces of the terracotta clay pot.
- Now, fill the ¾ portion of your container with peat moss and fully fertilized potting mix.
- Sowing seeds of okra is very easy; you just need to press each seed slightly ½ deep from the top, under the soil.
- Plant two fresh seeds in each container and cover those holes with a thin layer of potting mix.
- Now, water the seeds with a sprayer until the surface of the soil resemble moist or wet. You can coat your seeds with organic fungicide before planting, to avoid any kind of possible damping off trouble.
- Make sure that the water is draining from the drainage hole perfectly; otherwise, the seeds are not going to germinate and may rot under the soil!
- Now, place the pot on a sunny windowsill so then, seeds could get at least 8 hours of full sun heat in a day and wait for the germination period.
- Germination may occur within 4 to 5 day after sowing the seeds.
- When the young plants reach the height of 3 inches with the very first demonstration of leaves, thin them by apply seedling process, in which you need to take out all the extra stems with leaves and leave the strongest one among them.
- Fertilize your soil with adequate manure and make certain that the soil has the perfect balance of cocopeat, compost and bone meal along with the potting mix.
- Now, you need to take mulch your plant and stalk them if needed, apart from the other caring methods.
- Watering is necessary, even with the rainfall too, thus provide lots water along with full sun heat, if you want to harvest a handful of healthy crops from your cultivation!
- Finally, get proper protection from every credible way and from any kind of insect or fungal or bacterial diseases as we have mentioned above.
Similar container harvest: growing in peppers pots and Eggplant growing methods.
How to Make Okra Pickle:
- To make okra pickle, take the fresh and longest okras from your newly harvested pieces and clear them properly from stems or any kind of dirt or mud spots.
- Now, bring a wide glass container to make the pickle inside it along with its lid.
- Then, place okras wholly with the cap inside your jar and place them lengthwise by putting the head-side up.
- Boil 2 cups of distilled water after combining it with 1 cup vinegar and 2 tbsp of salt in a saucepan.
- Then, put 1 dried red chili pepper and 1 tbsp of dried dill inside your
- Finally, pour the boiling water mixture into your jar and seal the hotness instantly by setting the lid on.
- After realizing the normal temperature of the jar, place it n your refrigerator to enjoy the taste of your homemade okra pickle for a very long while.
- Making pickle with okra is basically the best way to preserve the okra’s texture and flavor for an extended session.
How to Grow Okra: Take home message