Watermelon is that one kind of fruits which is considered one of the favorite outgrows of this century, especially for its extremely sugary and juicy extract. Thus, people often seek for new, new recipes and dessert item from this pulpy fruit! We have already seen some amazingly scrumptious summer appetizer recipes with various fruits, right? Today, we are going to instruct you with some hugely tasty summer treat preparations, which you can easily make from watermelon fruit extract in your own kitchen! Check out the recipes in step by step methods-
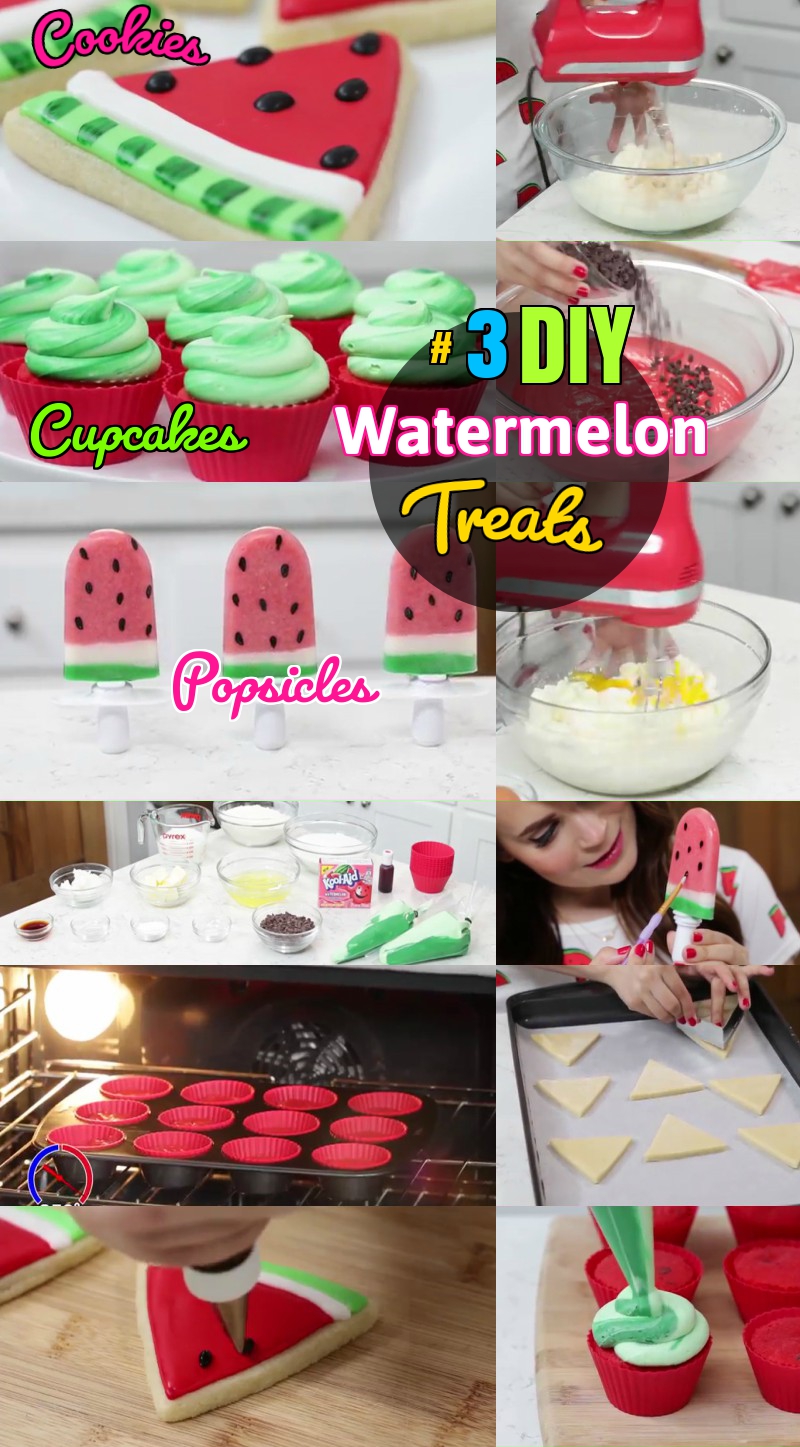
DIY Watermelon Summer Treats

Watermelon Sugar Cookies:

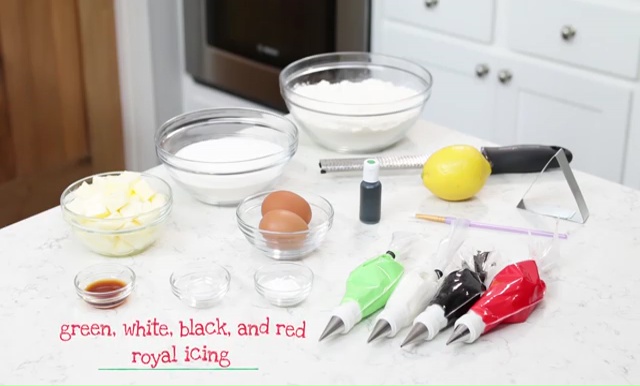


Cookie Ingredients:
To make this preparation you need, 3 cups of all-purpose flour, 1 and ½ cup sugar, 8 ounces of salted butter, 2 eggs, 1 tbsp of vanilla extract, 1/8 tbsp of salt, 1 tbsp of baking powder, 1 lemon and zester, a triangle cookie cutter, green food coloring, a small paint brush and royal icing cones in 4 different colors which are, green, white red and black.
How to Make Watermelon Cookies :
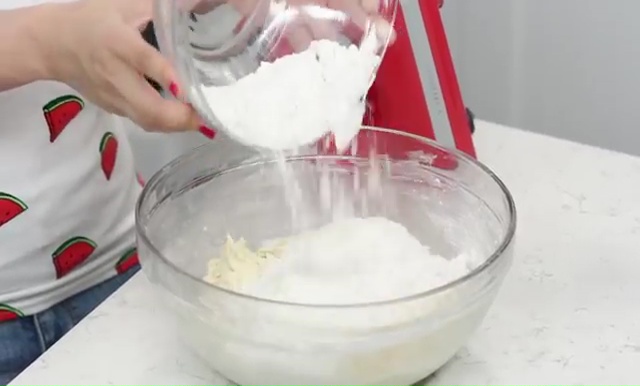
- At first, take a glass bowl and whisk together all the dry ingredients which are flour, baking powder and salt into the bowl and stir with a ladle.
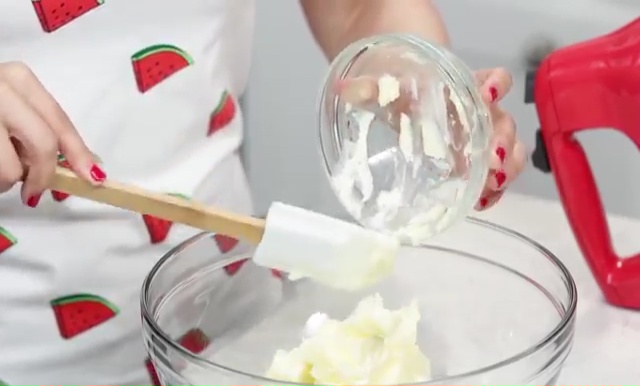
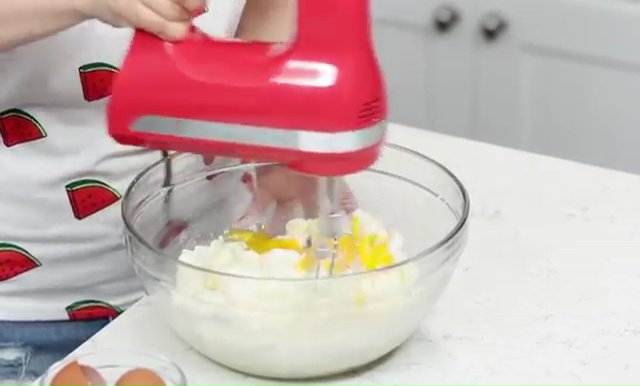
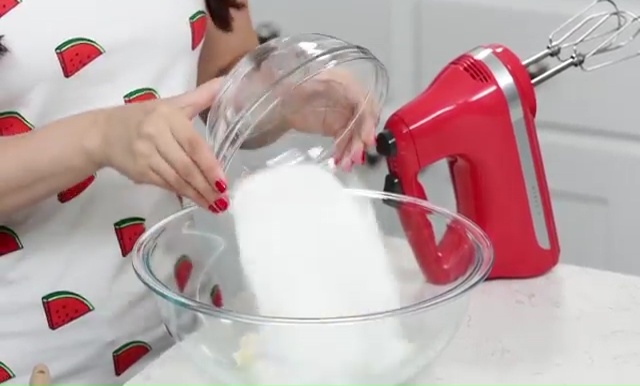
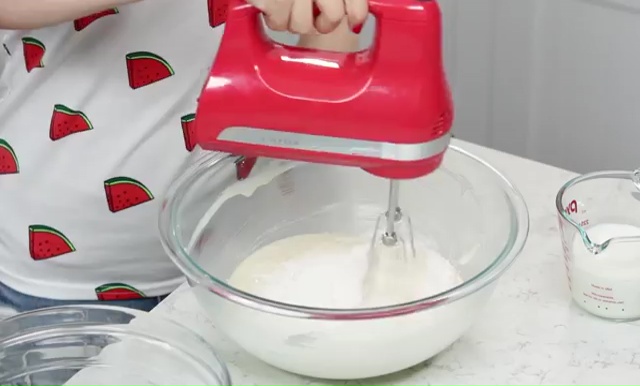
- Now, take a bigger mixing bowl and pour the butter into the bowl.
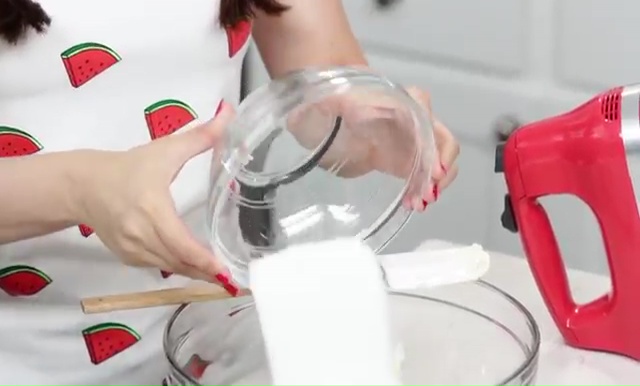
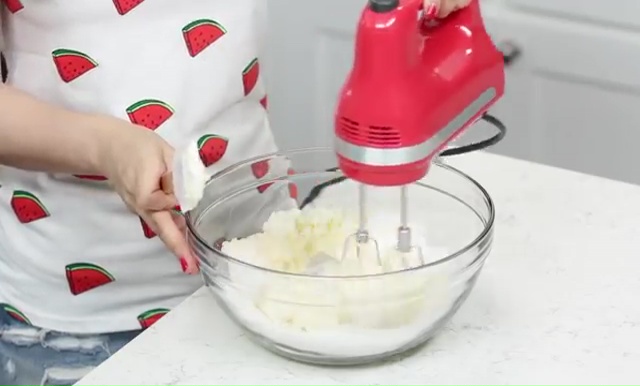
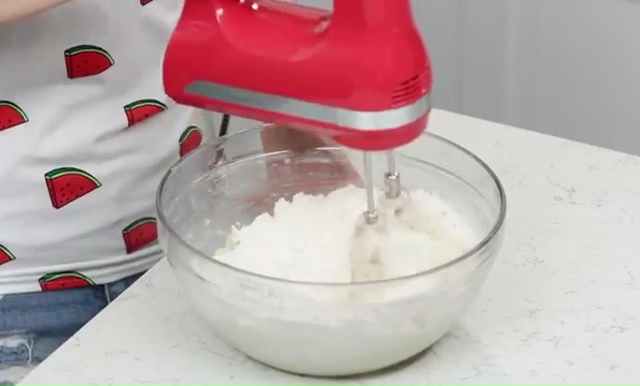
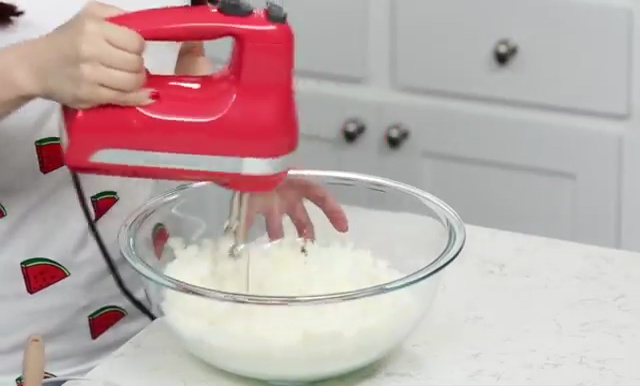
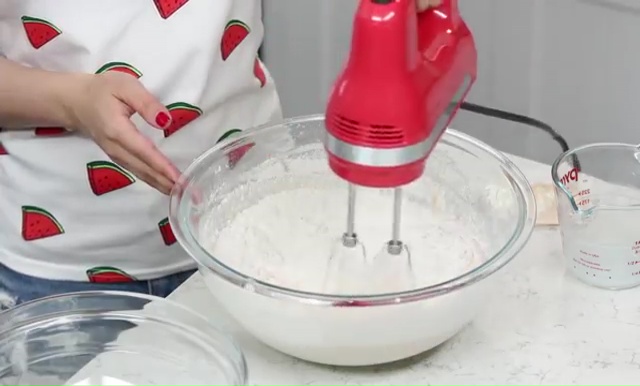
- After that, add the entire sugar into that bowl and blend them with a hand blender until you get a smooth texture.
- Once, you get the creamy and fluffy dough, stop blending it and knead a bit with your hand.
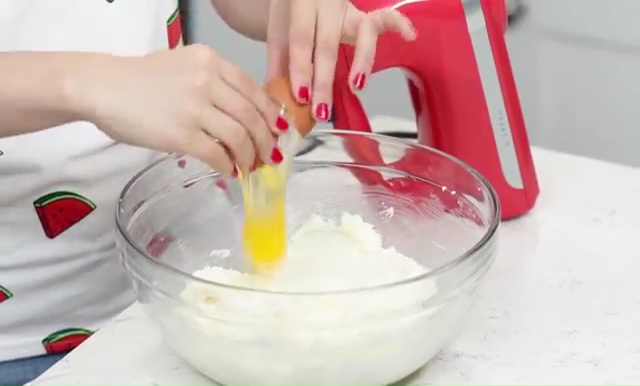
- Now, crack two eggs, add them to the mixture and blend again for a few minutes. You can add them one by one if you want, as in, add one egg, blend for a minute and then add the rest one and blend again. This way, the dough will get the exact consistency even faster than the previous process.
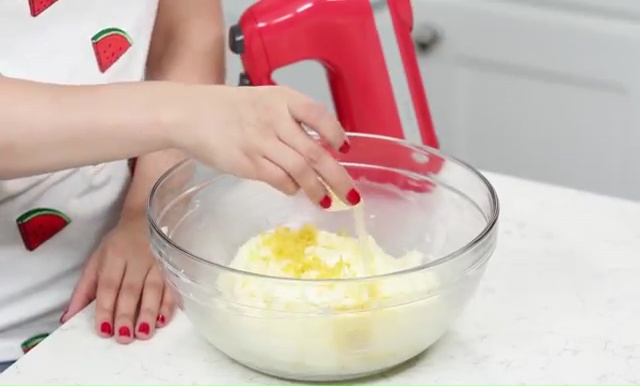
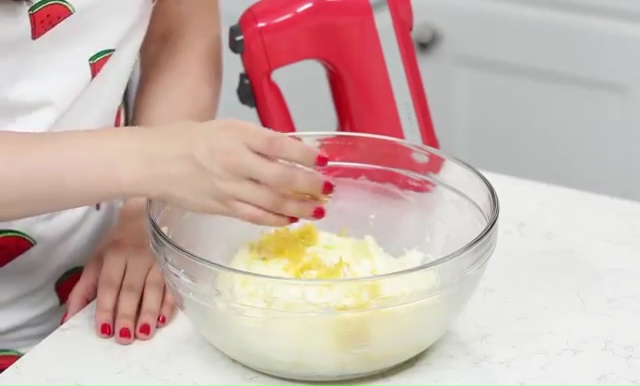
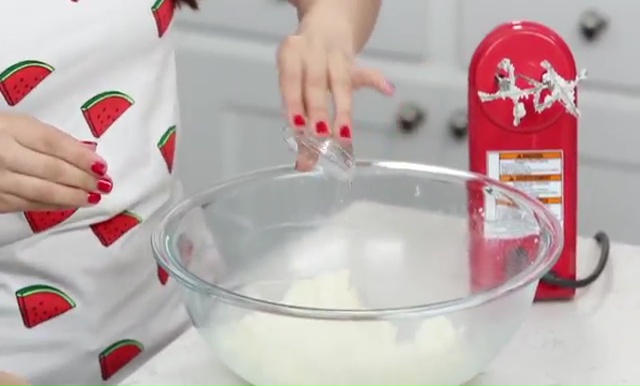
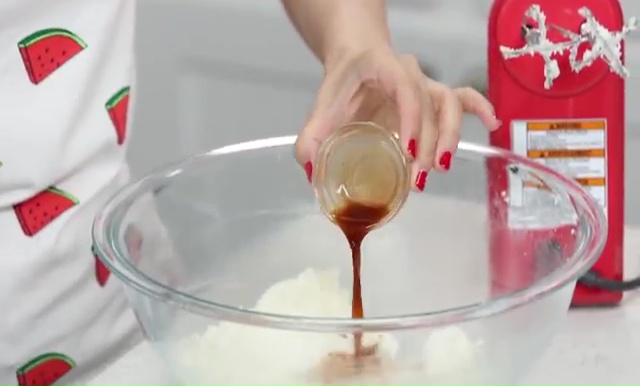
- Now take lemon zest, juice, and vanilla extract into 3 different bowls.
- People, who are feeling clueless about how to get lemon zest from a lemon, can see the process in the video above. All you need to do is just take a scraper, hold the lemon over the scraper which must have the husk over it, and just start grating it slowly. Keep rolling the lemon while you are grating it and this way, you will get some freshly grated lemon zest for your preparation.
- Then, add these three ingredients one by one into your mixing bowl, over the dough and blend for one more time.
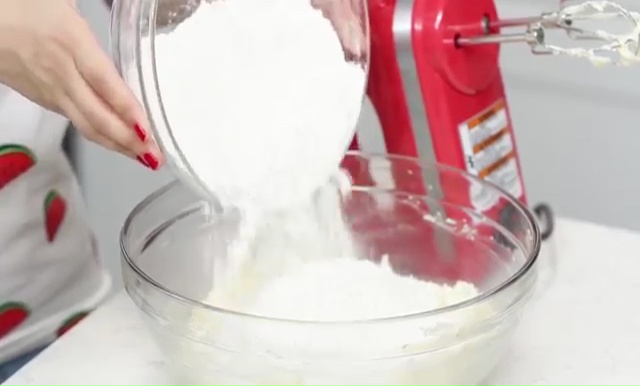
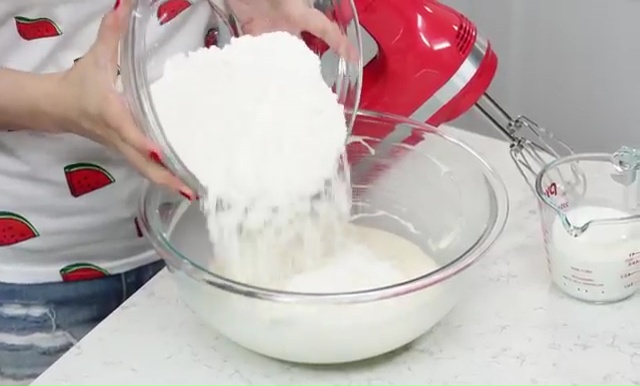
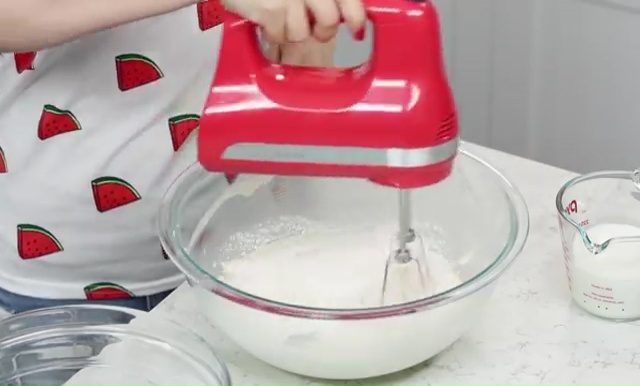
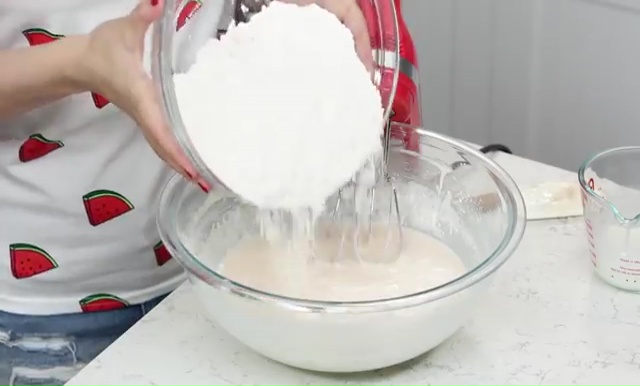
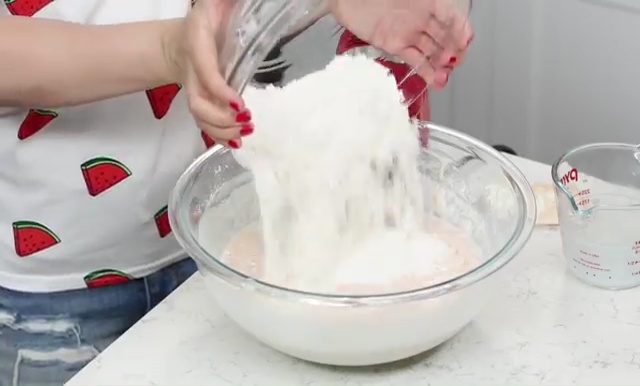
- Now it’s time to stir the both mixtures together and for that pour the flour mixture into the butter mix and use user hand blender for the one last time.
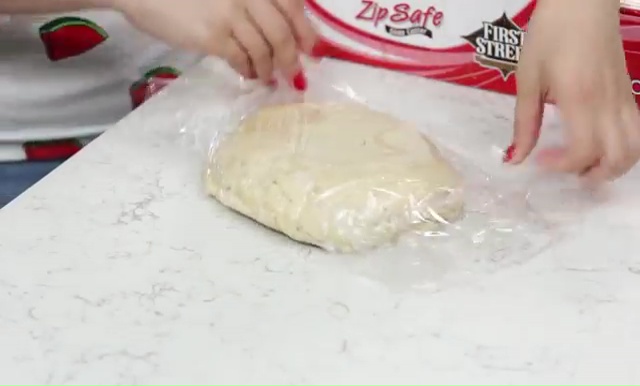
- Take a plastic wrapper and pour your dough over the plastic piece. Then, wrap it up from the entire sides. It will be better if you can separate the dough into two parts and wrap in two different plastic pieces.
- Now, keep those wrapped parts in your refrigerator for at least 1 hour to chill.
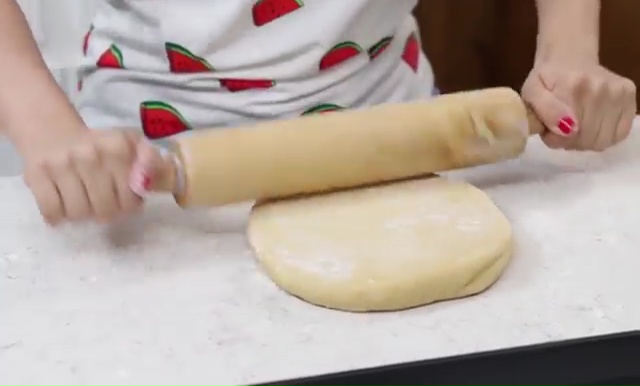
- After that, take out the dough, remove the wrap and place the dough on your kitchen desk.
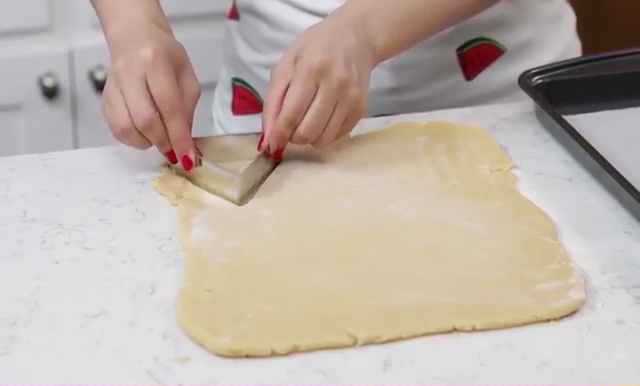
- Now, sprinkle some flour over it and roll up with your rolling pin until you get a thin and wide square shape.
- Then, take the triangular cookie cutter and cut out many pieces as you can from that extended square.
- After that, place those pieces in a microwave oven safe tray over a parchment paper.
- Keep the tray in your freezer again for 10 minutes to chill, then, take out and place in your microwave oven to bake them for at least 12 to 13 minutes, at the temperature of 350 degrees.
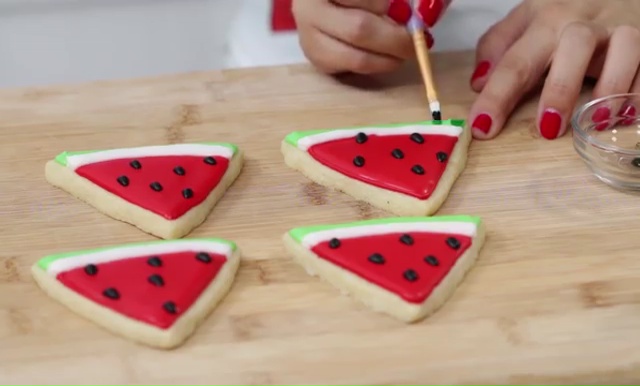
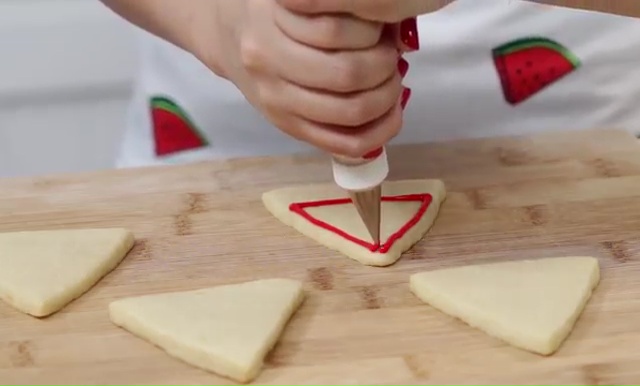
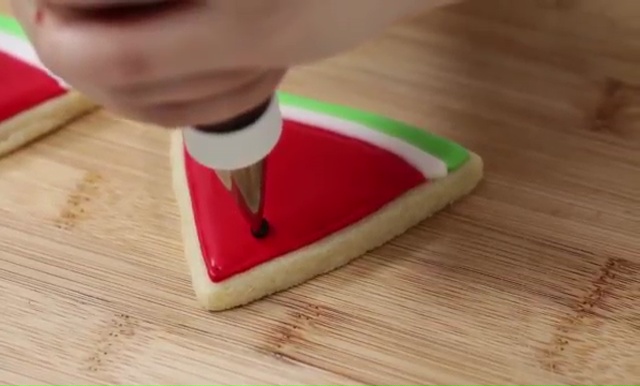
- Now all you have to do is just decorate each triangle piece as a real slice of watermelon by using those royal icing cones.
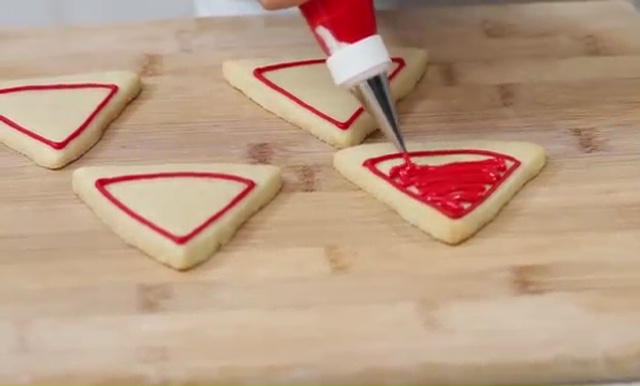
- To get the real glance of a watermelon slice, we will take the red color first, and then will draw a sharp triangle at the end of each triangle cookie. After that, fill each triangle with the whole red color icing carefully and use a toothpick to do the filling properly.
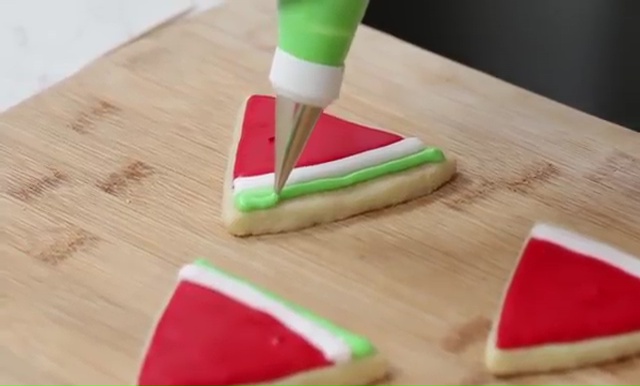
- Now, take the white color icing and draw thin and sharp edges at the bottom line of your red triangular.
- Then, we will do the same thing with the green icing by drawing a thin line below the white line.
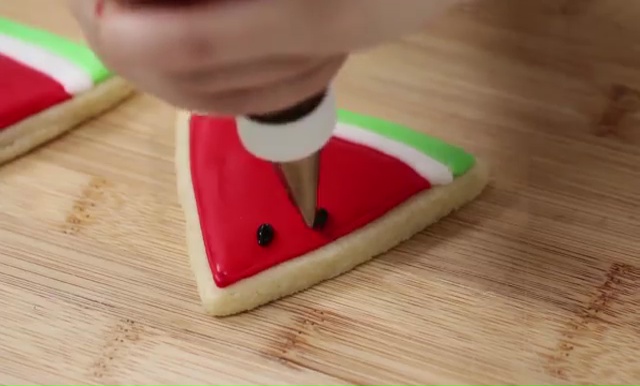
- Take the black icing now and use them over the red surface by making some seeds of your watermelon slice. But, before you do this seeds, make sure that your red icing dries out completely!
- Finally, take some drops of green food coloring in a small bowl, hold the paint brush, dip it into the color and spread it over the remaining surface of your cookies with a pattern of green strips. Once you complete the decoration, they are all ready to eat and dish up.
Watermelon Cupcakes:


Ingredients for cupcakes :
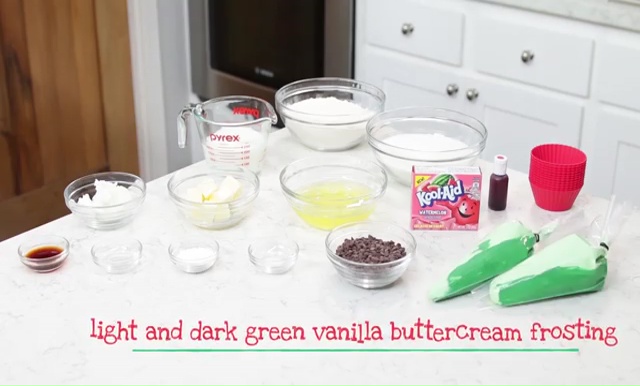
To make this item you require, 2 cups of all-purpose flour, ¾ cup of whole milk, 1 and ½ cup of sugar, ¼ cup of shortening, 4 ounces of salted butter, 5 egg whites, watermelon Jell-O, red food coloring, 2 tbsp of vanilla extract, ¼ tbsp of almond extract, 2 tbsp of baking powder, 1/8 tbsp of salt, ½ cup of mini chocolate chips, red cupcake liners, and light and dark green vanilla buttercream frothing in cone or piping bags.
How to Make Watermelon Cupcakes :
- At the beginning mix the flour, baking powder, salt, and watermelon Jell-O into a big mixing bowl and keep the bowl aside.
- Then, take another mixing bowl, pour butter, sugar and shortening into the bowl.
- Stir the ingredients well using a hand mixture for a few minutes, pour both the almond and vanilla extract into the mix and blend again.
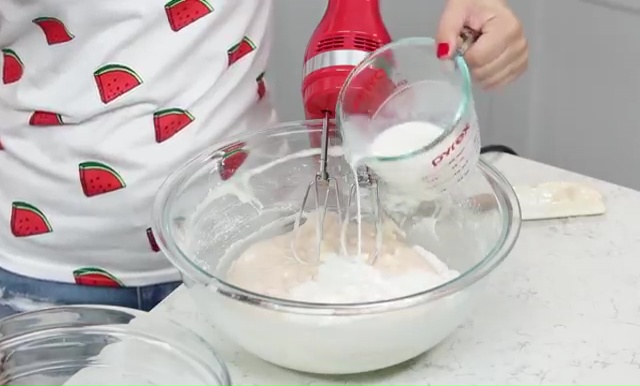
- Now slowly pour the 5 egg whites into the bowl and during this pouring process, try to continue the blending with your hand blender.
- Then, take the dry ingredient mix and your whole milk; pour them into the butter mixture, one by one. To get the best smoothness in your dough, try to pour these in the mixture into two shifts, like, pour some flour mix first, and then the milk, blend them for a while and again pour the rest flour and then the milk, blend them again!
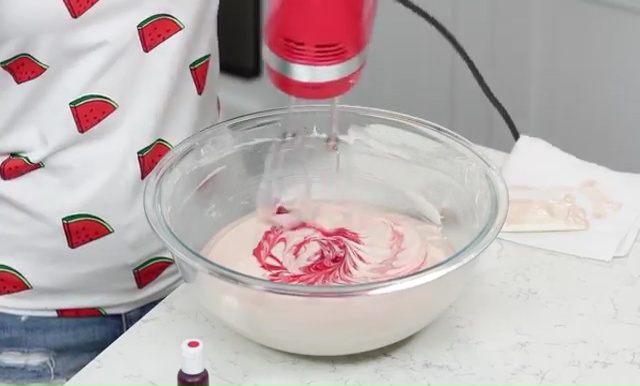
- When the batter is ready, add a few drops of red food coloring to get a perfect red color to your cupcakes.
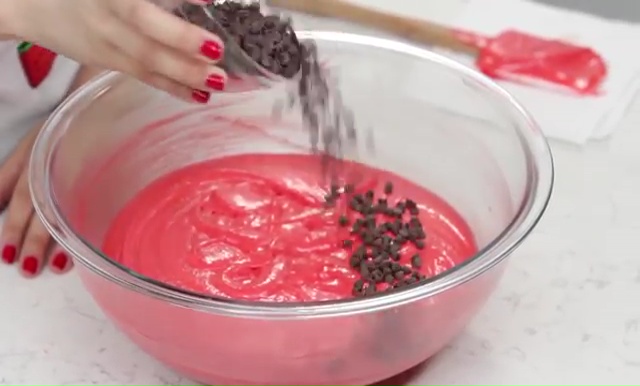
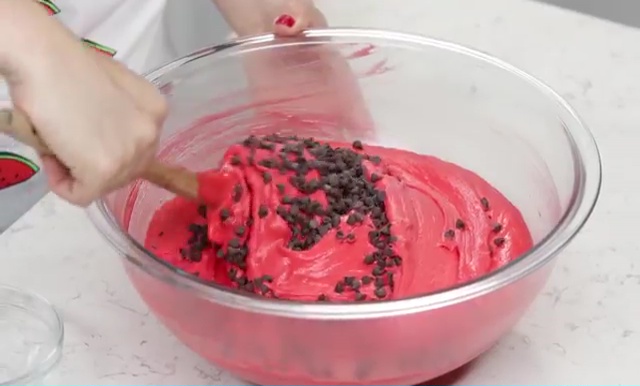
- Then, add those mini chocolate chips into your batter and stir them with a ladle. We are adding these choco chips to get the glance of watermelon seeds in your cupcakes.
- Bring the cupcake tray, place those red silicon liners in the tray molds and pour batter in each liner with the measurement of 2/3 portion of every single liner.
- Now, bake your cupcakes in your oven for 18 to 20 minutes at the heat of 350 degrees.
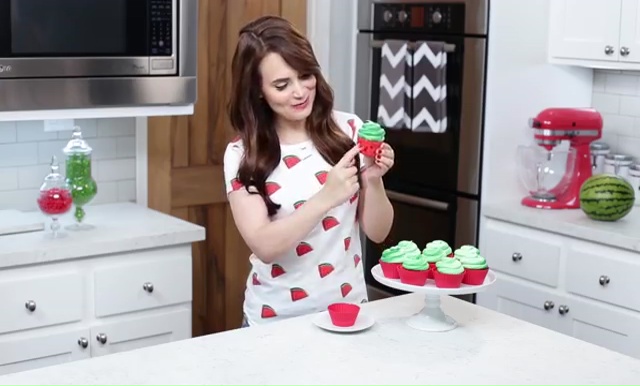
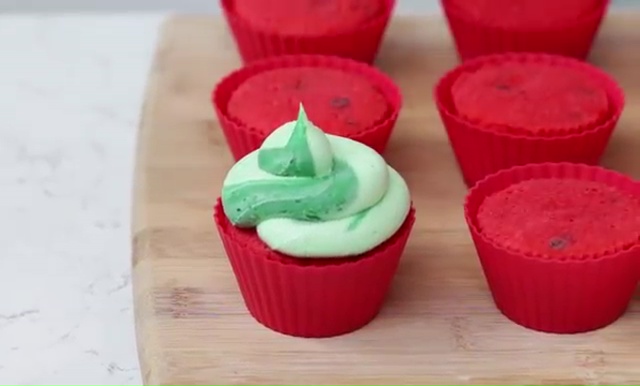
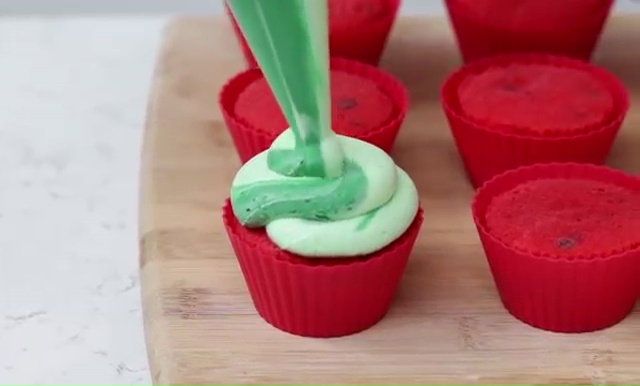
- After taking the tray out of your microwave, let them cool for a while and start your decoration with the green vanilla buttercream
- Here we should mention that, at first, we need to mix both light and dark green cream in a single cone and then, just pipe a little swirl on the top of each cupcake.
- Finally, take out the liner and serve your watermelon creamy cupcakes with those yummy choco seeds.
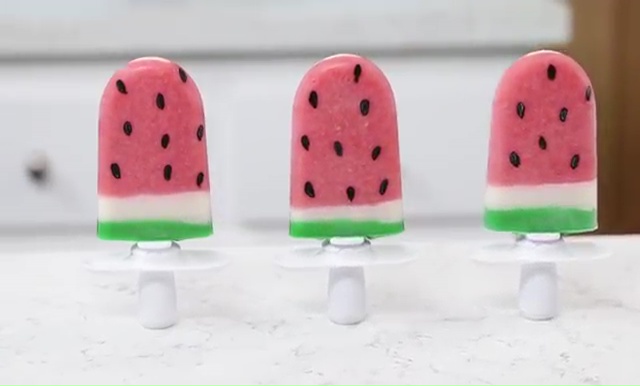
Watermelon Popsicles:
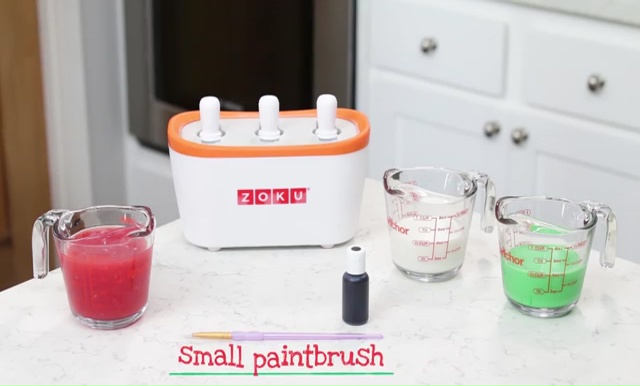

Ingredients for Popsicles:
Our summer treat recipe could not complete without a juicy Popsicle recipe, right? So here we are with a watermelon Popsicle preparation and to make this item you need, a Popsicle maker, 1 big cup of watermelon puree, ½ cup of plain coconut milk, ½ cup of dried coconut milk, black food coloring, and a small paint brush.
How to Make Yummy Popsicle:
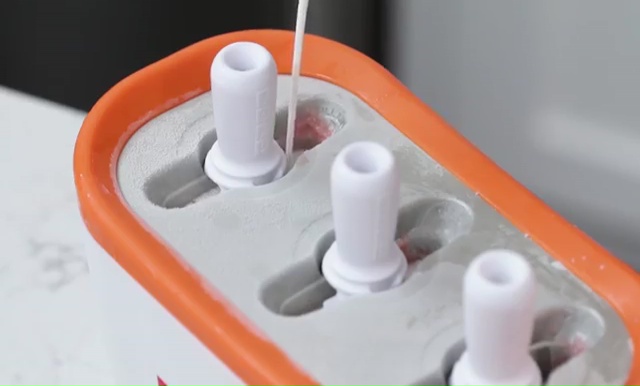
- At first, pop in some sticks into your Popsicle flat molds and then pour the watermelon puree into those molds till the half of each mold. To get the puree, you just need to blend some watermelon pieces in your blender, but don’t forget to peel and remove the seeds before blending them up in your blender!
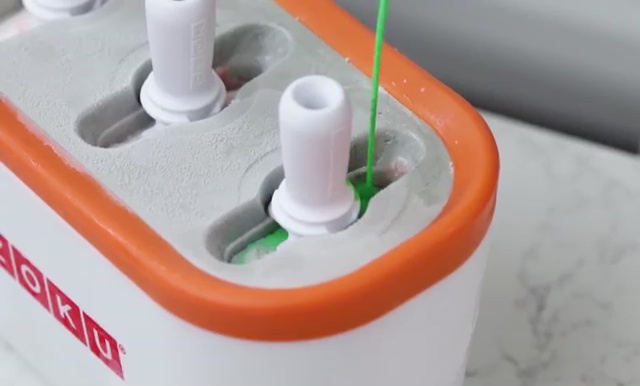
- Now, we are going to pour the white coconut milk with half inches thickness and the green coconut milk with the same measurement. Try to add these two coconut milk layer after a few minutes of adding the watermelon puree.
- Now, bring the device which we need to twist over the mold’s handle to take out the popsicles properly. We should mention here that you can freeze your Popsicle into your freezer if you don’t have flat Popsicle mold in your kitchen. We are using these molds just to save our time, nothing else!
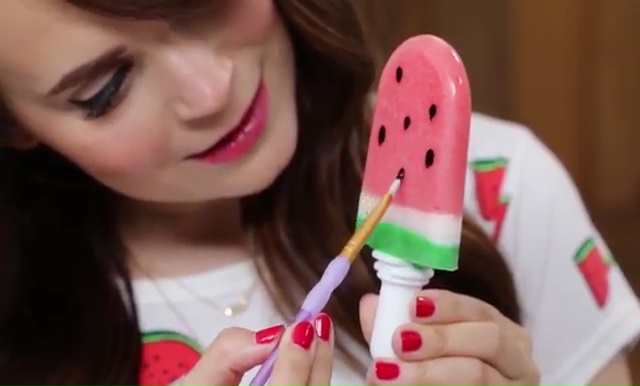
- Finally, decorate each Popsicle with black seeds with your paint brush by dipping it into the food coloring.