Eraser is that object which used to be one of the inseparable parts of our childhood. These days, we often see several well-designed erasers in the market which easily lure our kids’ attention. Thus, after referring a variety of kid’s related crafts, today, we are here again with a new venture for kids, and that is the crafting process of some beautifully unique liquid erasers. Hence, make some liquid eraser with DIY processing and surprise your kid with this innovative pattern of this object. Let’s check out the procedure in step by step method-

You may also try some homemade sky balls craft for you kids.
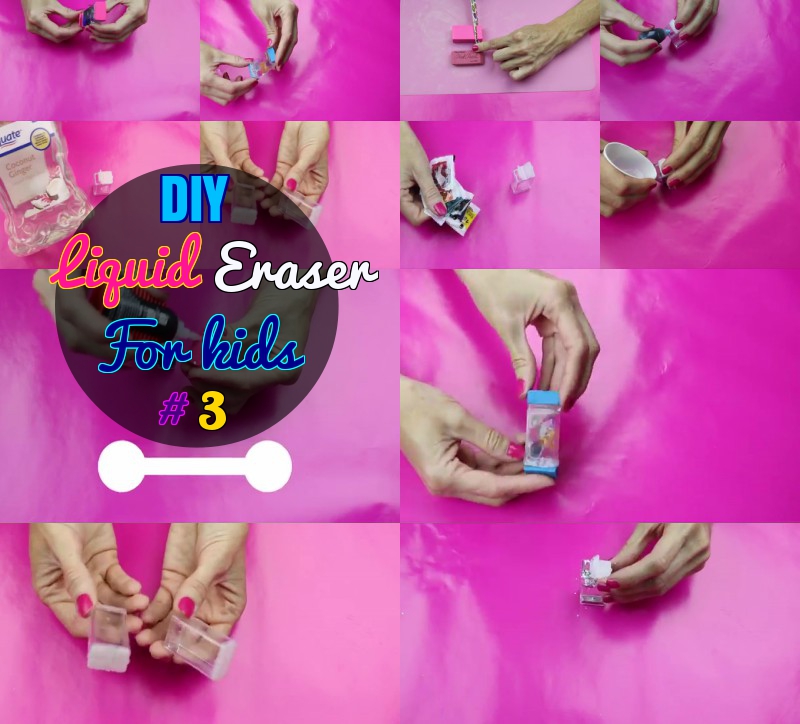
DIY Liquid Eraser


Steps:
- At first, assemble the needed things for these items and they are three empty little containers, some water, neon food coloring, baby oil, hot glue, some liquid soap, glitters, some colorful packs of orbeez, and a bit of Elmer’s glue along with an eraser maker kit and a knife.
- Now, take one empty container, fill it half way out with plain water.
- Then add 1 to 2 drops of food coloring into the water.
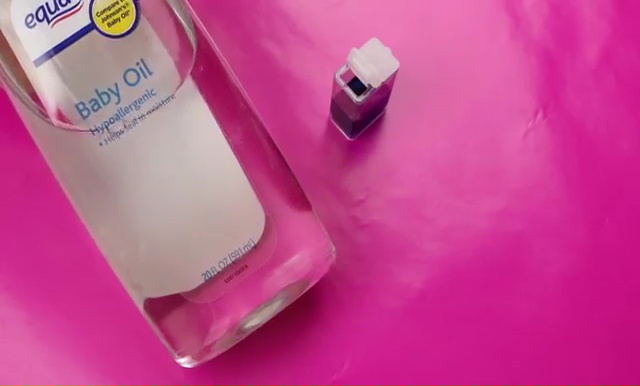
- After that take some baby oil to fill the remaining part of the container with it.
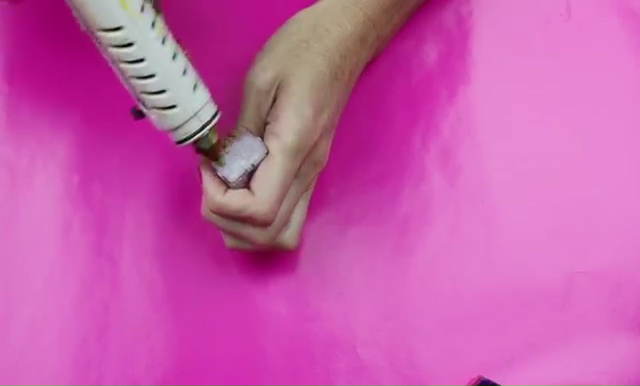
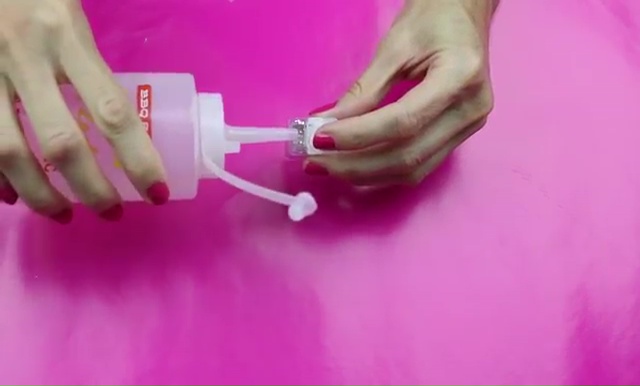
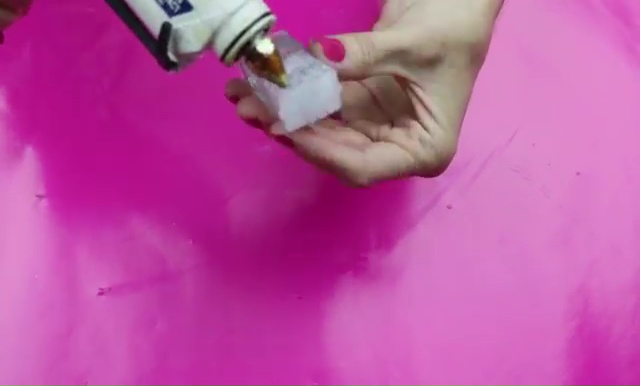
- Now use the hot glue to seal the container lid from all four sides, make the sealing is done properly and there is no room for leaking the liquid.
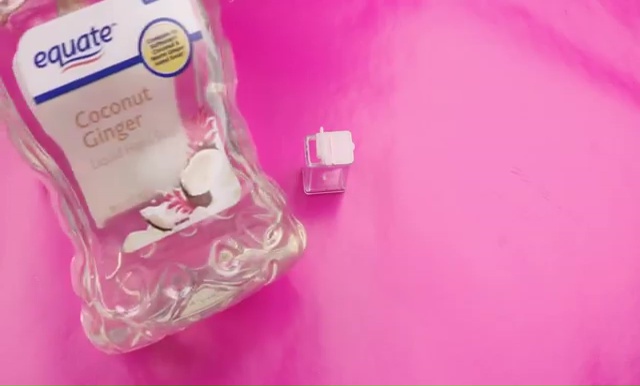
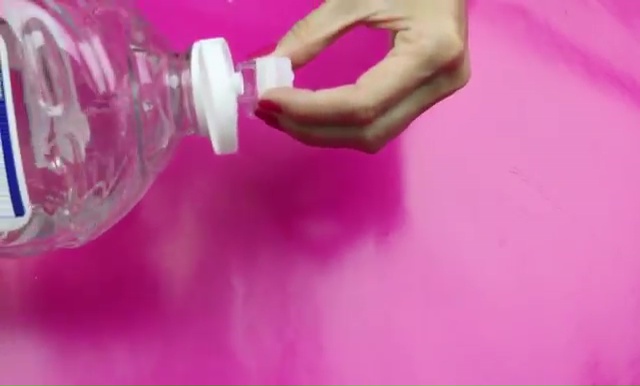
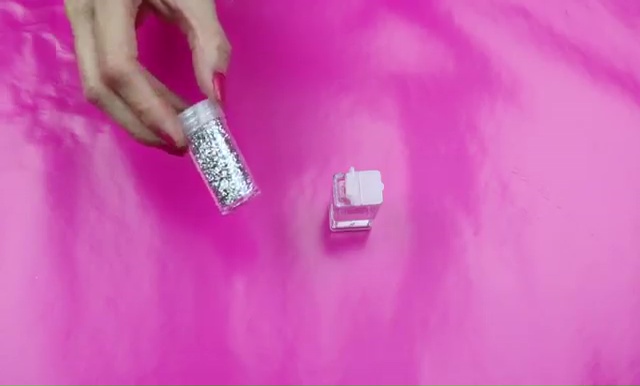
- Now take another container and fill a quarter of the container with some liquid soap.
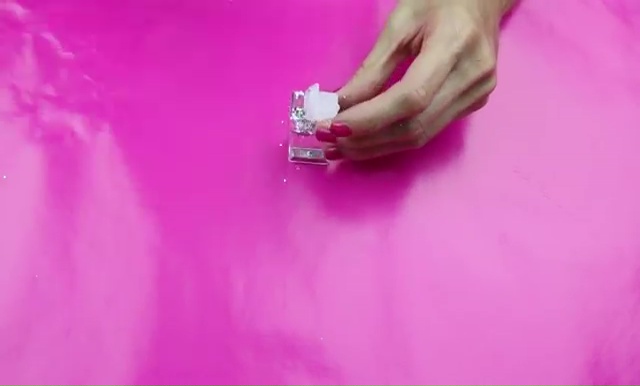
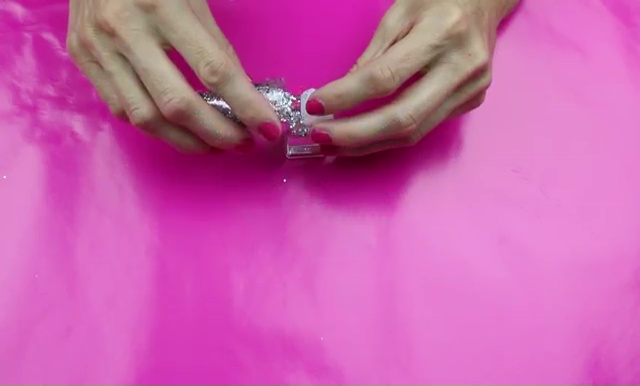
- Then, add some glitters into the container and fill the rest part with plain water.
- After shaking the container properly, seal the container shut using the hot glue as we did for the first container.
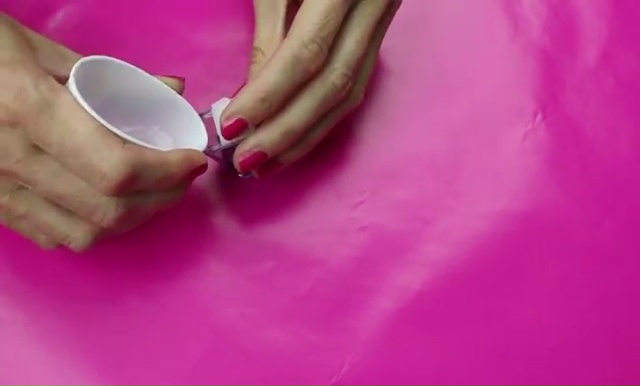
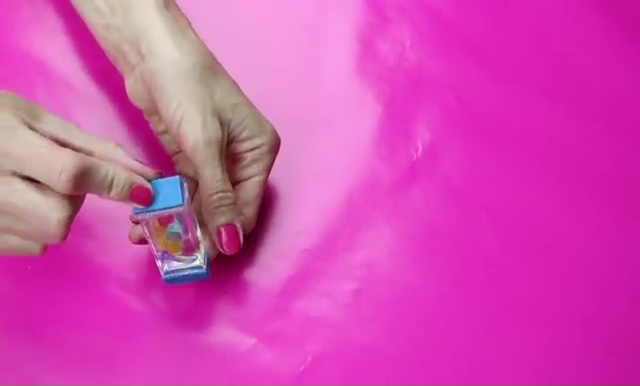
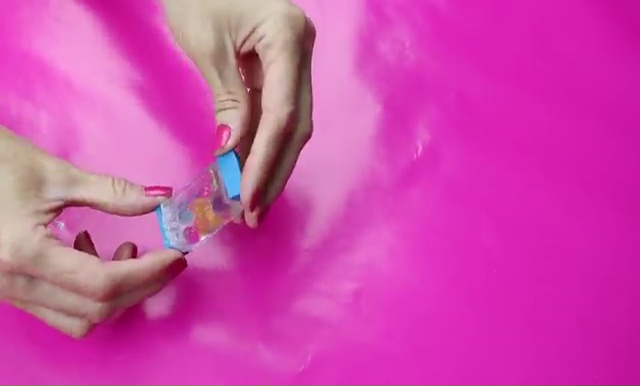
- Now, take the last container, take some orbeez color in a paper cup and pour them into the bottom of the pot.
- Then, add a little bit of water; shake the container well to let the orbeez grow into the pot.
- Now add some more water into the container along with some Elmer’s glue and seal it up again with the hot glue.
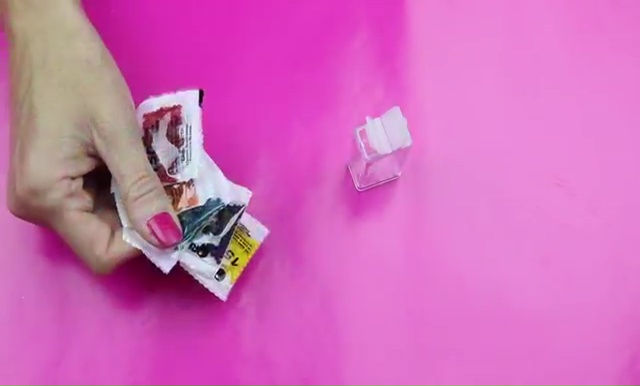
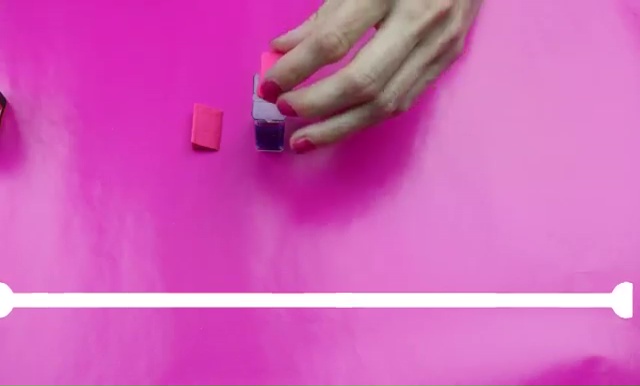
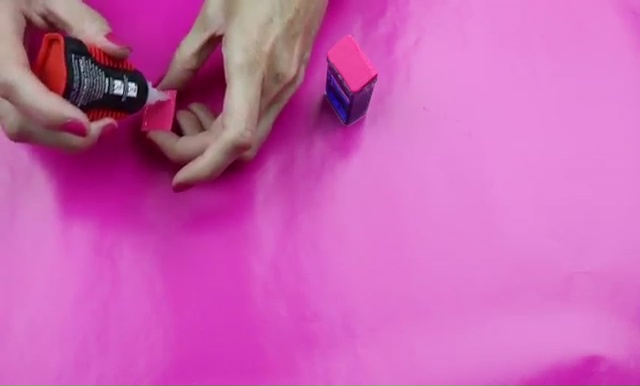
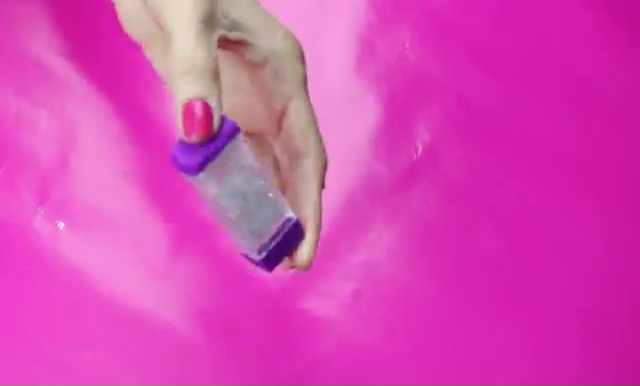
- Take 3 eraser clay blocks from the eraser maker kit as per your desiring colors.
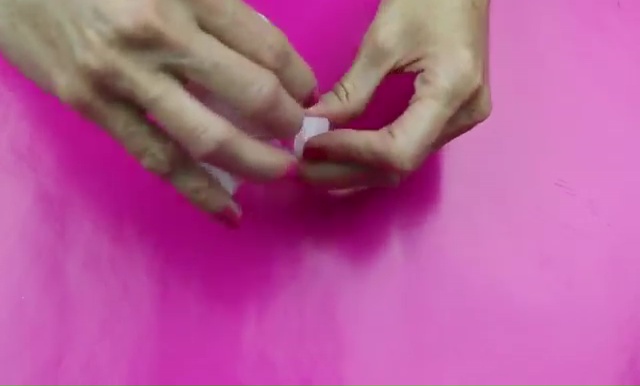
- Hold one eraser clay block, unwrap it from the plastic, clutch the knife straight and cut out one piece of that clay block at an angle. Keep the knife straight to cut the piece perfectly and to keep it straight you can take a little help of another eraser clay block if you want. Cut another piece from the same block in the same angle cut pattern to make one container complete.
- Cut out 4 more pieces in the same shape from 2 different colored eraser blocks.
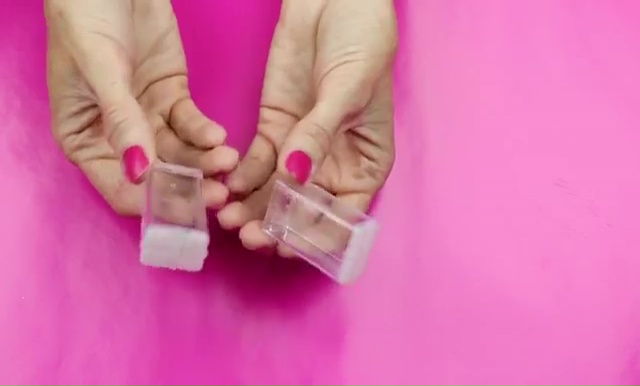
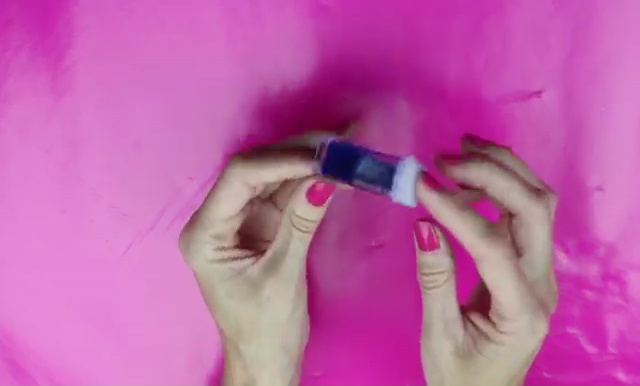
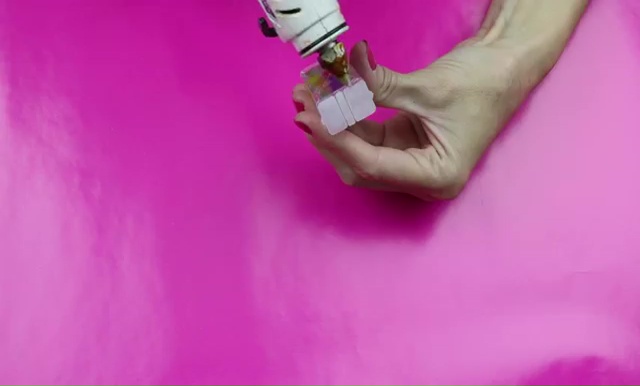
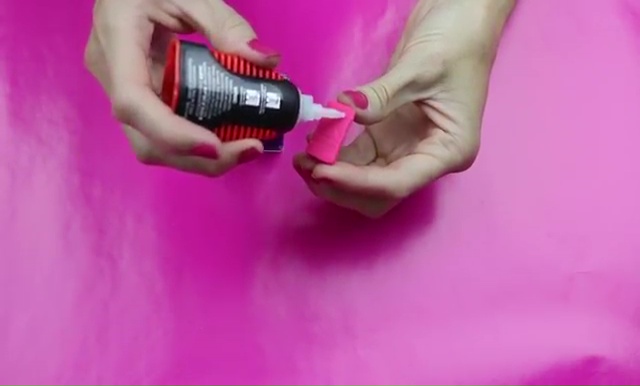
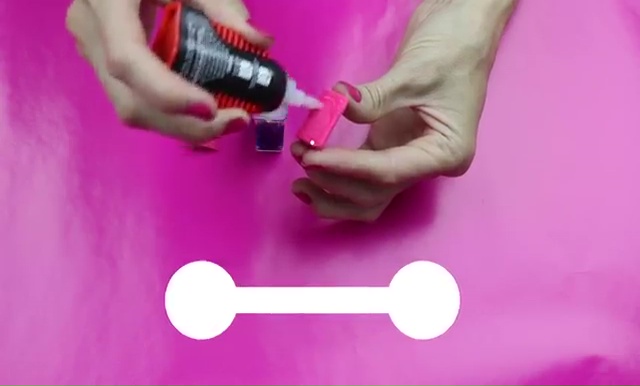
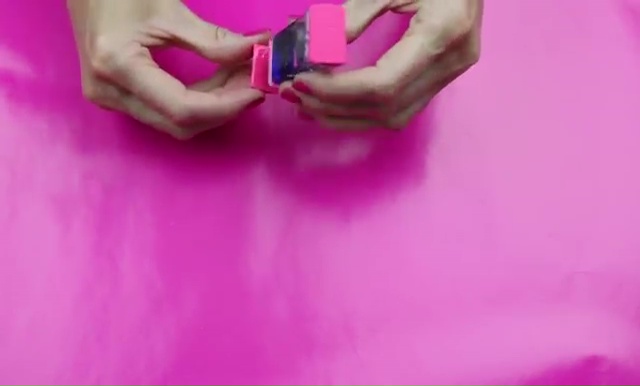
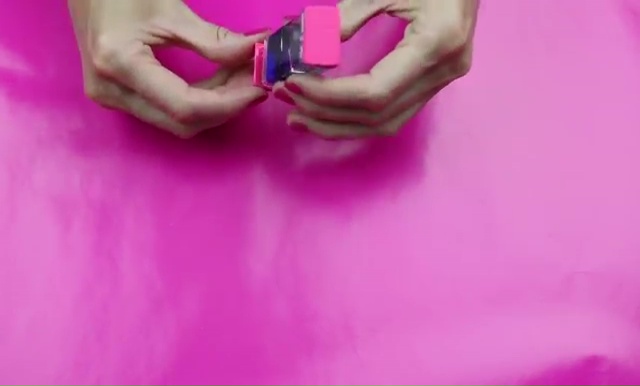
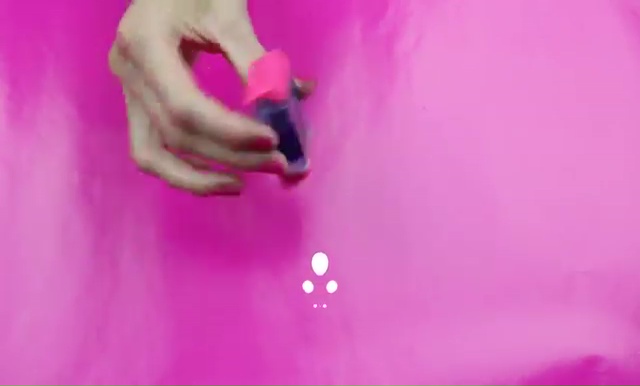
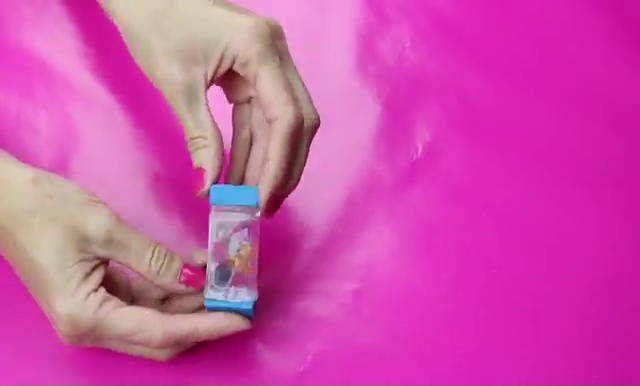
- Now all you need is just glue those eraser block pieces on the top and the bottom of the container. Once the glue dries out properly, your liquid eraser is all ready to use.
- Complete the rest two containers with the same process and make sure that are using two same colored eraser pieces while gluing them with the container, as it makes the look of your liquid eraser more flawless!
You may be interested in kids animal crafts.
DIY Liquid Eraser Video
Try some Ocean themed craft ideas for kids.