Women love the crafting, even more, when they get a chance to make some jewelry crafting. This has been a new trend in your era since a few decades to wear some fancy jewelries, which are made from DIY processing. That’s why, today, we are going to teach you some easy steps to making some pretty bracelets designs on your own! DIY bracelets are something which girls regularly wear and most of them prefer the funky look on it. Thus, we are here with top 5 cool & funky bracelets designs which are the perfect items for beginners and you can alter them with any draperies or get up. Check them out with this step by step method-
DIY Bracelets
Steps For Each Bracelet
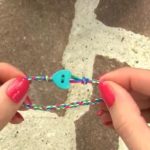
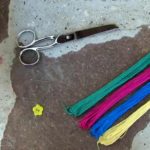
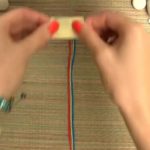
Rope Bracelet:
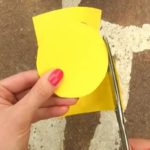
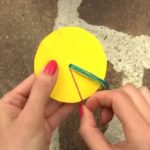
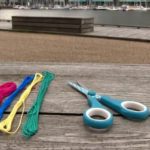
To make this bracelet you need, a small piece of cardboard, a scissor, a button, one pencil, any rounded object and 4 colors of embroidery string, that’s it. To make the bracelet, follow the steps-
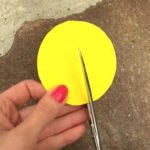
- Start this process by making simple, take your rounded object like a glass or something, place it on the cardboard and get the outline of the round shape. Now, take out the circle from the cardboard with the scissor and mark the center of the circle with your pencil along with marking 8 other marks on the circle by divided the circle into 8 equal sections. Point out those sections with pencil lines, take the scissor and make short cuts along the lines, which must be a ½ inch long.
- Now, take the pencil again and push deep trough the central of the circle to get a needle hole, your bracelet loom is all ready to use.
- Then, take 4 pieces of embroidery string which should have the length of 25 inches long, individually.
- Keep those strings together, fold them in half and knot in together. When the knot would be done, you will get 8 strings coming out from the knot, you can cut one off as we only need 7 of them!
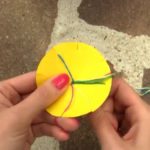
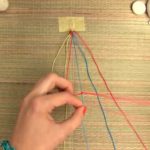
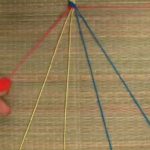
- Push the loop at the knot through the center of the cardboard, now you need to start crafting the weave of your bracelet.
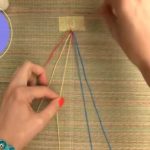
- For that, you need to randomly arrange those strings around the circle by placing each string into each cut. As we have 7 strings there, you must have one cut empty from the string, right?
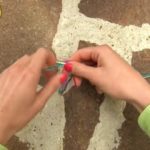
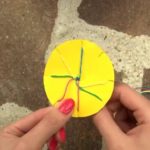
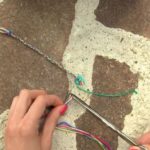
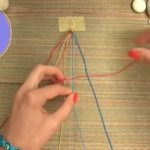
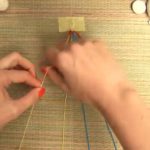
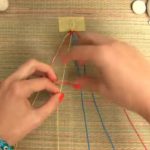
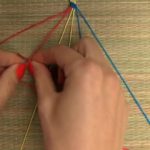
- Now, hold the empty place toward to you, count the third one from your right side, take the third string and place it into the empty cut and again turn the empty place towards you and repeat the same thing again and again!
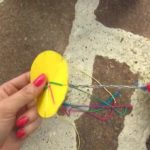
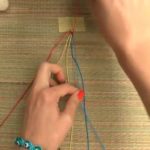
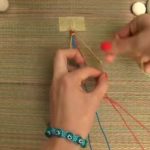
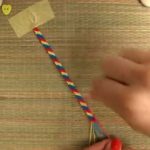
- After a while, you will notice a lovely rope bracelet pattern on the other side of the loom. Make your bracelet as long as you want, and then, take all the strings off from the loom when it’s finally done!
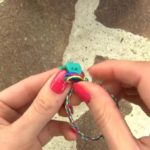
- Tie a little knot at the end of your rope design to secure your work.
- Sew the button at the end of your bracelet to get the bottom closer, tie some more knots on it to make secure it in place. Cut the excess string out and your bracelet is prepared to use.
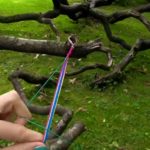
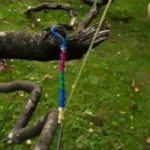
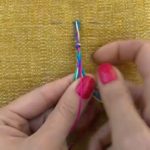
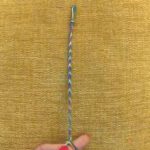
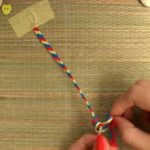
Spiral Bracelet:
To make this kind of color blocking spiral bracelet you require, 4 colors in embroidery string, scissor, and a floral button.
- Get four colored threads which have the measurement of 15 inches, fold the long strings in half and make a knot on the folded end. Make sure that you are leaving a little loop for the button closer while making the knot.
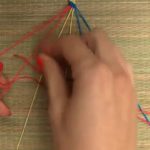
- Set the loop on a strong surface and start to make the knotting. For that, you need to hold one of those strings, make a normal 4-word mark around the remaining 7 threads.
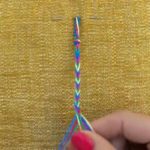
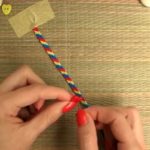
- Keep repeating the process with the same color for a while and then, change it by choosing another colored string. When you are making the weave, try to put the string over the 7 strings to get the design appropriately, but if you can’t get it appropriately, make one design below the string and then come to the top again!
- When your bracelet is long enough, make a final knot at the end to secure the weaving.
- Now, take the button, insert it on one of the string, tie some tight knots close to the bracelet and cut the extra portion away, finally, add the button to the loop and it’s all ready to wear.
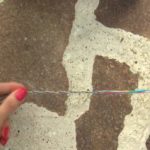
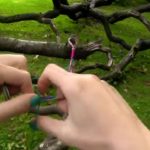
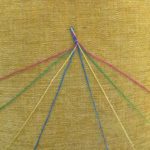
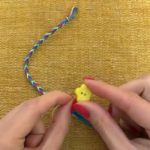
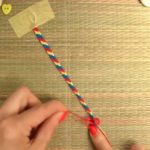
Fish Tail Bracelet:
To prepare this patterned bracelet you need, 4 string colors, one scissor and one button along with a needle.
- At first, take the same sized strings with four colors, fold them in half and tie a knot with an adequate loop section.
- Place the knotted strings on a pillow and set them with the needle by going through the pillow and the loop.
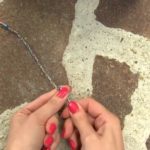
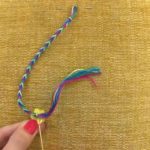
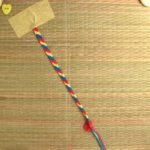
- Now, separate those 8 strings into two sets, one of a single color on each side, arrange them in a mirror image pattern.
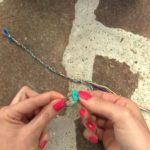
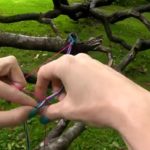
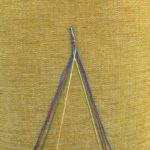
- To make the fishtail design, you need to take the outside string on the left and bring it inside to the right. Then, do the same process with the rest strings as well. This procedure seems easy to those, who have already known about how to make a fishtail braid.
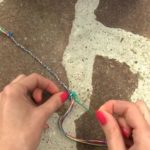
- Finish your fishtail with a tight knot and attach a button closer as we did in the similar project before. If you are looking for a thicker bracelet then, use more that 4 strings for such items.
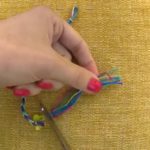
Stripe Friendship Bracelet:
To make such item you require some piece of strings, scissor, and button.
- We are going to use only 3 colored strings this time. Take about 8 inches of each thread, arrange them together and fold them again in half, make a knot as we did before, place the strings on a mat and set with a tape.
- Separate each string with a gap of ½ inch and place the same colored strings on the same
- Take the outside string on the left and mold over all other 5 strings on the right side, make a 4-word knot by creating a 4 shape over the second string, slip the loop of the string under the second string and back through the opening until loop and tighten the knot. Keep knotting like this and keep changing string colors one by one till the end of your string. Always make two forward knots over each string.
- Now again tie a tight knot at the bottom and decorate it with a pretty button closer with the aforementioned process.
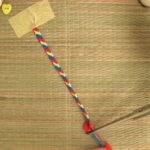
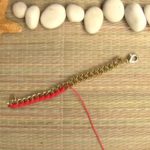
Wrapped Chain Bracelet:
To craft this super chic bracelet, you need, a golden chain, a clasp, embroidery string in one deep shade, needle, scissor and two pliers.
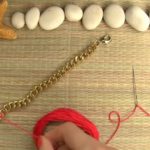
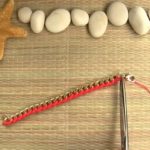
- At first, we need to shorten the chain so it could fit our wrist easily. Take one plus and separate the excess part from your required section, leave some space for your clasp
- Open one-sided ring of that clasp, add one part of your chain and attach it again. Then do the same thing with the other clasp ring as well! See once, whether it fits your wrist perfectly or not before going to the next segment.
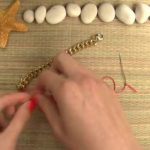
- Now, take a long piece of thread into your needle, as it can cover the entire side of the bracelet. 130 inches of the thread is enough for this kind of bracelet if you want to wrap it from one particular side.
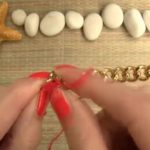
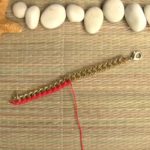
- In this wrapping part, insert the bottom of your string inside the last hole of your chain and tie one or two tight knots on it. Cut away the excess part with a scissor and start wrapping the thread around the chain by inserting the needle through the chain loop, keep it down and up again through the same loop. Like this process, you will able to cover only one side of the chain and rest the other side plain golden.
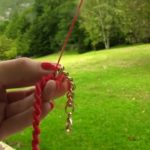
- Keep the wrapping until the end and cut away the extra thread when it’s all done, after making 2 or 3 tight knots at the end as well. Now it’s ready to flaunt in your wrist gorgeously.
All Bracelets Tutorial Gallery