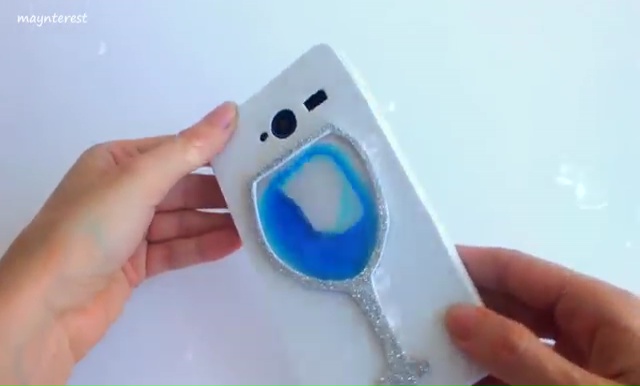
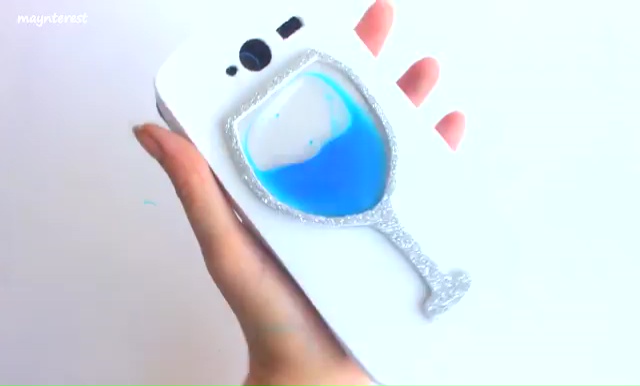
These days, carrying a nice phone case is definitely increase our style status more brilliantly, and thus, we can find new, new patterns of contemporary phone cases on the market. The DIY freak people always seem affectionate towards the things which are made by themselves, right? So, why don’t you try something same in this matter of a phone case as well, instead buying it from the market! Have you ever think of a wine glass design on your phone case? If not, then, try it now and show the world how a trendy phone case can change your style grade instantly! Today, we are going to lead you about how to make a wine glass phone case in a DIY process with step by step method, check them out-
DIY Wine Glass Water Phone case
Steps:
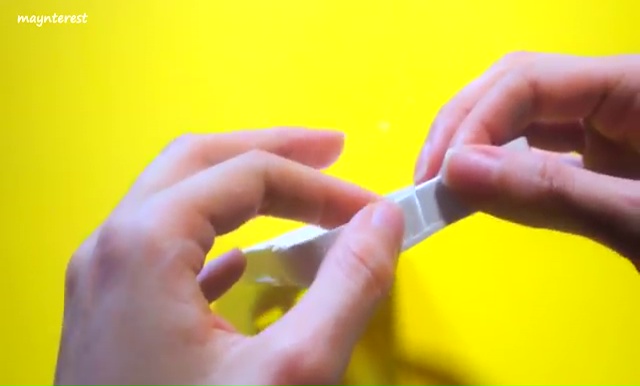
- At first, take an appropriate measurement of your phone for which you are making the case and also arrange the supplies you need for this project. Here is a short description of your list- one giant size Thermocol, 1 scissor, pen, scale, glue, a piece of paper, one piece of parchment paper, two pieces of transparent plastics, blue color, a glittery piece of Thermocol along with a marker and a straightener.
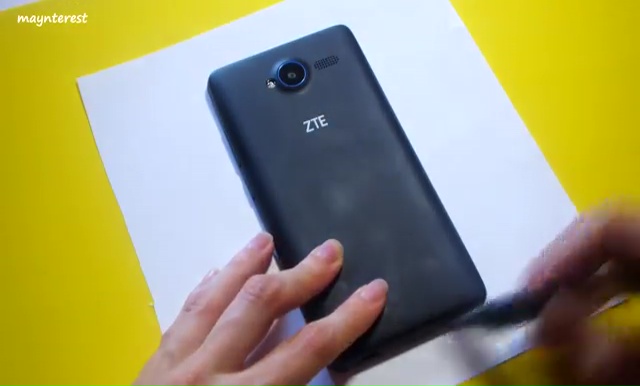
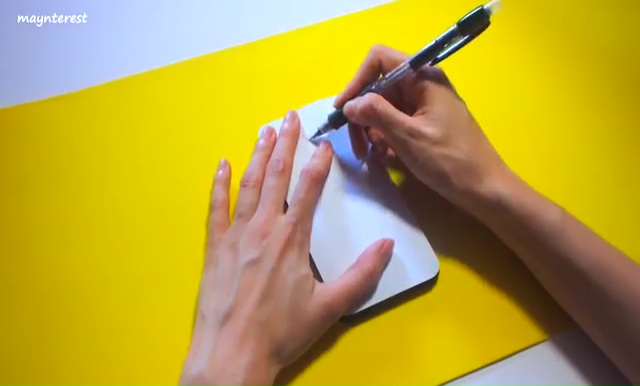
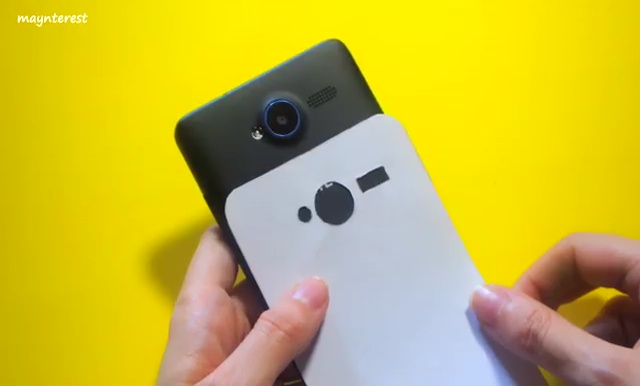
- At the initial stage, take a proper dimension of your phone over a paper along with the holes of camera and charger point, and then take the size over the Thermocol.
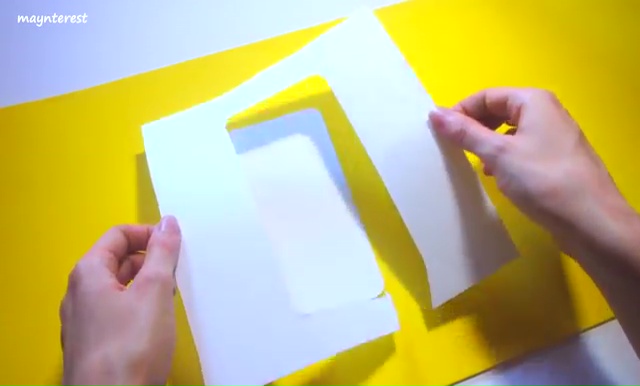
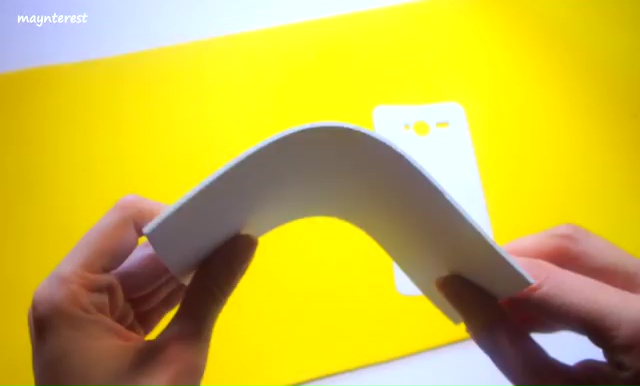
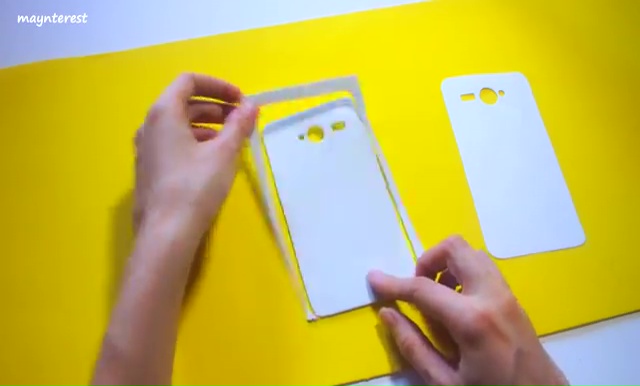
- Now, cut the shape out of the Thermocol piece and check again that whether the piece sets properly or not with the phone.
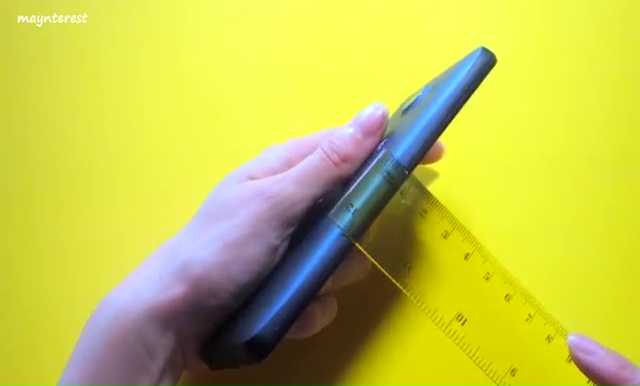
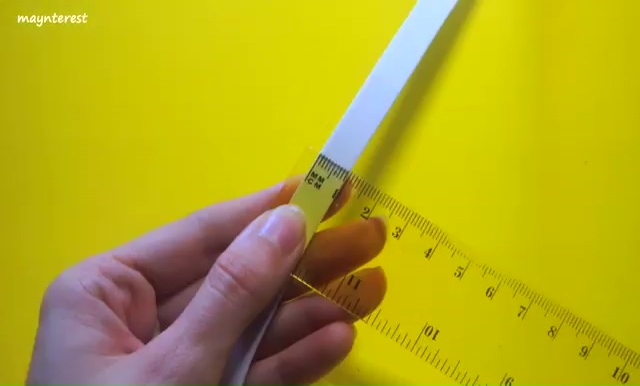
- Then, check the thickness or width of your phone with the help of a scale and cut off a thin edge from the remaining Thermocol with the same measurement.
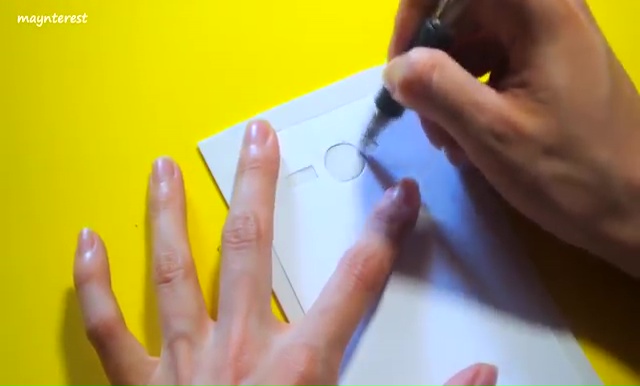
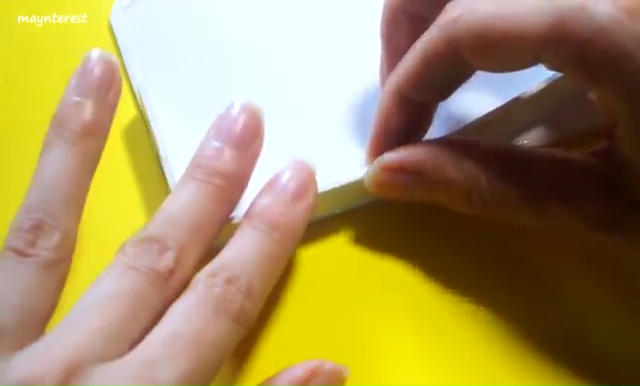
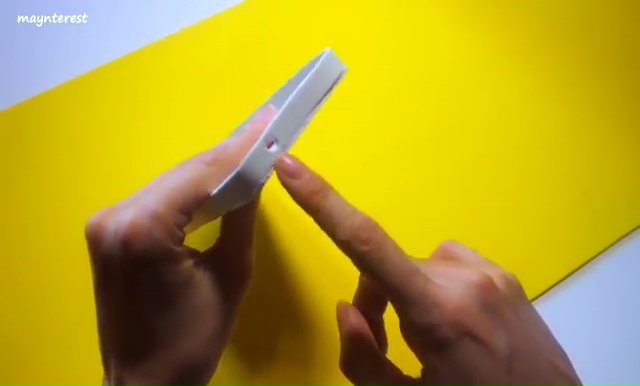
- Take the Thermocol base which you have cut out in the shape of your phone back, spread some glue on the edges and attach the Thermocol border on it. When the parts get dried properly, move it near to your phone, take the position of microphone and charger bank, point out those sections on your Thermocol made the cover and then very carefully make those holes with a sharp cutter.
- Now, it’s time to attach the case to your phone and move on to our next segment.
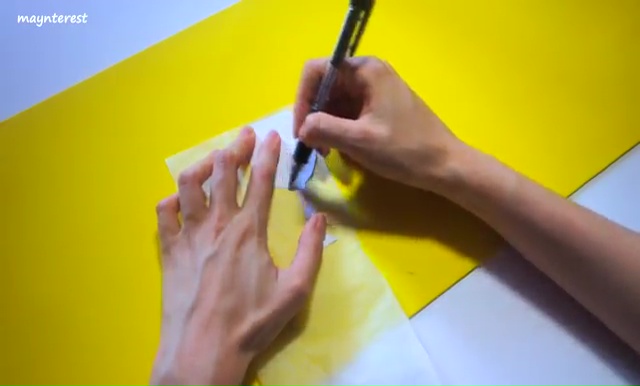
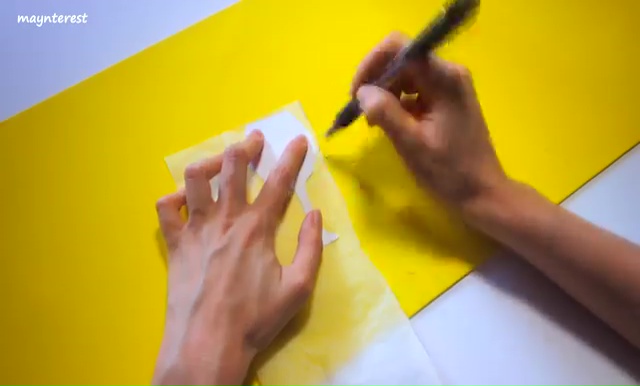
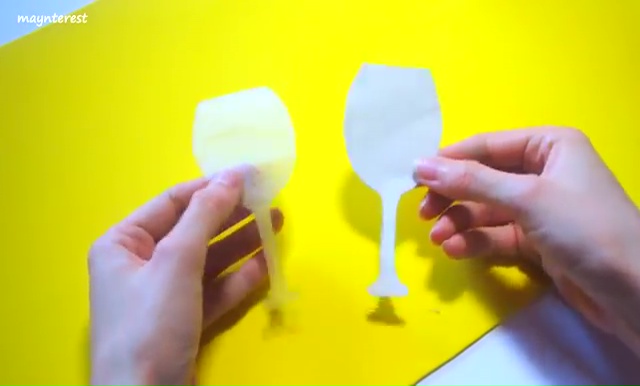
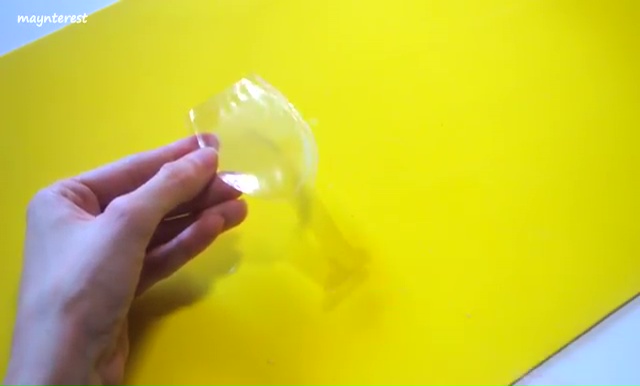
- In our next segment, we need to arrange a paper cutting in the shape of a wine glass. Take out the structure on a parchment paper, and cut it out n that shape.
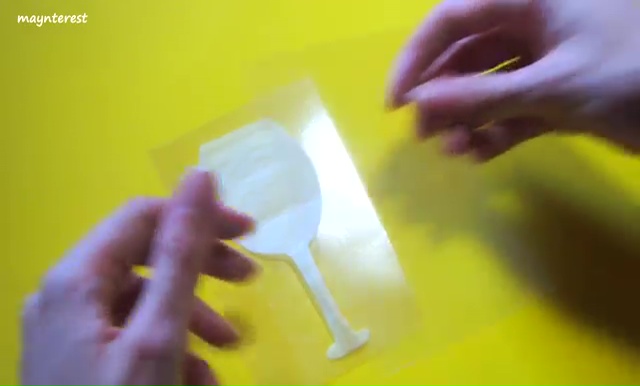
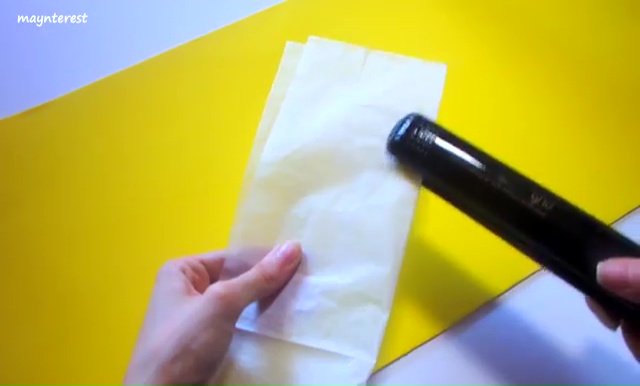
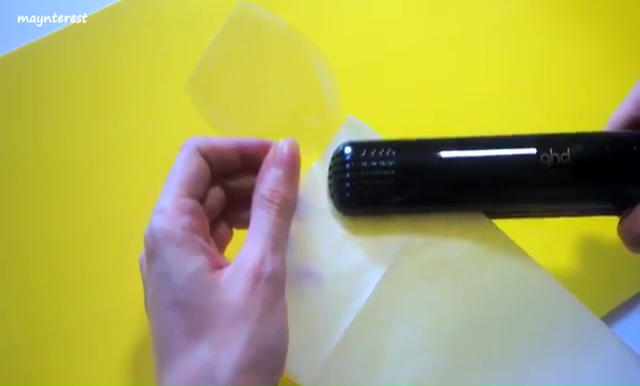
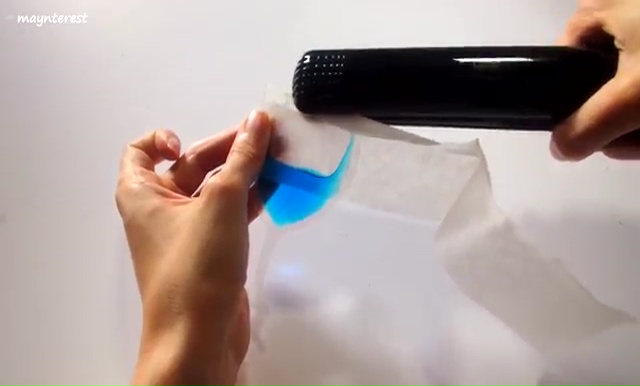
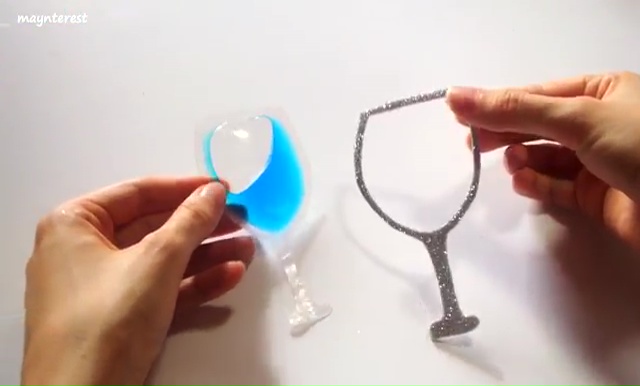
- Now, take those two plastic pieces, insert the gals shape inside those pieces, cover it up with another parchment paper and use the straightener to press the entire piece of paper forcefully. This process gives the paper an adequate heat to that plastic and compels them to join completely! While the heat forces them to melt, the parchment paper prevents them from sticking to the skin of that straightener.
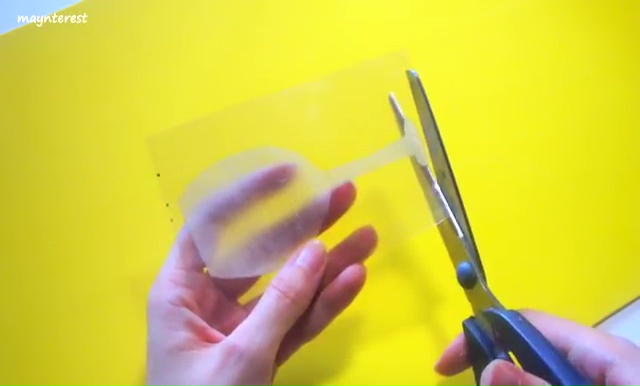
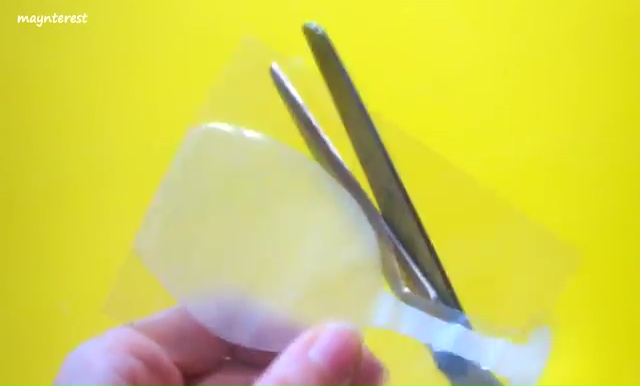
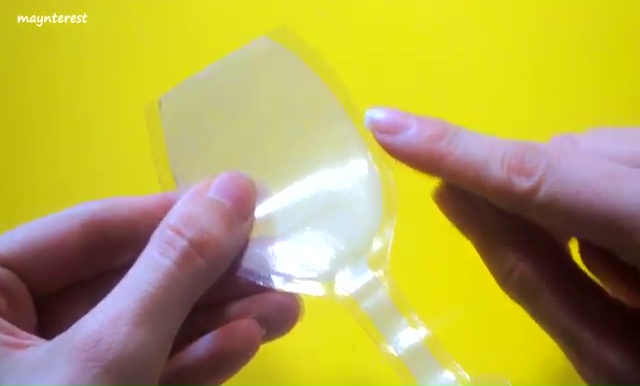
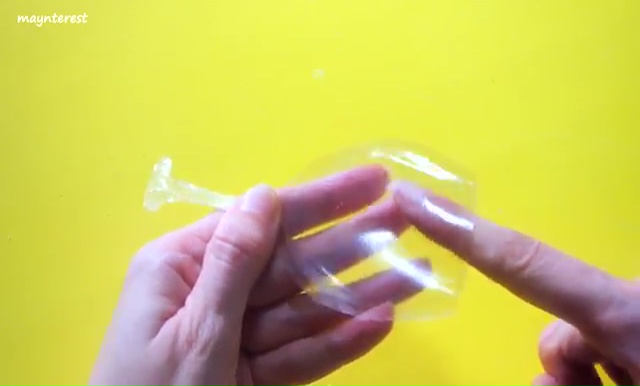
- Then, take out the parchment paper, use a scissor and cut that plastic arrangement in the shape of that inserted glass shape.
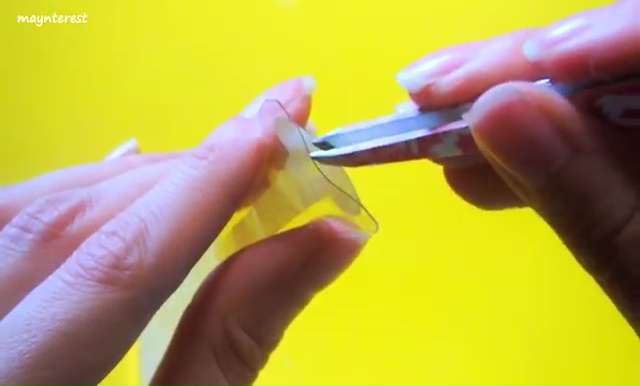
- Now, make a whole with tongs and take out the inside paper-made glass shape from the plastics. Make sure that you are taking out is from the upper section as the bottom section would not be the proper place to take it out!
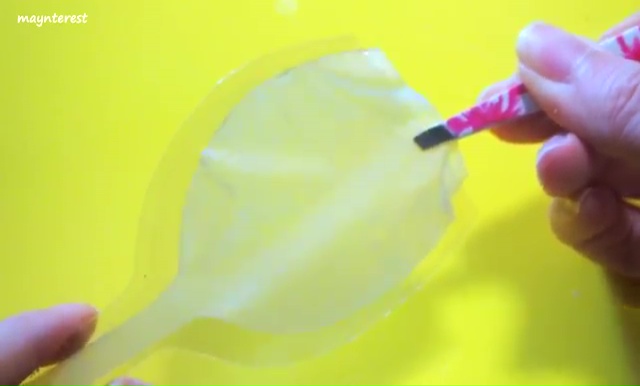
- After taking out the paper from inside, press the plastic once again to make sure that the joint isn’t leaking from anywhere, otherwise, your whole process will fail completely!
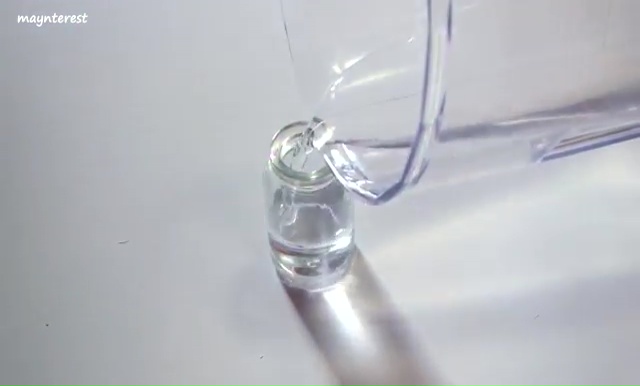
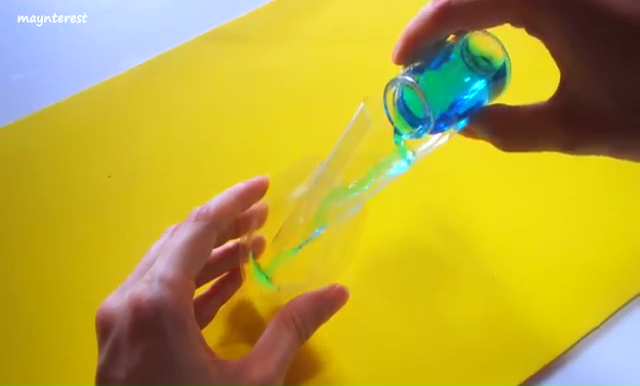
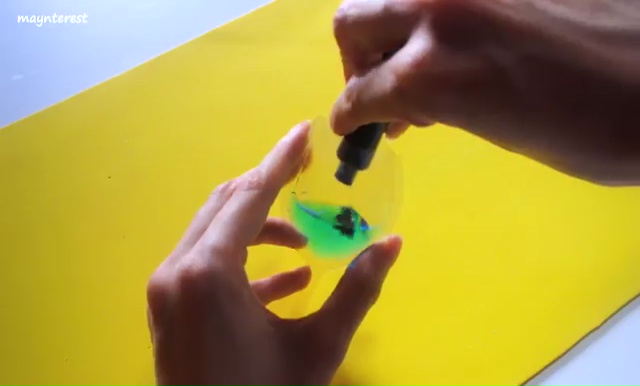
- Now, it’s time to make the liquid by merging blue gel color in a ½ cup of water. Pour the water inside the plastic made glass and seal the open portion with the similar process as we did before. You can add more color to the liquid if you are not satisfied with the color yet!
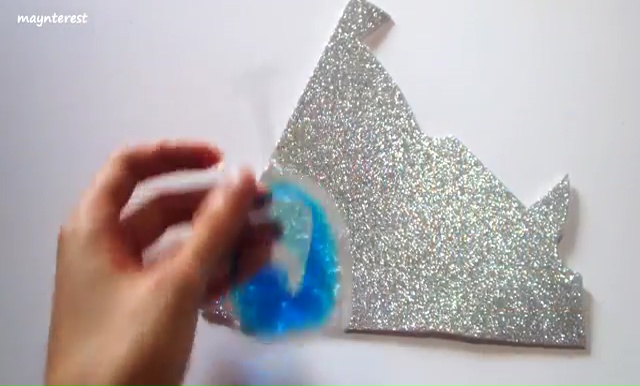
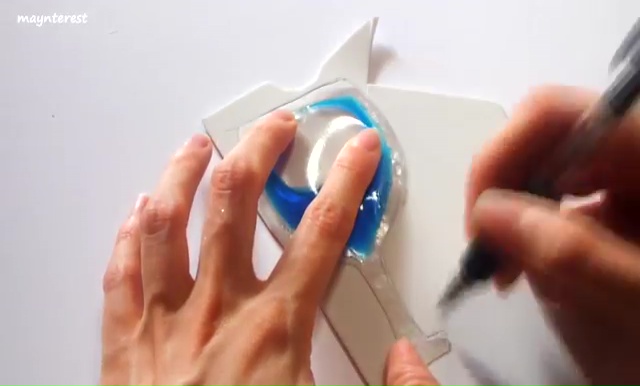
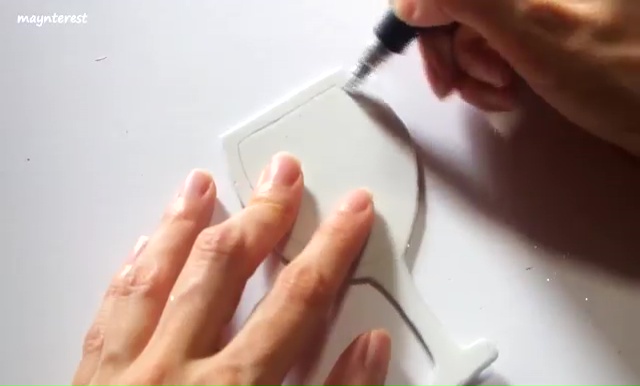
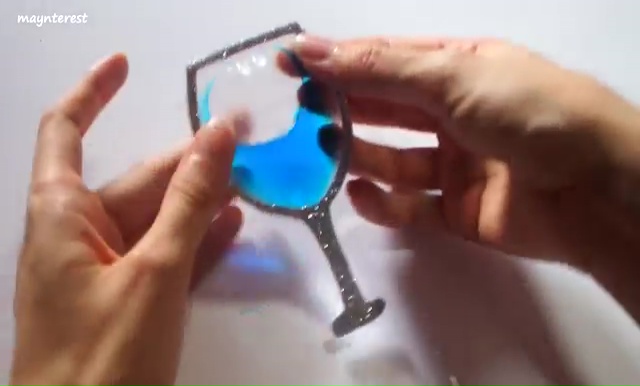
- Now, bring that glittery Thermocol piece, take a shape of your plastic glass on its back side, cut the shape out, stick some glue on it and stick it as the border of your plastic wine glass.
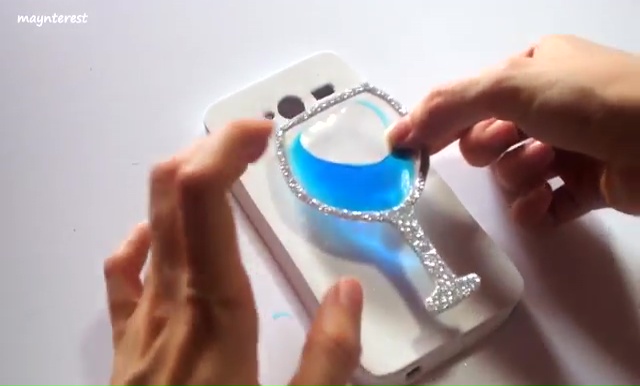
- When you complete all the steps appropriately, you will get a magnificent wine glass with a glittery shape and blue liquid inside it!
- Now, all you need is just stick that thing at the back of your phone case, let it dry properly and see the extraordinary glance of your phone with an innovative stroke!
