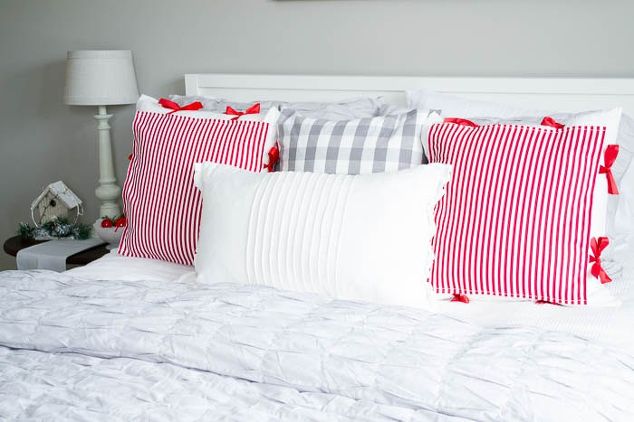
Pillow completes its companion in a satisfying way, whether it is a lavish sofa set, a luxurious bed or comfy couch, and any kind of pillow or cushion is literally incomplete without a nice pillow cover or pillowcase. Pillowcases not only supply the warmth to your pillows but, at the same time, these elements also protect the padding from any kind of spot or damages. Consequently, it is eternally necessary to cover your pillows with pretty and soft pillowcases.
These pillow covers are considered as one of the essential parts of your home adornments, and reflect the shade of your personality as well! Accordingly, you should choose your pillowcases wisely to fulfill the entire requirements of a perfect cushion cover. As the DIY products always offer us more versatility than readymade products thus, here we have emerged with some fancy yet easy-to-craft pillowcases ideas in this article below, let’s check them out-
DIY Pillow Cases
Making DIY pillowcase is not a big deal to craft you know, especially when you are starting with such simple patterns. Don’t worry if your novice in this work, as this type of chic yet plain pillowcase doesn’t need any sort of intricate design, sew or prototype to be made! All you just need is some basic ingredients to craft a cushion cover and some patience to craft it in proper way, let’s take a look at the making procedure now-
Materials Needed:
To make a plain DIY pillowcase you will need, a pillow, some nice designed fabrics, measuring tape, scissor, thread, and needle. To craft any other patterned cover, just use any other types of fabric, like the alphabetical design, nice quoted fabric, etc. as you can see in the video above.
Take some freezer papers, gold fabric paints, paper, sellotape, paintbrush, plate and a piece of cardboard to make the second type of pillow cover design along with the entire abovementioned ingredients.
How to Craft:
- At first, open up the entire piece of fabric and put the good side facing down.
- Now, take the measurement tape and take a clear size of a desirable pillow cover shape depending on your pillow. Here we are using a 20×20 inches pillow.
- For making this cover, you will need a piece of fabric which has the width of 11-inch and length of 2+8 inches.
- Then, cut out the piece of the whole fabric and fold all the four edges about half-an inches with the pressure of your hands.
- Now, set the edges by inserting some pins and jump to your next step, in which, you need to place the fabric on the floor or your crafting table by facing the good side up.
- After that, place the pillow in the middle of your fabric piece and cover it up from both sides around it.
- Then, pin up two edges jointly on the lap and make sure that you are not attaching any part of that pillow with the fabric piece!
- Then, gently take out the pillow from the middle and pin up the both edges with the measurement of half-inch.
- When the two sides are pinned-up properly, take the inside out and your no-sew pillow cover is all done to use!
- For the second design, take some freezing paper which you can find at any grocery store.
- Then, cut out a square piece of paper and print out one or two pieces of paper with your desirable quote. In this procedure, we are using this ‘Good Vibes Only’ quote which we have printed out clearly!
- After that, open up the freezing paper by putting the shiny side down and set the pieces of paper in the middle by attaching them with sellotape.
- Then cut out all the letters from both the paper and freezing paper and remove your paper template when you are done with this process.
- Set some tiny middle parts inside some specific alphabets like O, B, D, etc.
- Now, place the freezer paper down below the template and iron the whole set gently.
- Make a white pillowcase following the process we have already shown you in the previous discussion and set a piece of cardboard inside the cover.
- Then, take the golden fabric color and start coloring those alphabets immediately.
- Use two coats on the alphabets and when the entire process is done, take out the freezing paper carefully and all your fancy pillowcase is ready to flaunt!
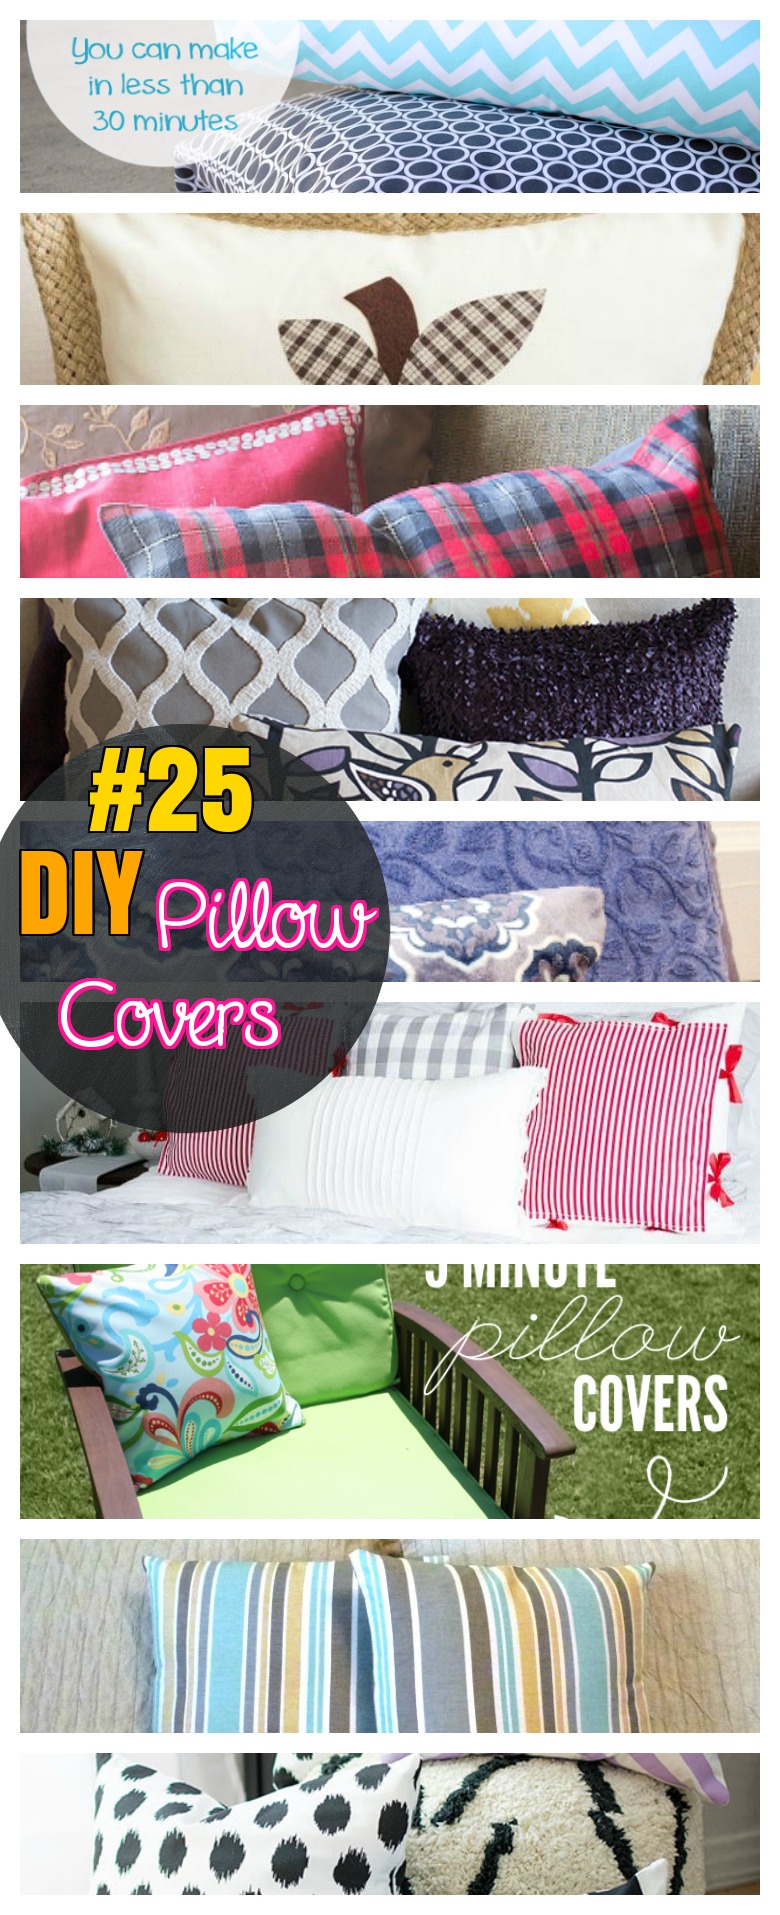
More Inspiration
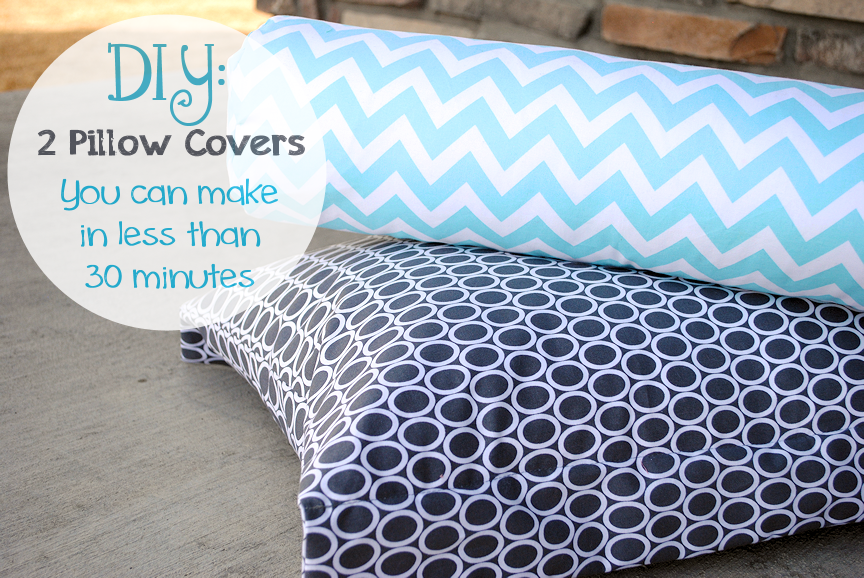
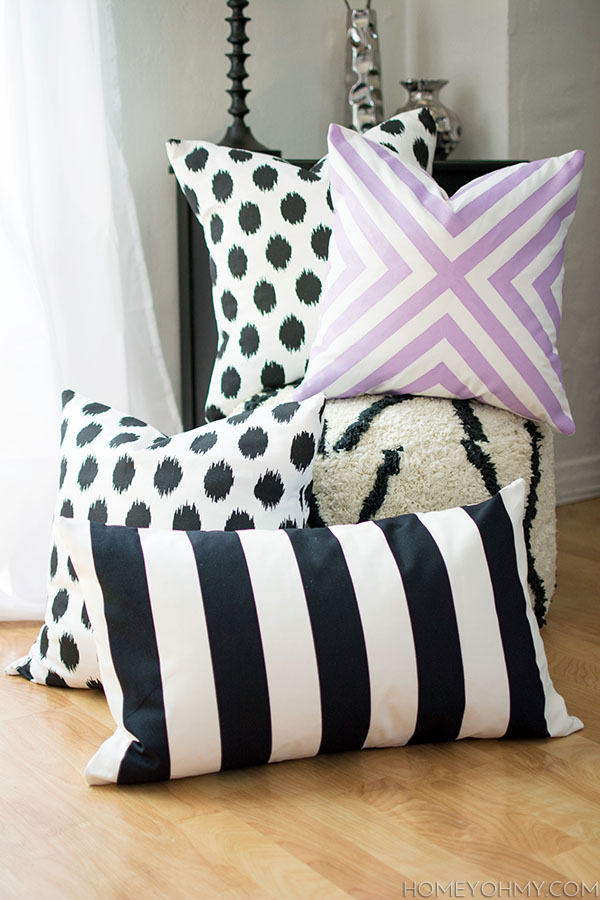
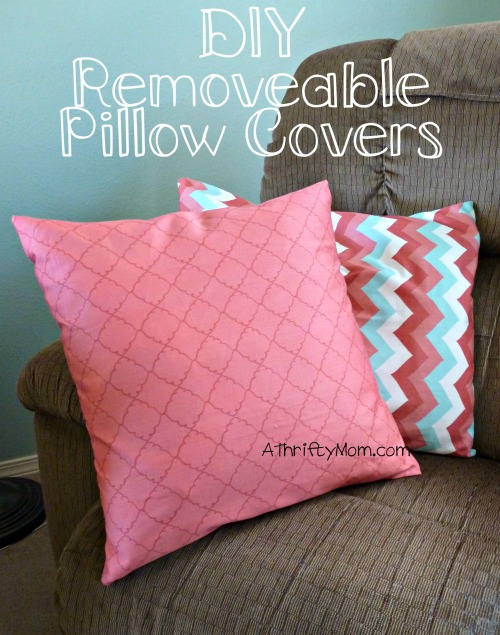
DIY Pillow Covers Chevron and Polka dots
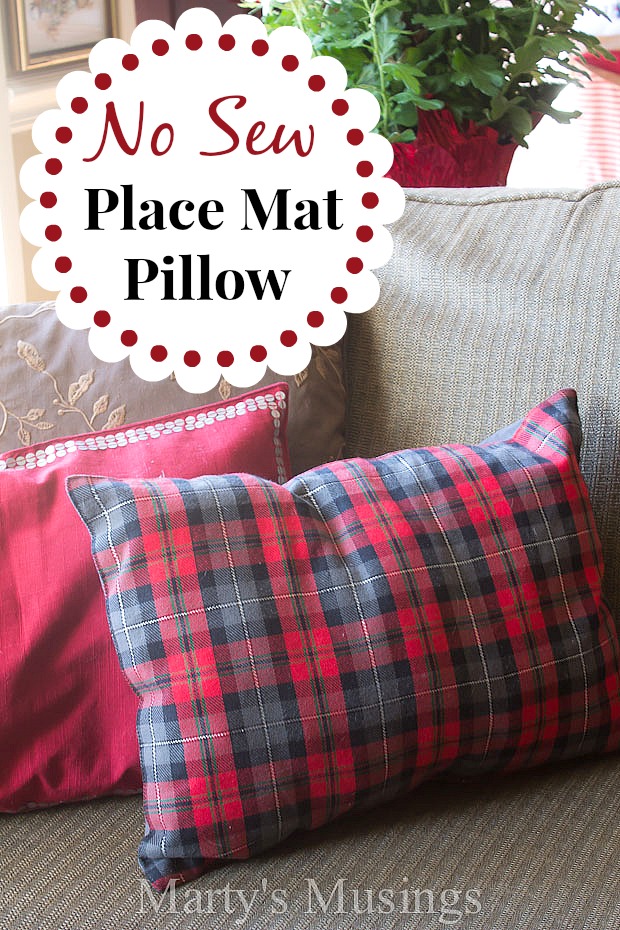
No Sew Pillow Cases
DIY Pillow Cases Stripped
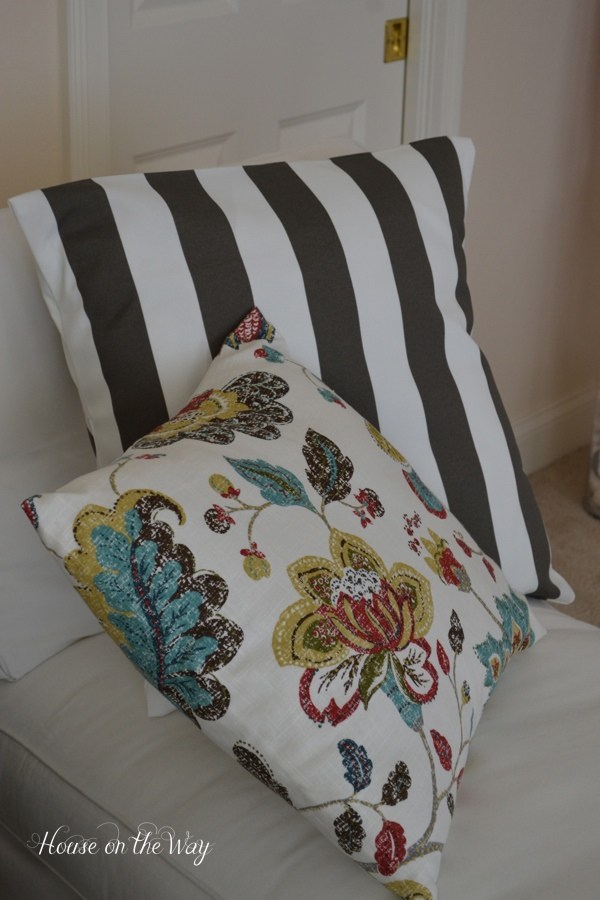
Simple and easy throw pillow covers

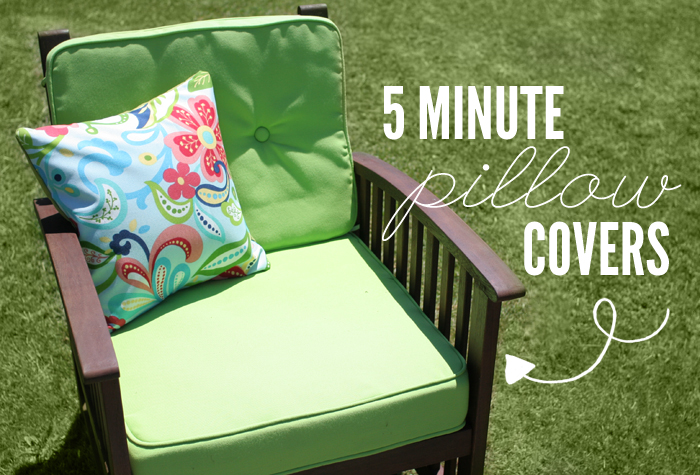
DIY 5 mins Pillow Covers
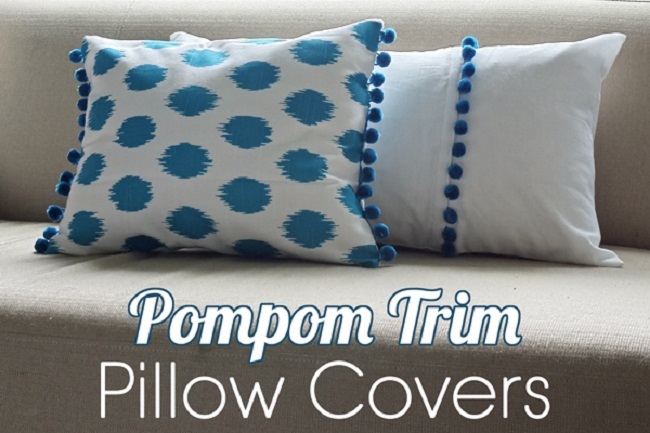
Easy Pom Pom Trim Pillow Covers
No sew pillow covers – stick and iron
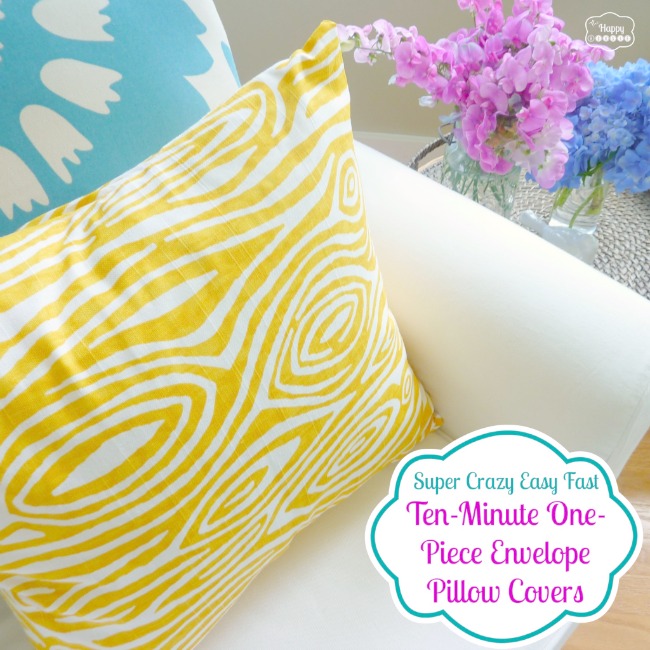
DIY Envelope style pillow covers

DIY Easy Zipper Pillow Cases
Easy DIY Throw Pillow cases
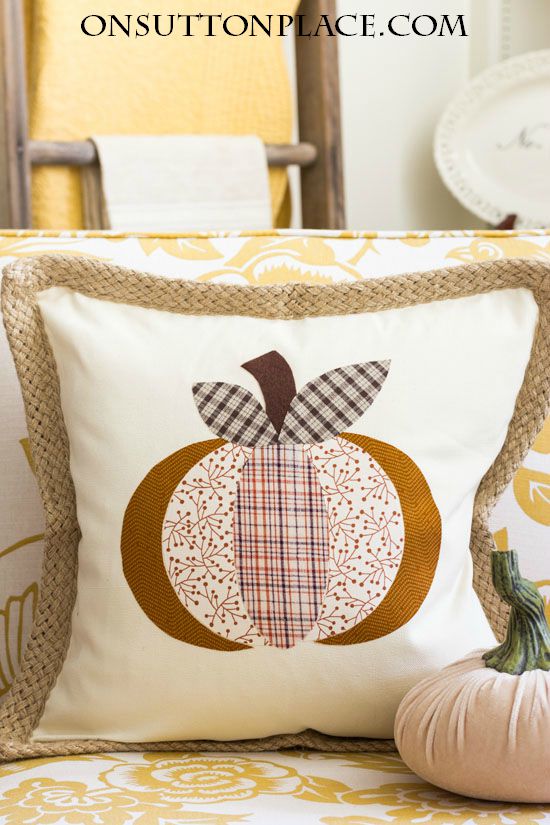
DIY Pumpkin Pillow Cases
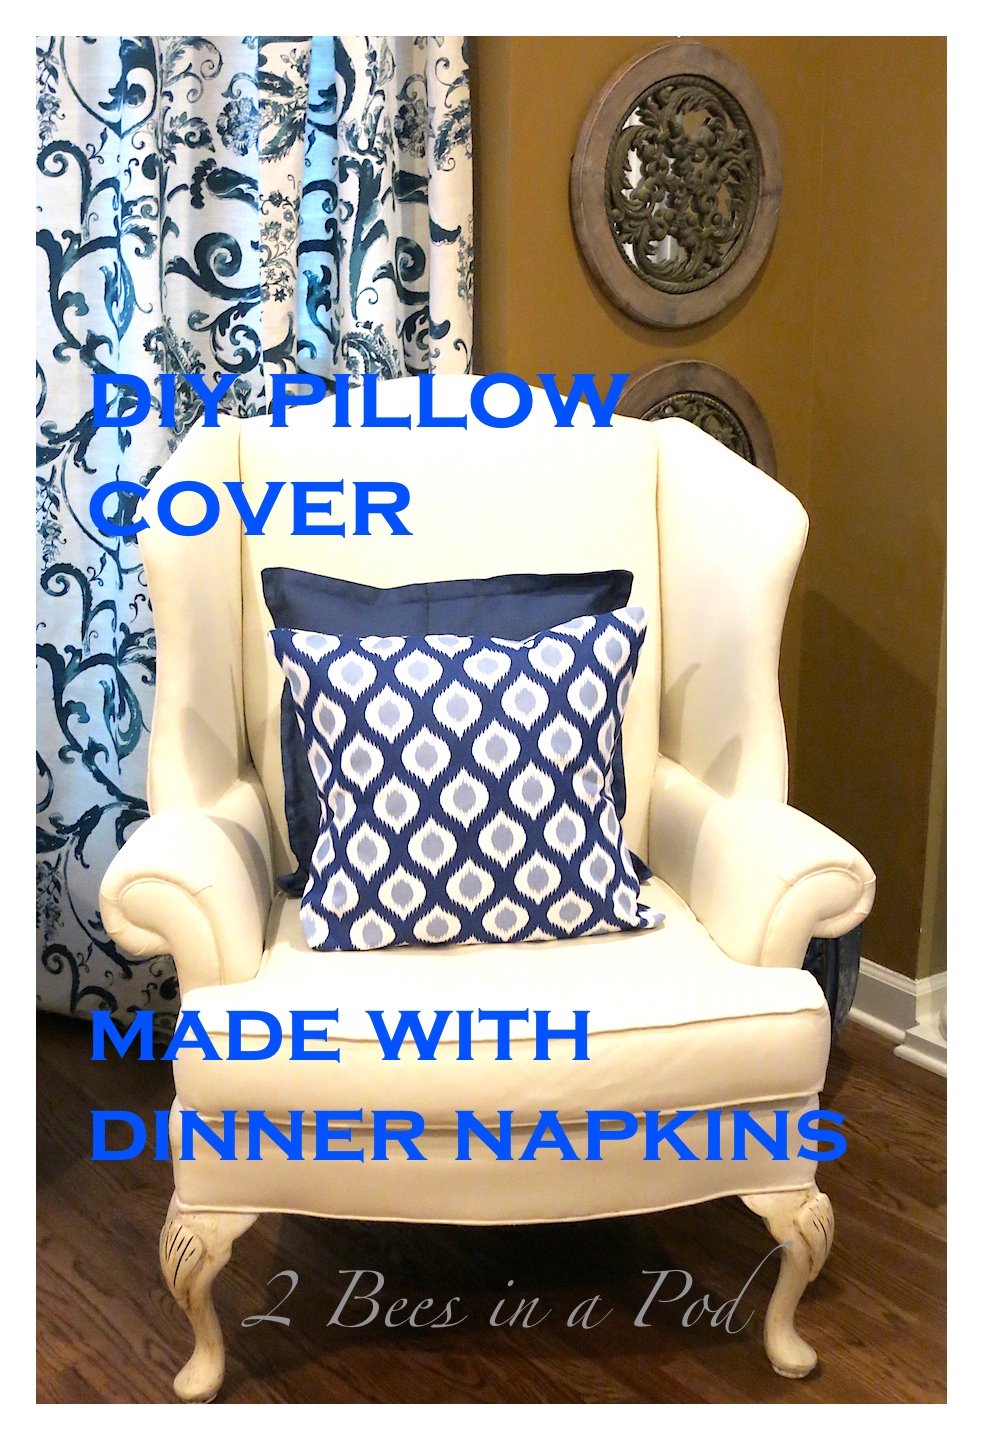
Making Pillow covers with dinner napkins
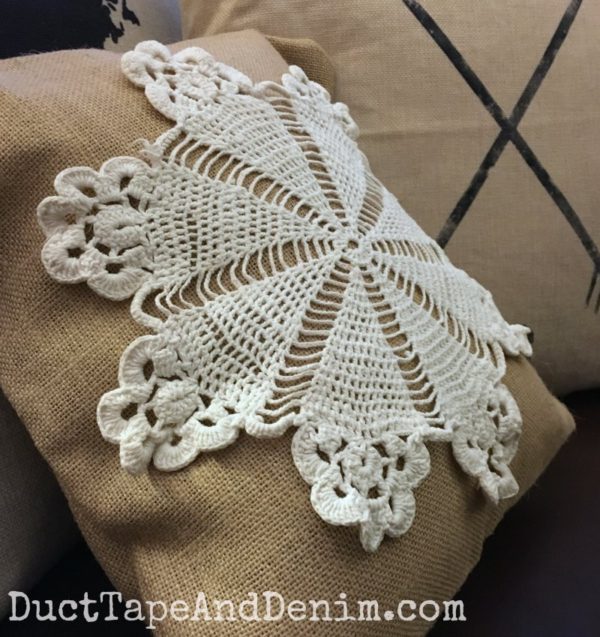
Doily Burlap Pillow Cases
DIY No sew envelope pillow cover tutorial
DIY Pillow cover overlay tutorial
Also give try on stuffed animal pillows.
DIY Winter Season Pillow Covers
DIY Cute and Easy Removable envelope style pillow cases
DIY Throw Pillow Covers and Easy Envelope Cases

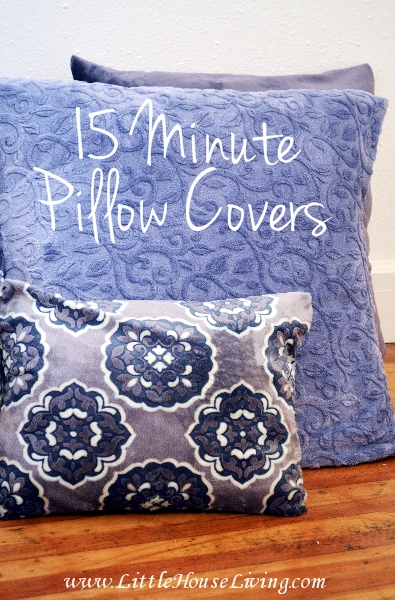
DIY Making Pillow Covers in 15 Minutes
You may also be interested in emoji pillows and sharpie pillows.
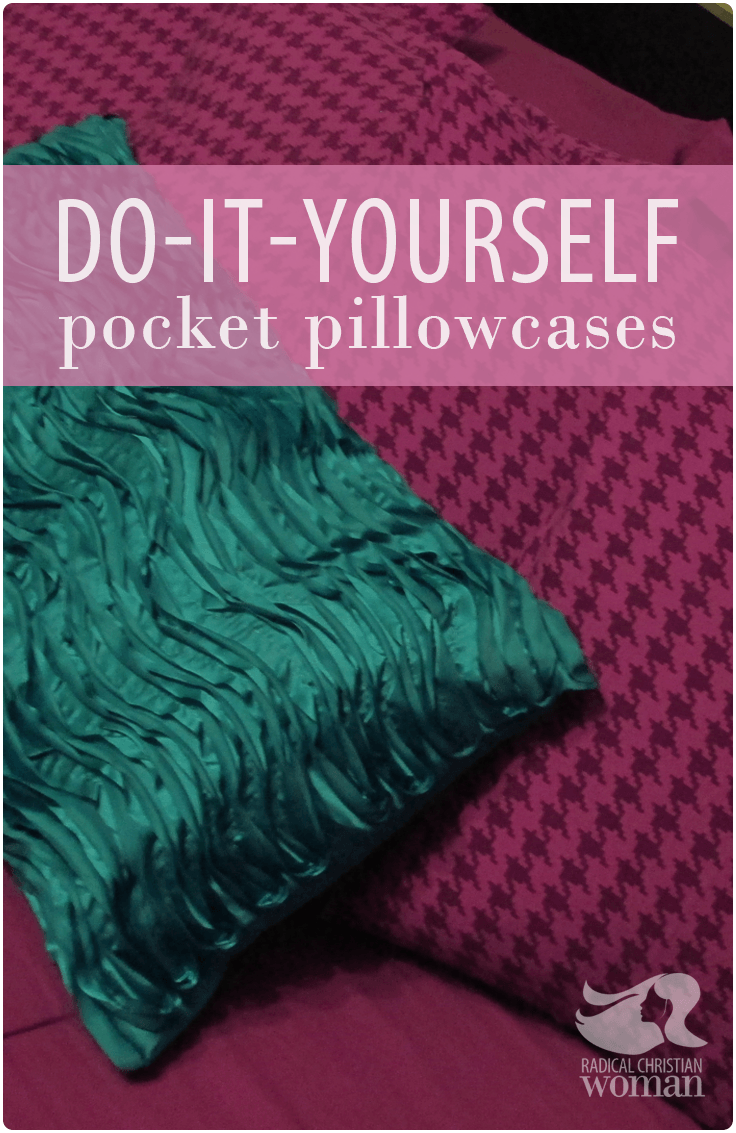
Easy DIY Pocket Pillow Case
Brighten Up You Home With these DIY Pillow Case tutorial
Pillow covers made from dish towels

DIY pillow cover made from shower curtains
DIY Decorative Pillow Case
If you are making pillowcases for your lavish drawing room or fully furnished bedroom then, it is essential crafting the cover in a bit decorative way, isn’t it? Thus, here we come up with a little-convoluted design for your pillows which you can craft by yourself, if you can chase the perfect making procedure below, let’s take a look-
Materials Needed:
To prepare this designed pillowcase, you will need some nice colored satin fabric, a ruler, a scissor, cotton sheet, a lighter, thread, needle, a circled object, a pen or marker, and a hot glue gun.
How to Craft:
- At first, cut out several strips from your satin fabric about 2 inches wide, and take a clear shape before cutting with the help of the ruler.
- Now, set the circled object over a piece of satin and take a sharp template with a pen.
- After cutting the shape out of your satin, fold a strip of satin and place the previous circle over the folded satin piece. Don’t forget to fold the circle piece from the middle before placing it on the folded satin piece.
- Now, use it as a template and cut out the entire folded satin piece with a sharp scissor. At the end of your course, you will get a few similar pieces of circles of satin fabric.
- Take a single circle, put some hot glue in the middle, fold it and do the same again to fold it into a triangle shape.
- After that, reverse the outside fold like a petal and set some glue on the edges. When you have made enough petals like this, go to the next step.
- Here you need to craft an ordinary pillow cover using the cotton sheet as we did in our previous paragraph, and then, start decorating it with your satin made petals.
- You can make a wide design in the middle of your covers like a flower or a heart shape. Here we are indicating you how to cover the whole cover with these petals.
- To do so, make a clear ‘X’ mark in the middle of your cover, as this will give an easy path to follow while attaching satin made petals.
- After attaching all the petals with hot glue, let the whole cover dry properly and then, cover your pillow with this super chic and unequally decorative cases.
- For the next design, take a long strip of satin fabric in a different shade and seal the edges with the lighter if the edges seem uneven or stripy.
- Now, insert a needle with thread, sew a few stitches lengthwise and pull the string when you stitch a few lines.
- After following the process till the end of your fabric piece, you will get a portion of curved or crumbled satin piece.
- Now take a simple pillowcase, put some glue on the centre of the cover and place your curved satin piece in a spiral form.
- Keep setting the entire crumbled piece in a circle way until you finish the flower.
- When you are finished, just insert the corner of your curved satin piece under one edge of your satin-made a flower and that’s it!
DIY No Sew Bow Pillow covers
which also comes with a modish bow pattern for your pillows. Check out the crafting procedure below-
Materials Needed:
To craft this type of cover, you will need a piece of designs fabric, scissor, a cushion, and some pins along with glue.
How to Craft:
- At the primary stage, open up the fabric and place the pillow in the middle of the fabric.
- Now, fold the fabric from two sides and pin it up securely by not attaching any part of the pillow with it.
- Then, fold the keys from rest two sides as you can watch in the mentioned video above.
- After assembling them together, cut the excess part and glue or sew the two sides of those folded parts together.
- After that, take another piece of fabric with 6-inch length and 4-inch width.
- Add a layer of glue and fold both the edges lengthwise about 1-inch
- Then, bring the covered pillow, insert the newly folded piece of fabric on the glued part of your pillow cover and complete the bow.
- Once, all the parts are soaked properly, cut out the excess part and your no-sew pillowcase is all ready to use.
DIY Painted Pillows – Hand Painted Feather Pillow
People, who love to paint or draw sketches definitely attempt to craft their pillowcases with nice and classy paints. The best part of using painted pillowcases is that you don’t need to take extra care for the covers while washing them, and the making procedure is comparatively more effortless than other courses. These kinds of covers add some colors to any of your space and embellish it with a trendy decorative way. Let’s check this out-
Materials Needed:
To make such things, you will need, a paper-made feather, one pencil, a plain white colored cotton cover, some fabric paints with different vibrate shades, some paintbrushes, and a paint platter.
How to Craft:
- Firstly, take the paper-made feather and use it as a template on the cotton cover.
- To make the feather directly on the cover, take you pencil and draw a line as the middle stripe of a feather and color it up alongside the line using any deep color.
- After making the middle line a little wavy, take some more colors in your brush and make a whisper like motion from the bottom of that line till the top.
- Give pressure when you are coloring the centre and simply brushing out the color as you can see in the video.
- After completing the base color, apply the second, third or fourth colors on the feather, just to get a creative glance to your color-made feather.
- Then, add more two or three feathers similar ways in different shade alongside the first one and use the cover when colors are all soaked up entirely.
DIY Clothes and T Shirts to Pillow Covers
If you know the right procedure of crafting a nice pillowcase at home then, you don’t need always fresh supplies to make it, and sometimes, a few useless things could be turned into a super chic pillow cover as well! Like, we are demonstrating here how to convert an unused t-shirt into an exclusive pillowcase in the no-sew process again. Let’s check this out-
Materials Needed:
To make this cover, you will need any unused t-shirt which has a chic design pattern, a pillow, and a sharp scissor.
How to Craft:
- At the initial stage, place the pillow over the t-shirt and cut out the fabric with the shape of the pillow leaving a margin of 8-cm per side.
- Then, take the scissor and cut several strips of 8-cm on each side of the piece.
- Now, separate the both side of the cover from the middle and place the pillow in-between those two pieces.
- After that, tie the strips of each fabric piece with a pair of knots and when it’s all done, your no-sew pillowcase is all ready to exhibit on your sofa set or luxurious bed!