We have shown you different types of stress ball making methods in our several previous articles. In addition, we’ve instructed you about how to make unicorn soft toy in our one DIY soft toys article. Today, we are going to enlighten you on how you can merge these two themes together and craft a mesmerizing combo of unicorn stress ball. Check out the making process below in a step by step process-
DIY Glittering Unicorn Stress Ball
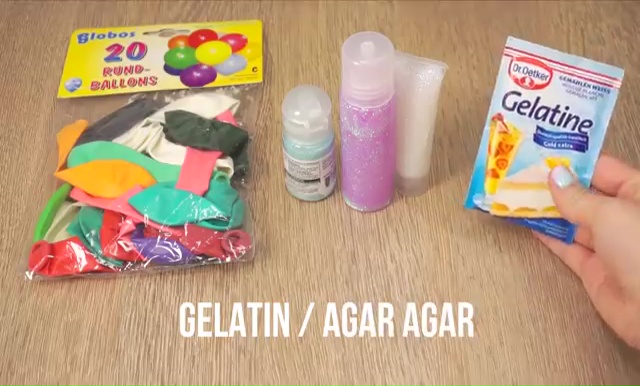


Supplies Needed for Stress ball:
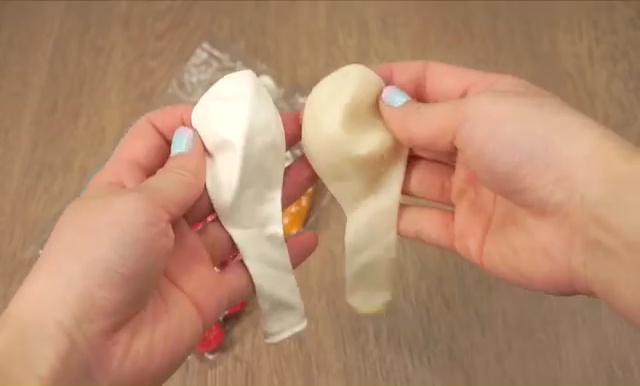
To craft this super cute stress ball you need, a balloon in the pale or light shade, some unicorn color glitters, color clay, black marker, and a packet of gelatin or agar along with some glue a clear yet glittery nail polish.
Also try the Sky ball with parachute for kids and for adults too.
Unicorn Stress ball Instructions:
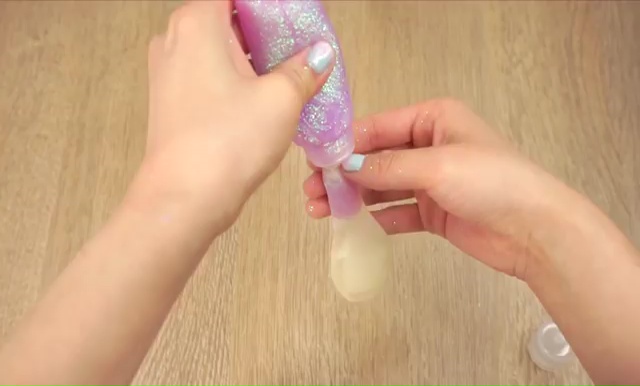
- At first, filling the empty balloon with glitters; you can take glue glitter or loose glitter, whatever you want, but remember that you need both the categories for each stress ball! We are adding glue glitter for at the initial stage.
- After pouring it into the balloon, squish the glitters down to the balloon and add the loose glitter into the balloon then. You can use a funnel or cone to put the glitters inside the balloon.
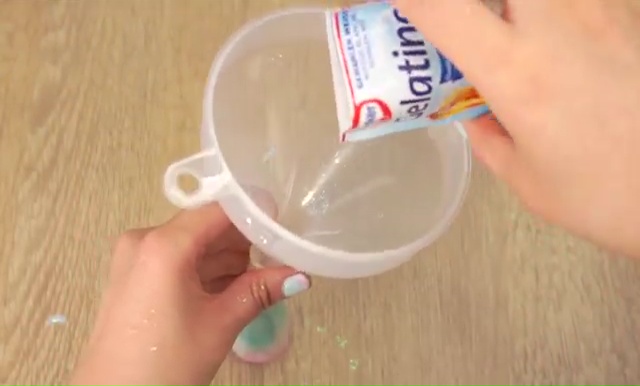
- Then, fill the balloon with a final layer of liquid glitter and then, pour in a half of bag of powder gelatin into the balloon which will help to those glitters flowing up when you will press the stress ball with your hand. But, mentionable here that this part is strictly optional, so you can easily skip this part if you can’t arrange any gelatin for this crafting!
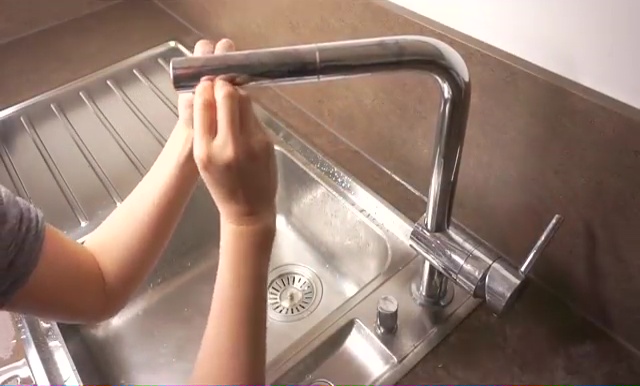
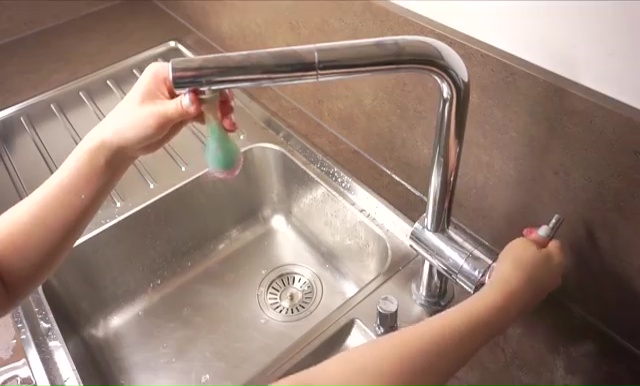
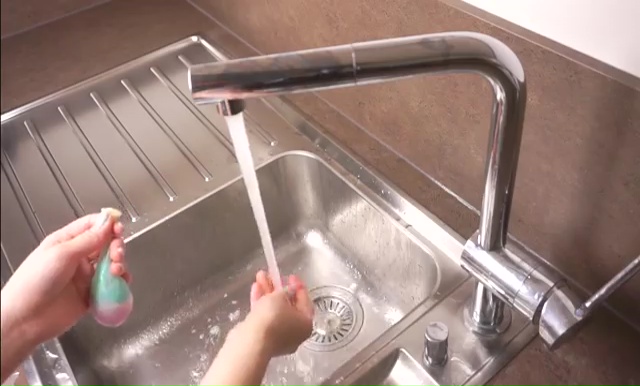
- Now, set the balloon under your tap and fill with a tiny bit of water. Wait 5 minutes to gelatin to soak it up properly.
- Then, set your balloon again under the tap and fill it up with more amount of water.
- You need to press the balloon with your hand while pouring water, so then, you can get an adequate shape of a unicorn face with the ball will be made.
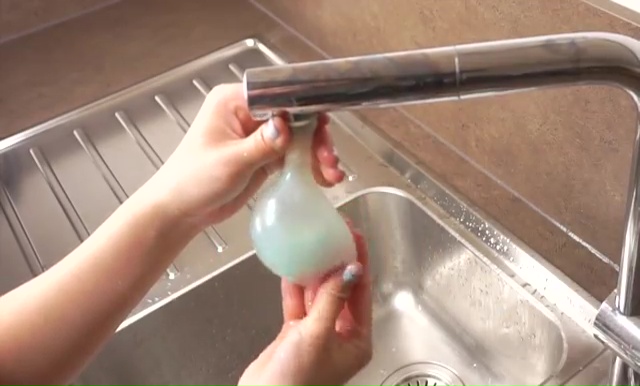
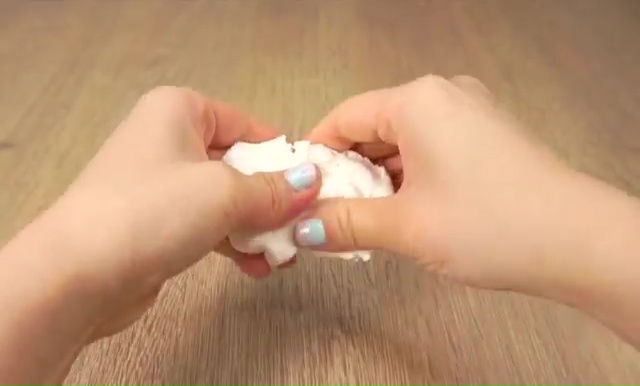
- When the filling procedure is done, twist up the bottom with some rounds and then place two fingers on the stretchy bottom, then wrap those fingers around that part of the balloon and take out the opening between the two fingers and make a tight knot.
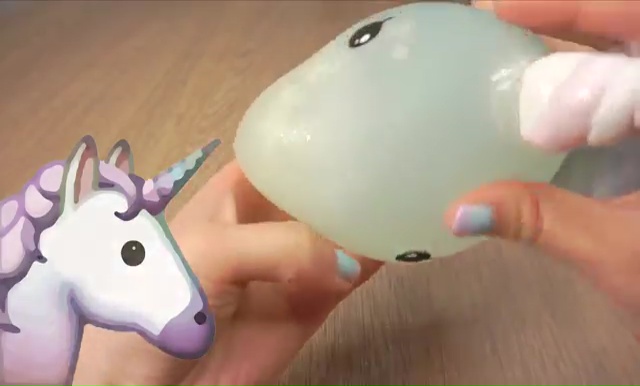
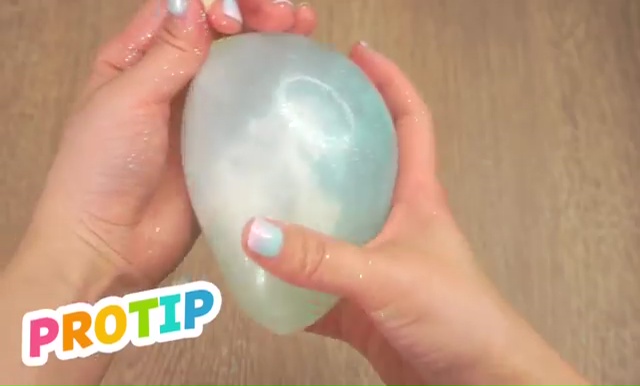
- Now your basic stress ball is ready and it’s only the decorations which are rest to do.
- For the decoration, at first, take some agar clay, add one drop of red color so get a nice pinkish shade to the clay.
- Now, knead the clay with your hand and make two thick lines from that clay; cut and take the front part from both the pieces.
- Then, take those pieces, set them both side of the knot of your balloon and carefully start to a sparrow or twisting those clay pieces in a reverse way to make a twisted horn like a real unicorn.
- Once you make it, dip a toothpick into the water and sharpen the edges of that twists of the horn.
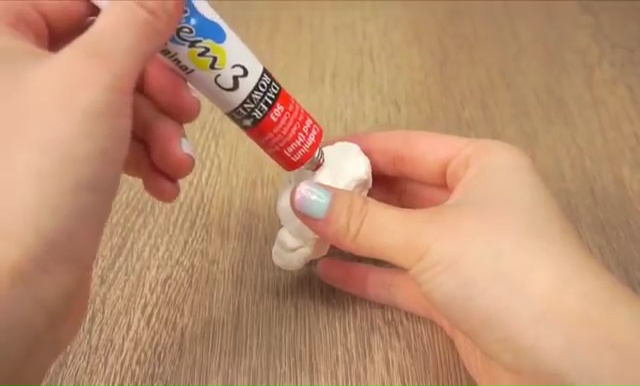
- When it dries out properly, add some glue on the bottom of the horn and stick it tightly over the balloon surface.
- Now take some colorful felting worms of cotton and set them on a table.
- After that, start poking the worms with a needle until you get the attached bottom in a free glue
- Once you get the desiring form, stop poking and add some glue on the end panel of the felts and stick it under the horn of that unicorn ball, throughout the back.
- When it dries out, cut away the extra furry side of that felt worms, which you are going to use as the back hair a unicorn.
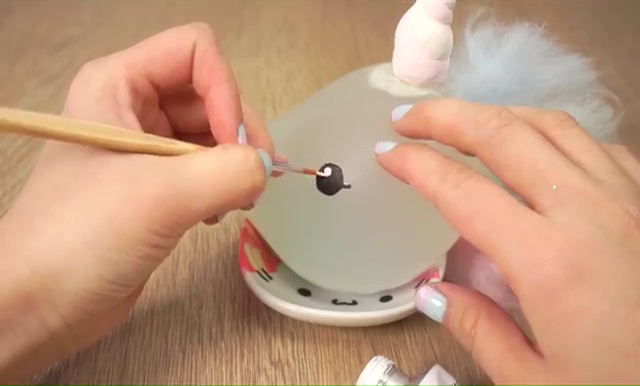
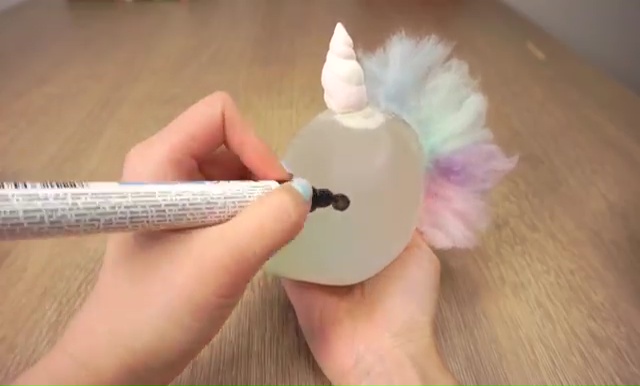
- Now take the black marker and draw two nice eyes on both sides and emphasize those eyes with two white eyeballs.
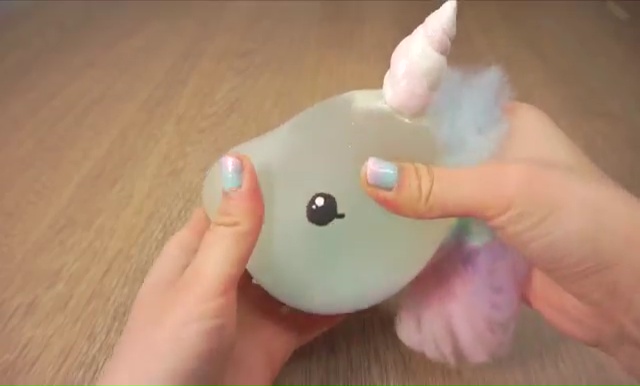
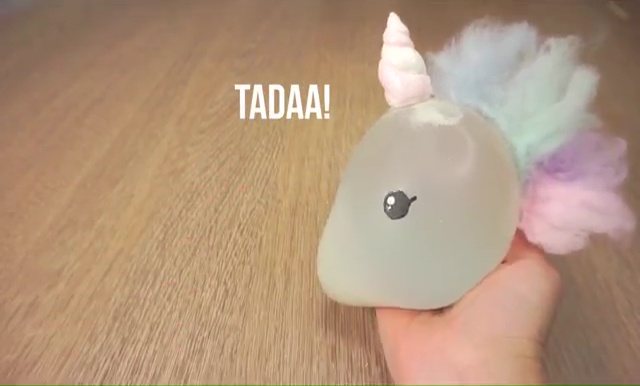
- Once, all the adornments are dry out properly, your nice unicorn stress ball is completely ready to play.
You also like our DIY orbeez liquid stress ball and squishy egg yolk stress ball.