These days, container gardeners have shown their capabilities in vegetable cultivation via growing every vegetable in a garden container! But, don’t you think that these gardeners must deserve some more appreciations when they have successfully cultivated some root veggies in the small meadow of a garden container? Well, we are telling that because cultivating root vegetable in a restricted field is not a matter of joke!
You need to give your plant a sufficient place to work the watering system accurately and at the same time, have to cater an adequate space to spread or act the root system properly. Potatoes are one of the famous root vegetables; which were difficult to grow in a garden pot at the beginning, nevertheless, new age container gardeners have solved this trouble too, with some simple processes! Today, we are going to guide you on this matter, about how to grow potatoes in your own garden in a restricted garden container along with some easy steps, check this out-

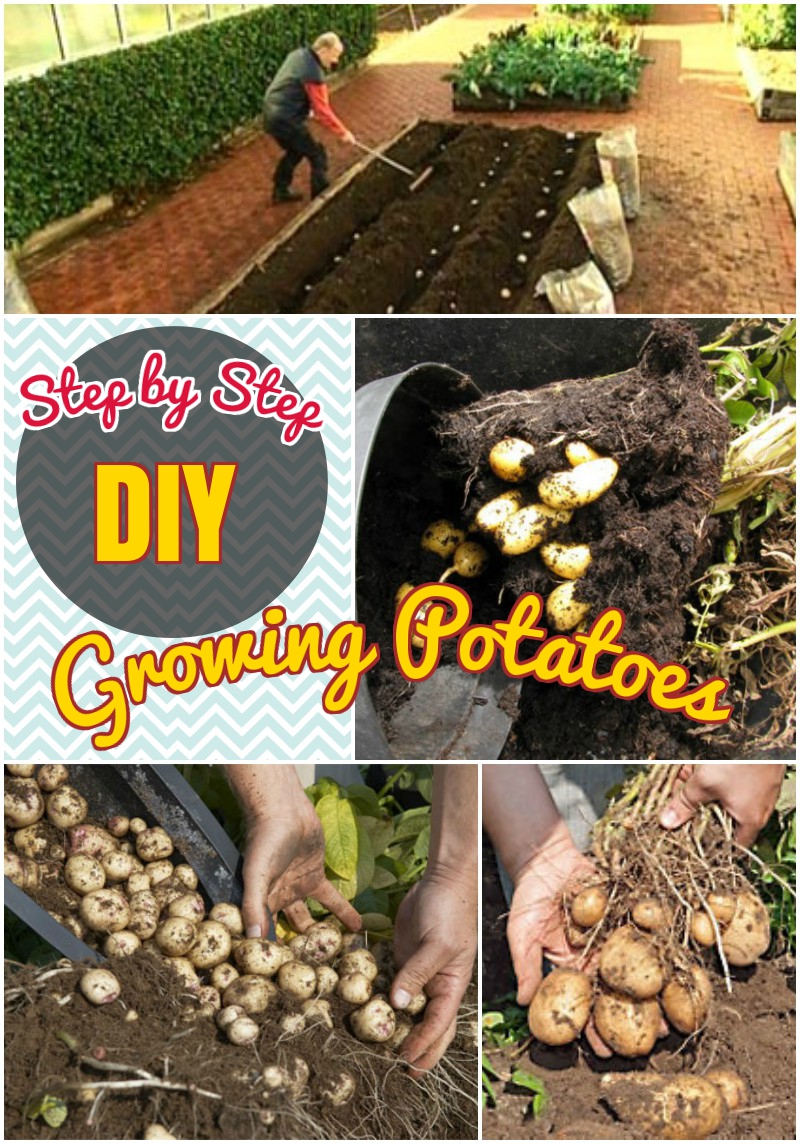
How to Grow Potatoes: Step by Step procedure
- At first, prepare the soil by mixing with a good fertilizer. As per the new report, Pro-Mix HP is one of the best readymade composts out there, so take some of this fertilizer and mix with the soil in a ratio of 1:3.
- Arrange some seed potatoes, which you can easily buy from the market.
- Now, arrange a nice container to use for growing potatoes. We are recommending you to use the plastic made rope bucket as it has a wider space and work great as a garden container!
- Then, add some soil mixture at the base of the container with a measurement of a ¼th portion of the pot.
- Now, take the seed potatoes, place 5 to 6 potatoes into the container and plant them accordingly as you do with the other sprouted vegetables! When you are planting them into the soil base, remember to set them as the upside down, as it helps to grow the plant more steadily.
- If you can see some seed potatoes are exposed outside, add some more soil mixture from the top. The mixture soil with peat moss and perlite fertilizer work as really soft and fluffy, which make the root system really easy.
- Now, add some water to the pot to make the soil moist and help the seed potatoes to grow.
- After a gap of 15 to 20 days, potato seeds will start seeding out of the soil and after more 5 or 6 days, you may see a new growth of your potato plants.
- After almost 30 days, you will see that your potato plants have started growing a little larger than previous time! When you see that your plants have got a height of 6 to 7 inches of growth, you must go to the next step of cultivation.
- The next step is to cover the container with more potting mix. For more fertilizer, you should arrange an adequate amount of Pro-Mix HP potting soil which must have a perfect balance of peat moss and perlite compost.
- Now, add the potting mix soil into the container, so then your plant get nutrition from all around the mixture. By adding this soil, you are actually giving the plants a chance to send out potatoes right from the bottom of the container through quite a sufficient distance. This extra soil mix is highly needed for the plants as potatoes are formed around the base of the plant and towards the sides. Hence, you must do this process if you are seeking for a bigger harvest!
- After a gap of 40 days from the planting, you will have all grown potato plants those are generally coming out from the container.
- The nutrition requirement of this plant pretty high, so keep adding some more potting mix into the container till the top. Balancing fertilizer is essential for these types of cases, as they provide nitrogen which brings overall strength and vigor to the tube of the plants. Any kind of organic fertilizer like compost tea, fish seaweed, blood meal, bone meal, or all purpose water solution fertilizers are some great items you could use in such cases.
- Now water your plants again in a careful way, so then it could go to the root directly and make sure that you clean the leaves in this process as well, as it would prevent to get diseases or insects in your plant!
- If you can do this process appropriately, then you don’t need insect killer or pests killer to your plant, though you can spray with some soapy water to kill some stubborn worms, if there is still any existing!
- After an exact duration of 60 days, when your plant got the perfect growth and come in a really big shape or almost out of the container, tie the unmanageable branches with a string to give the plant an organized look.
- If you are curious for the harvesting then you need to wait for more 60 days to get the ripe form of your vegetable. Keep watering and keep fertilizing your plants after every 4 weeks.
- Now at the exact 120 days since the planting, you will see all the foliage get dry, give your plants 2 to 3 weeks more before you start the harvesting process.
- After entire foliages got dry, which is approximately since 133 days now it is time to the final stage of your planting and that is a harvest of the potatoes.
- At first, place a huge plastic canvas on the ground; now make an upside down of your container over that plastic base.
- Now, all you need is just toss or search the potting mix and take out the potatoes one by one! Once you complete the harvest, wash them off with plain water and they are all ready to use in your tasty dishes!
You may be also interested in Growing tomatoes.