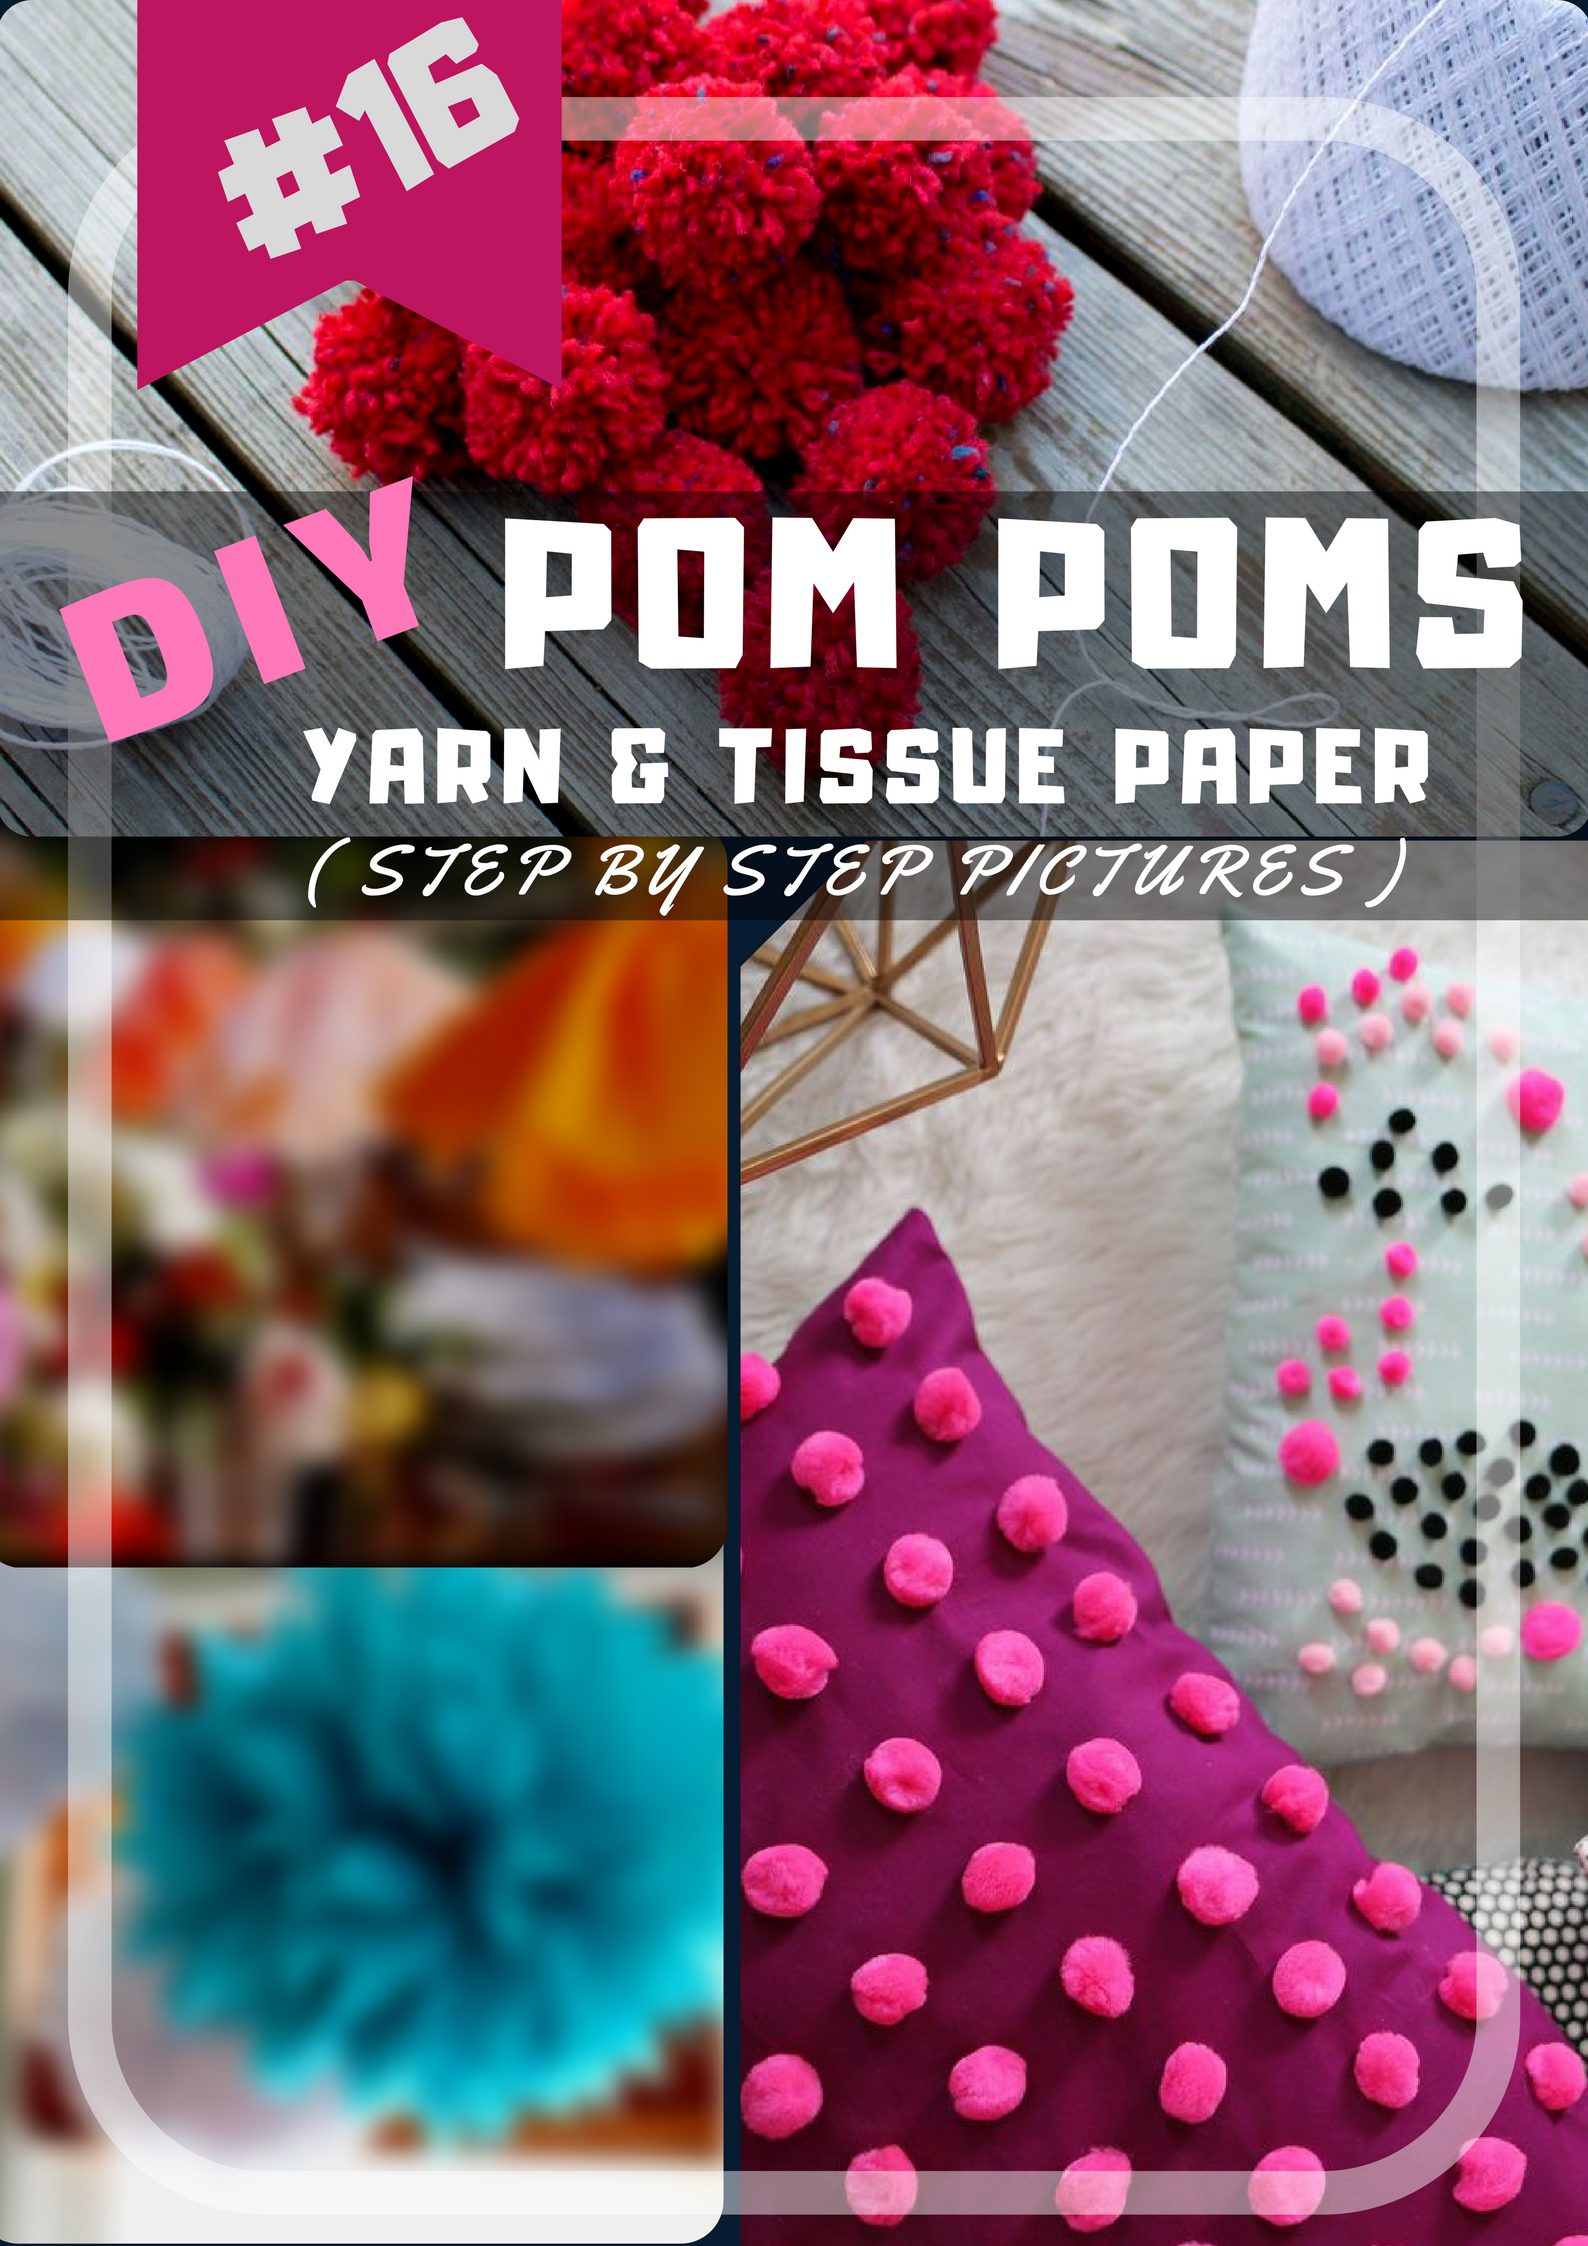
How to Craft DIY Mini Pom-poms:
Mini pom-poms are the superb one among their other equivalents which are more flexible to turn into thousands of useful things.
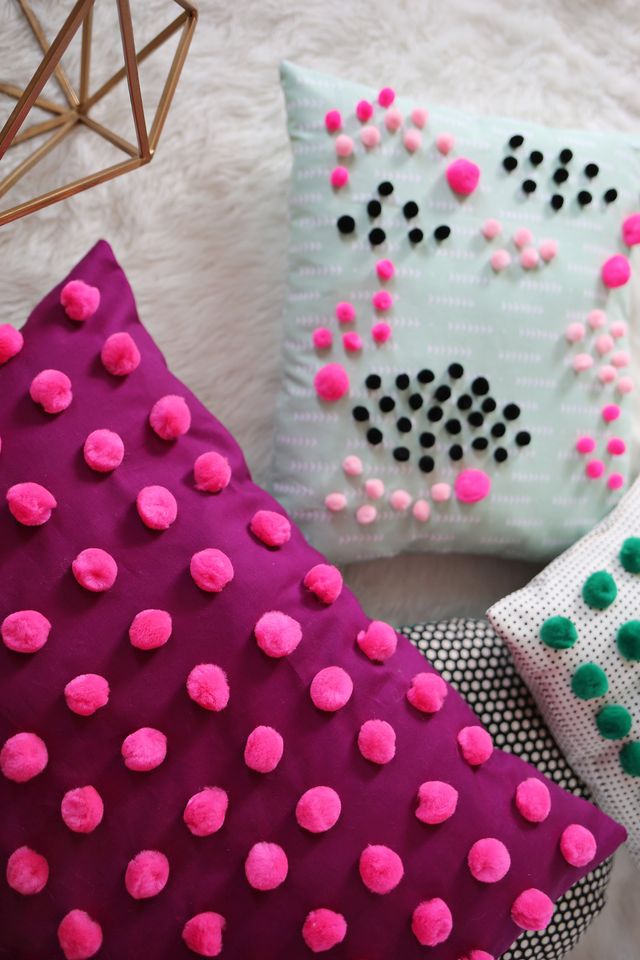
Whether it is party décor, accessories, gift wrapping, faux flower bouquet, statement necklace, lampshade, shoe ornamentation, clutch adornment, pillow design, earrings, or sweater embellishment; these mini pom-poms perform superbly in every single venture! Let’s see the simple procedure of making these things-
Materials Needed:
To make such things you will need, some yarns balls with your preferred colors, a fork, and a scissor.
How to Make:
- At first, cut out a small piece of yarn around 6-inch and set aside.
- Now, take the fork, hold one end side of the yarn ball, and loop the yarn through the fork to help hold the loop tightly inside the wrapping.
- Then, start wrapping the yarn around the fork and make sure that the first round of our warping holds the end securely.
- Keep wrapping for more than 30 to 35 times and then, cut off the yarn from the main ball with a scissor.
- After that, tie off the end inside one or two last wrappings and secure your entire yarn wrapping compactly.
- Then, take your precut piece of yarn and push the end through fork centre. Here you need to push on one side of that yarn piece from the centre of the fork and take out that end from the other side of the yarn bundle, as you can see in the video.
- Now, wrap the yarn piece around the yarn bundle by making a tight single knot and then slide the bundle gently out the fork.
- After, double knot the yarn as much tightly as you can and cut away the extra yarn part from that piece.
- Now take the scissor and cut through all the loops from that bundle. Give it a haircut to round the pom-pom all out.
- When you feel that your small little pom-pom is fluffy and uneven from all the sides, it is all ready to use in your any craft.
Related Resources
Chelsea’s Step by step ideas for making tissue paper pom poms
Wikihow ways to make yarn pom poms with fingers, forks and cardboard
How to make use of the mini pom poms and create a cute pom pom pillow
How to make fluffy fur pom pom in 3 steps
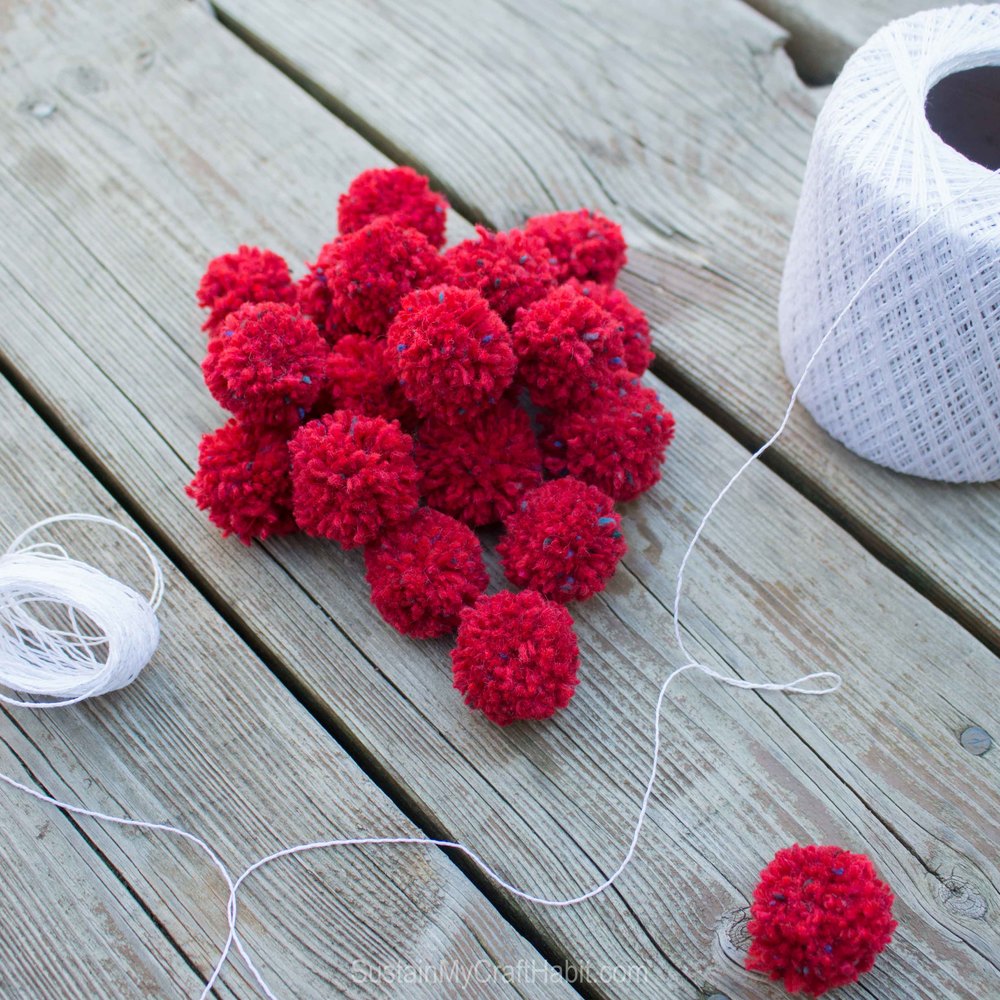
Easy 5 step red pom poms and turn them into a beautiful bright pom pom garland
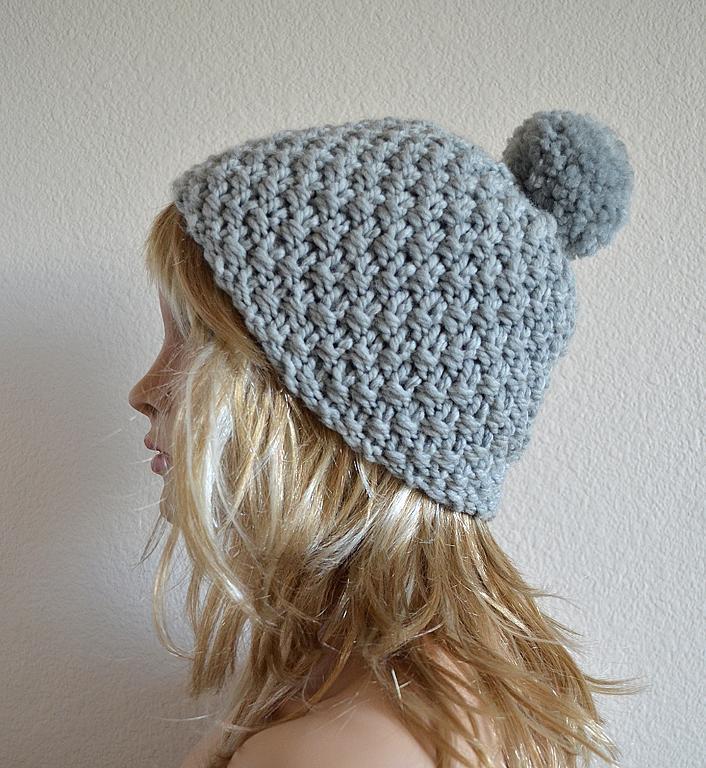
Tutorial on how to use cardboard to make yarn pom pom and add it to your hat. detailed step by step pictures.
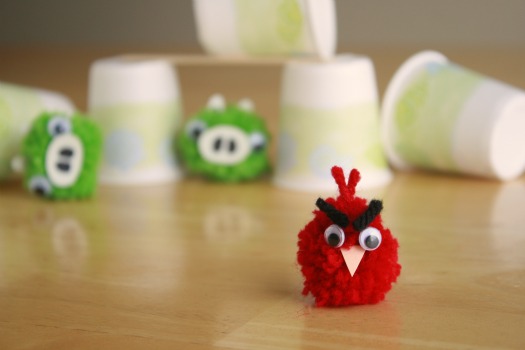
Love angry birds and pom poms why not together, easy steps to make cute angry birds and pigs pom pom
Tutorial video on how to make mini pom pom and turn them into glittering pom pom hair clip

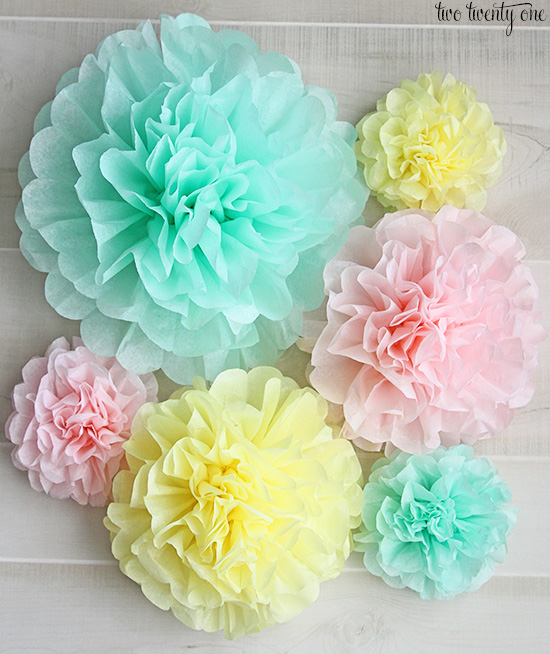
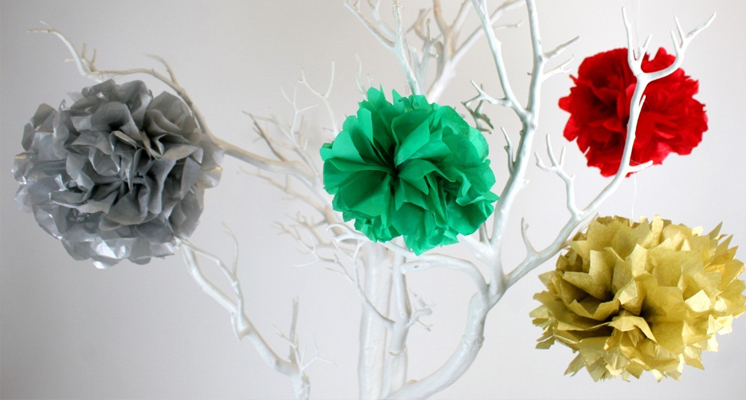
DIY Tissue Paper Pom Poms
Tissue paper pom-poms are even easier to make which mostly used to make some lavish party decorations or house embellishments. The best thing about crafting these paper pom-poms is that they are super easy to craft and you can encourage your kids to learn crafting pom-poms in the funniest way. You can make a paper pom-pom in various ways; let’s check one of the easiest patterns of them below-
Materials Needed:
To make such things you will need, one packet of coloring tissue paper which is approximately 20 inches in length, a sharp scissor and a long fishing line or clear thread.
How to Make:
- At first, open the tissue paper up in a long way and fold it half from the middle.
- This fold will give you a guard line to cut it in half in perfectly even manner.
- Tissue paper pack generally comes in 10 sheets and this cutting will give you 20 layers after cutting.
- Now, set them together with even layers and cut them out approximate 16 inches by 20 inches pattern of each piece.
- Then, fold the whole sheets in ups-and-down pattern lengthwise with as many folds as you can, with 1.5 inches measurement of each fold.
- Once you are done the fold, make sure that your press down to get some nice presses in your paper.
- Now, take the scissor and cut around the tops of both sides of your folded paper.
- To cut them in round shape, cut the edges gently by moving the scissor circle ways.
- You can also try the cut in a different style to get another type of design. For the best-designed paper pom-pom, unfold the entire layers, and cut both the edges of your folded paper in numerous crumbles.
- For that, take your scissor and start snipping in a congested way on both sides of your unfolded tissue paper along 2 inches deeper of both sides.
- After completing your desired cuttings, fold it together and take the fishing line of that clear thread to tie them up in the middle.
- Don’t forget to leave a long or extended loop with that fishing line or thread to hang is after finishing the pom-pom.
- Make sure that both sides are even after tying the knot and start flapping each layer out from that folded condition.
- Always be gentle while flapping out the layers from each other, or you may damage the entire pom-pom from the middle!
- However, when you are done, just hang it near your balcony or window to get a brilliant yet fuzzy view.
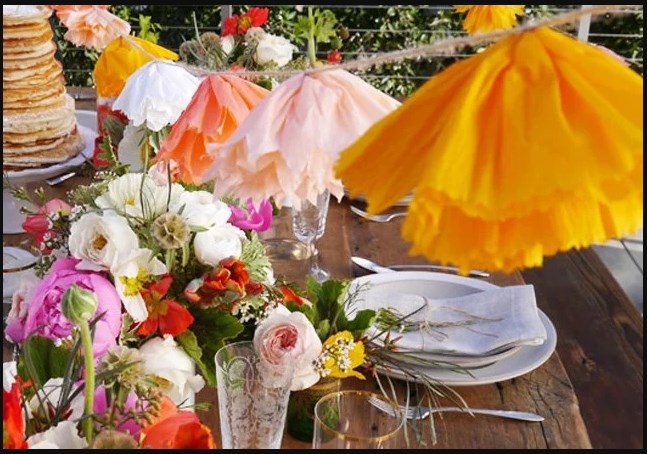
Remember that, paper pom-poms look better with more amounts, so make at least 4 or 5 different types of pieces together, whenever you craft tissue paper pom-poms!
Related Resources
How to create masterpiece tissue paper pom poms in 9 steps ( hmmm 8 steps actually)
Steps for making beautiful hanging tissue paper dahlia flower pom pom for your room decor.
With tissue paper and thin jewelry wire you could create a masterpiece pom pom craft
Making pom poms with crepe paper, you will definitely love the outcome of this craft. You can tie this and make garland for birthday party / baby shower.
Pinterest: Save it for later