A lampshade is not only a simple shading object on a light; it is also an imperative part of our interior designing. Thus, the beauty-concern people of this era try their new, new patterns of lampshade designs. As the DIY products offer us more varieties in materials, shapes, and designs, consequently, it is eternally more dynamic to craft your own lampshade or recover any old lampshade according to your artistry. Here we are displaying some splendid ideas about some DIY lampshades, which not only beautify your room but will light up your life as well! Let’s check them out-
DIY Recover Fabric Lampshade:
Let’s start with the recovery project of the lampshade as it will be easy for the novice people or the beginners, and fabric element offers you more versatility than any other components. Hence, here is that kind of project for you with some utterly simple steps, take a look-
Materials You Need:
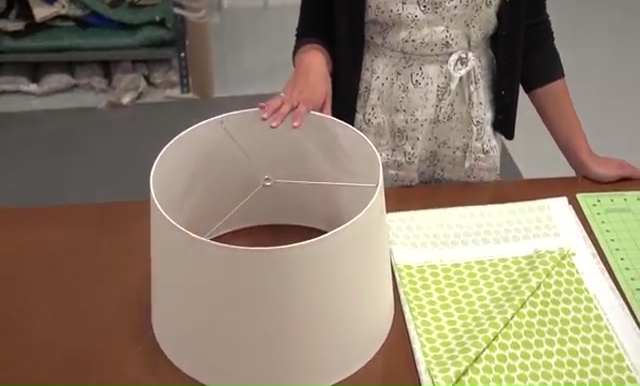
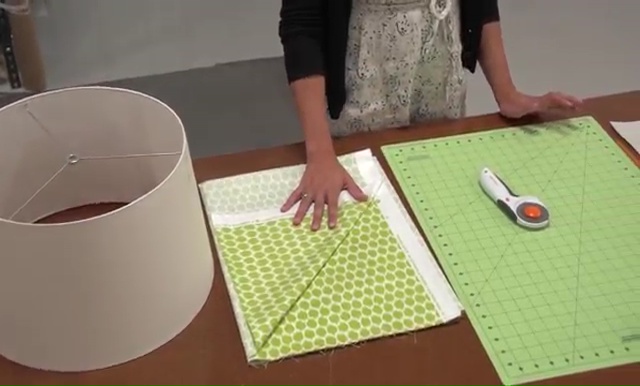
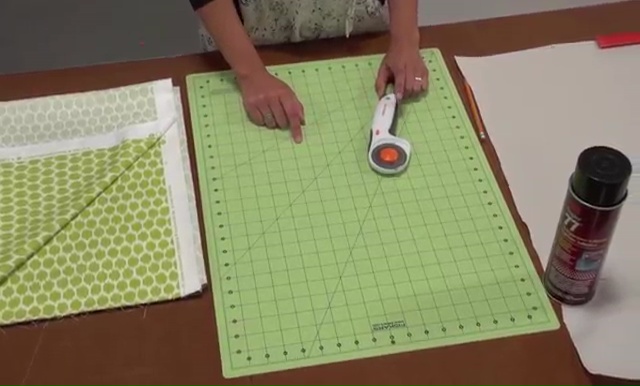
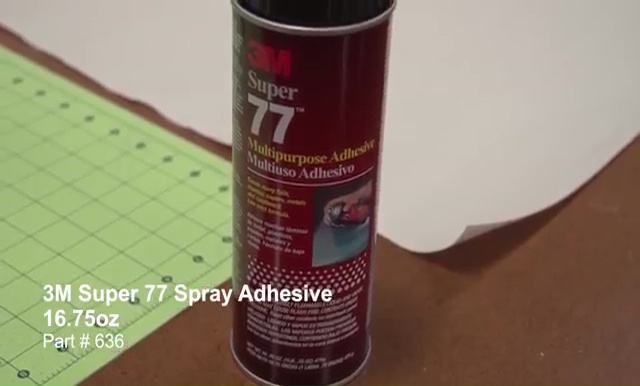
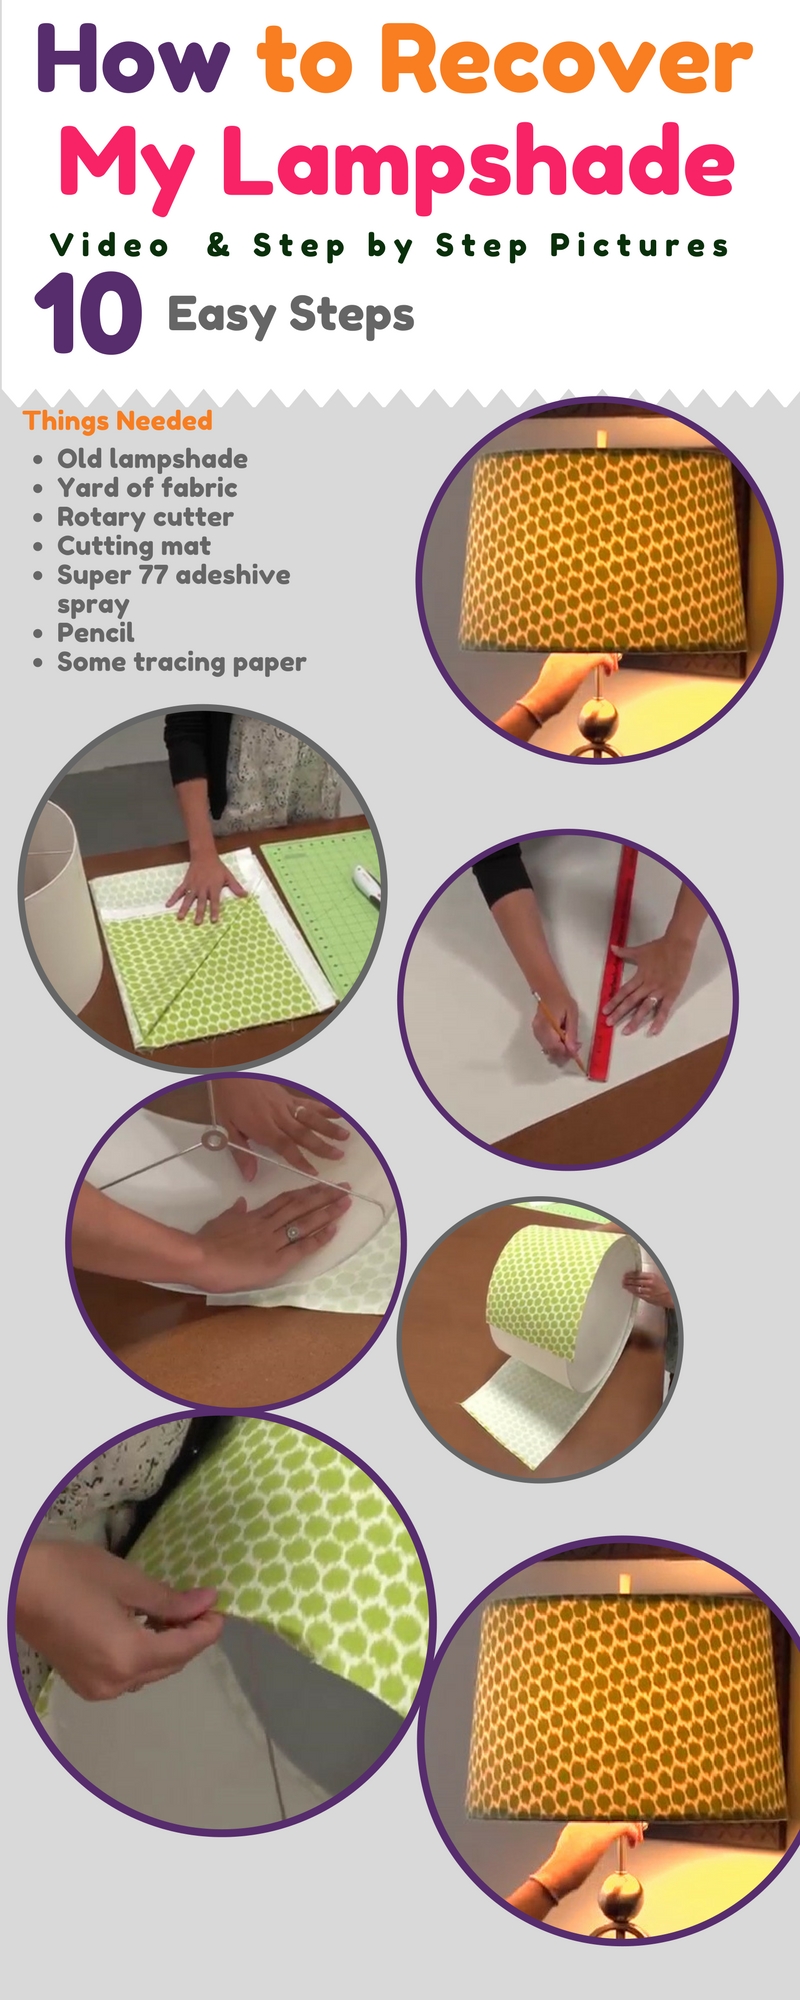
To craft this thing, you will need an old lampshade, about a yard of fabric, a rotary cutter with a cutting mat, a super 77adeshive spray, a pencil, some tracing paper, lot of sheet or paper or newspaper, and a yard sank.
How to Make:
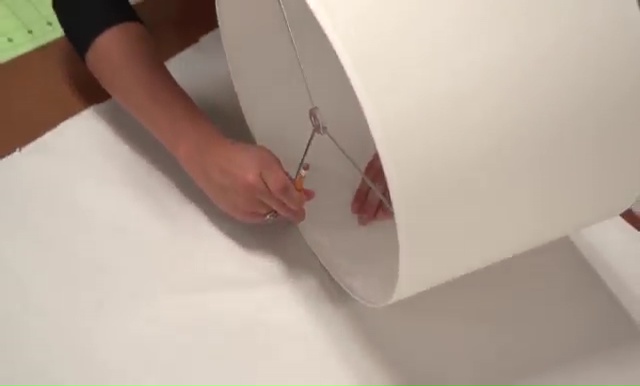
- At first, place the sheet or paper on your working table and put the shade’s side on the paper, down in a corner to trace the measurement of its edges.
- Mark spots on the bottom portion of the paper edge with a pencil when rolling shade alongside the borderline. You need to continue to do that until you get back to the starting point.
- Make sure that you are keeping the shade ½ inch away from pattern paper’s edge while tracing it.
- Then hold the lampshade, rolling back to the lampshade and do the same procedure on the top up shade.
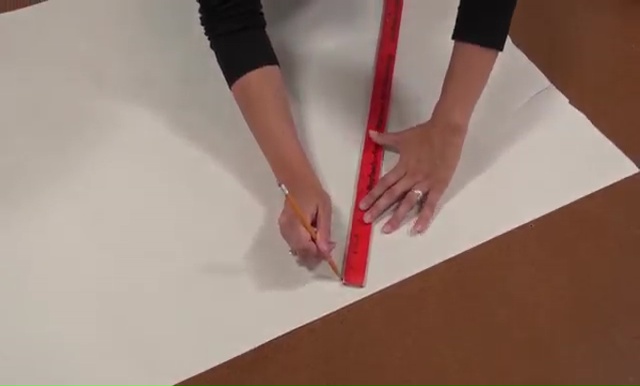
- Then, go ahead and square up the edges with a ruler and pencil.
- After that, add about a ½ inch of the two long edges and 1-inch to one of the short sides of your square.
- Make some dots according to the extended measurement and then, add those dots with a line.
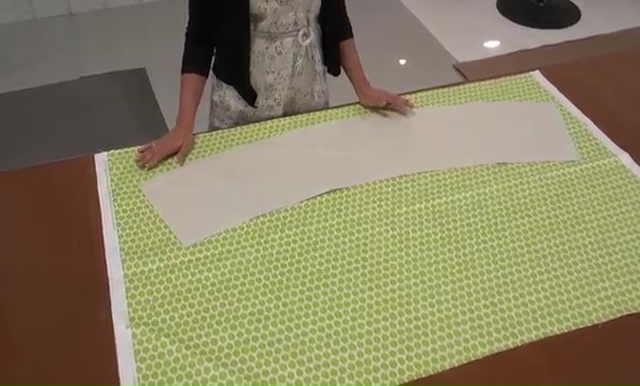
- Now, cut out the square-shaped paper and lay on the yard of fabric to trace the shape precisely.
- Place the paper cutting in a little crock way on the fabric, so that you can get a curved shape piece of cloth.
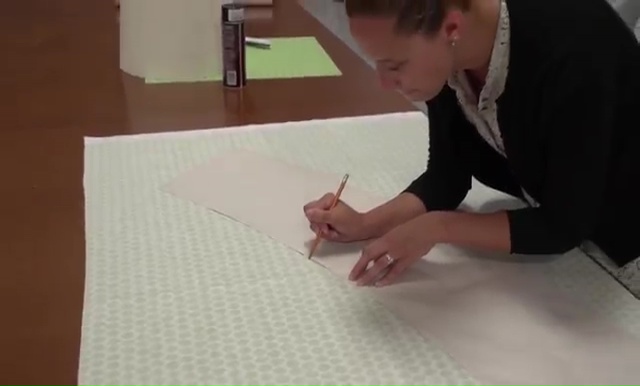
- Don’t forget to put the fabric upside down, while getting the paper shape on it, as it will easier to trace the shape in!
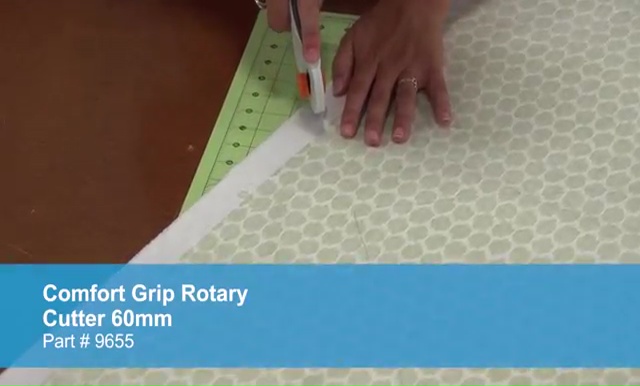
- Then, get a clear trace of the paper cutting with the help of a pencil and cut out the shape out off the whole cloth.
- Place the fabric on your cutting mat, before start cutting it, otherwise, it may harm your table or floor below the fabric!
- However, when you get a piece of fabric you desire, go to the next step of your crafting.
- In the next step, apply an iron on your fabric piece to wipe out any kind of wrinkles, if there are any!
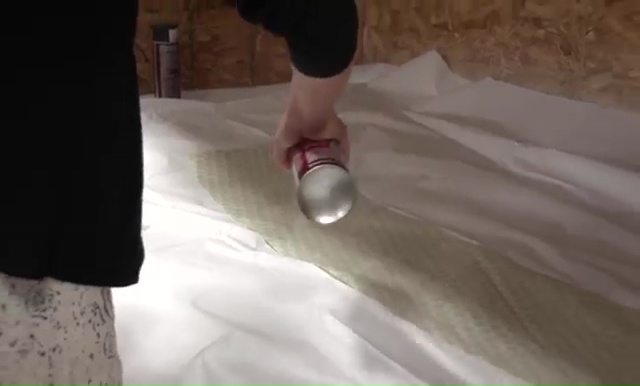
- Now, place the fabric piece by placing the upside down and spray the adhesive spray on it. Be sure that you coat the fabric well prior to attaching it to the lampshade base!
- Then, fold one edge using a very small measurement, about ½ inch thickness and then spray a little more of adhesive spray on the folded edge as well.
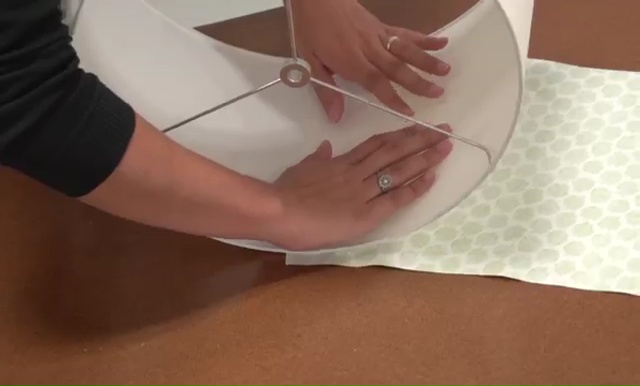
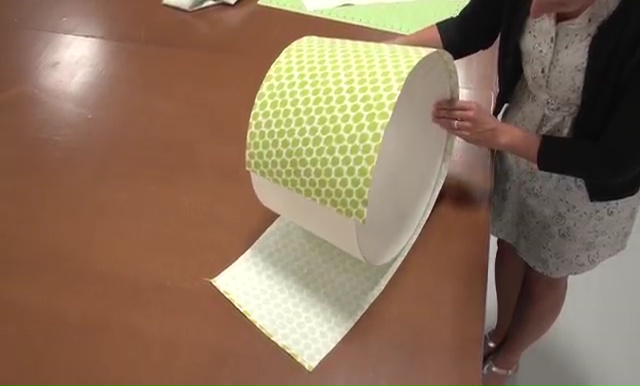
- After that, place the lampshade on the starting place of the fabric and start rolling it around.
- Keep smoothen the body of the lampshade, as soon as the fabric is sticking with the outer surface.
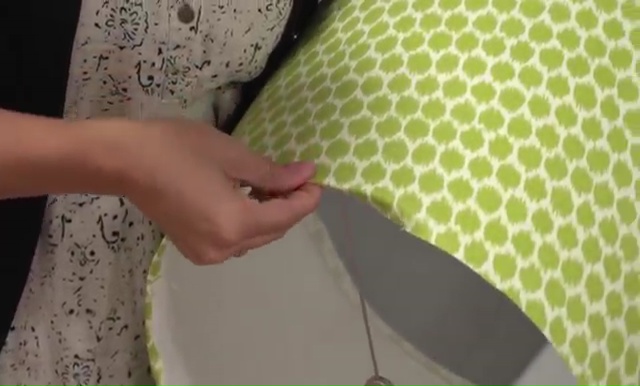
- When it’s all roundup, join the two edges, take the extra portions of top and bottom, and roll it over.
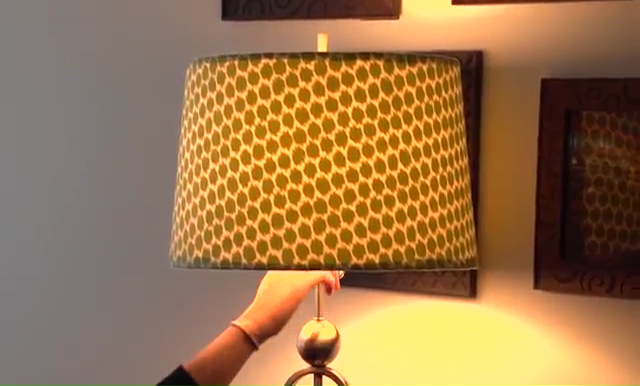
- Once the whole thing is dried up properly, it’s all ready to flaunt over your table lamp.
