The joy of eating the fresh peas that have come straight from your own garden is simply inexpressible! And once this taste gets on to your tongue, your buds will deny accepting the frozen peas. This is the magic that fresh peas add on to your meals.
The best part of the story is that accessing this joy is a snap. You need to invest little but timely work and care for your pea plants and they’ll be at their best to serve you.
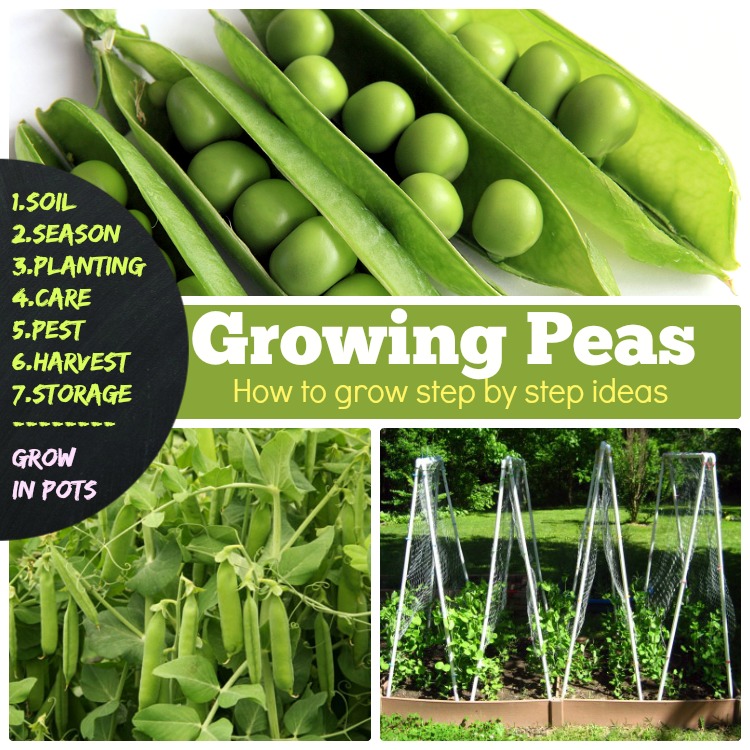
Here’s how to grow peas in your garden

Growing peas
Soil
If you wish to have good yield, then pay utmost attention to each of the details including the food of the plants which they’ll extract from soil.
Fertile sandy loam soil goes best with pea plants. Make sure
- The soil drains well and is loose enough to allow the oxygen reach seeds.
- The pH of the soil is between 6 and 7.5. Add dolomite if it is less than 6.
- The temperature of the soil bed is forty degrees.
- The soil is moist and rich in organic matter, nitrogen, phosphorus, and potassium.
Season
Although there are tips and tactics to have peas growing throughout the year, it’s worth mentioning that peas prefer cool season (temperature 13 -18C). The yield is best if the seeds are planted in early spring.
In mild areas, sowing can be done in late autumn while for warmer climate regions, fall is the appropriate season for pea planting.
Planting
When you are sure that the soil is in the right shape to support pea’s growth, sow the seeds according to the variety you have.
- Dwarf and semi-leafless varieties – Sow seeds 2 inches deep into the ground and 6 inches apart from each other.
- Tall varieties – Make a V-shaped drill which is 2 inches deep. Now water the base of the drill and sow seeds in a single row. Make sure to keep them at least 3 inches apart. Next, add a second row 12 inches away from the first one.
Sprinkle some wood ashes to the soil before planting and mulch it well.
Care
Pea plants do not ask for much but still, there are certain basic tips to keep your peas happy and protected. Here they go
- Do not let the seeds stay in the wet soil for long. Let the soil be well-drained and rich in humus.
- Peas are sensitive to high nitrogen content. SO don’t over shower your love on them by adding nitrogen abruptly. They prefer phosphorus instead.
- When you are done with the sowing step, cover the trenches with netting to avoid robbery of seeds by birds.
- Make arrangements for support. Your pea plants will soon be needing bamboo canes for climbing upwards.
- Water regularly but do not overdo it. Else, the seeds and the plants will rot away.
Once a week watering is enough to satisfy the needs of the pea plants.
- Do not disturb the fragile roots of the plant.
Growing peas step by step
Pest and Disease
When your pea plants are flourishing well, you’ll not want their enemies- the pests and disease-causing microbes affect their well-being.
So here’s all that you need to know about common attackers on pea plants and how to deal with them.
Pests
- Aphids
These are silent killers! They silently weaken the plants by sucking their sap rapidly. This further makes the plants susceptible to diseases such as leaf roll and mosaic virus.
Solution – Sprinkle neem oil regularly.
- Pea weevils
For the pea weevils, your pea plants are the best home. During springs, they invade the plants and lay their eggs inside the pea seeds. After hatching, the baby pea weevils (larvae) feed on these seeds, thereby creating holes.
Solution – Eradicate the adult pea weevils as soon as possible. Even insecticides cannot help if the larvae hatch out.
- Cutworms
Cutworms are hard to control and the worst part is that peas are amongst their favorite foods. They quickly eat up the whole plant’s foliage and shift to the next one.
Solution – Pick and destroy them off or make use of natural remedy – Bacillus thuringiensis.
Other potential pests include army worms, cucumber beetles, nematodes and spider mites.
Diseases
Yellowing of leaves, occurrences of unusual patches on the plant and lesions on the roots are your pea plant’s call for help. Have a look at some of the common diseases of pea plant and how to control them
- Fusarium wilt
Wilting, yellowing of leaves and stunted growth are the common symptoms of Fusarium’s attack on our plant.
Control measure – Use disease resistant variety and remove the infected plant before they spread the fungal infection to other plants too.
- Asocochyta blight
This disease is the result of combined infection of Ascochyta pisi, A. pinodella and A. pinodes.The symptoms include blackened stem, bud drop and yellow foliage with brown blotches.
Control measure – There are no fungicides that can deal with these fungal species. So all that can be done is plant resistant species and adopt strategies such as crop rotation with resistant or nonsusceptible crops.
- Powdery mildew
As the name suggest, the characteristic symptom of this diseases is the appearance of white powdery growth on top of the leaves.
Control measure – Use sulfur dust to help your plants get rid of the infection.
- Bacterial blight
Pseudomonas syringae is the most common culprit that is known to cause this disease. The infected pea plants develop shiny dark green watery drops on the surface of their leaves. These spots later get transformed into papery brown to translucent spots.
Control measure – Remove all the debris in the fall and always go for commercial seeds. Do not borrow it from other plants as this increases the chances of infection passing on to the healthy ones.
- Aphanomyces Root Rot
Discoloration of the entire root system is the symptom that is characteristic of this disease. The infection begins with straw-colored lesions on root and spreads throughout the root system of the plant.
Control measures – Sadly, there are no remedies to this. Precautions are the only saviors! Check your field for disease-causing microbial agents before planting.
Harvest
The appearance of the peas gives the information about when to harvest them. If you want fresh and tasty peas, the harvest time has to be perfect.
There’s no hard and fast rule or defined period but you can always learn about the maturation signs in the pea variety you have planted to guess the right time.
Here are some of the tips to know exactly when to harvest
- English peas : When the pea pods are round, bright green and shiny with no bumps, begin harvesting process. This takes between 55 to 70 days from planting.
- Snap peas : They provide quite a large window to decide. They’ll taste sweet as long as their pod is bright and round. Best is to harvest them when their seeds are still immature.
- Snow peas : Look for the flat and edible pod with not so big peas. Do not let the pods turn tighter and rounder. Harvest before they lose their sweetness.
Tips for harvesting
- Be careful while you pick pods. Since the roots are shallow and the stems are delicate, the risk of the whole plant coming out at once is high.
- Use both of your hands in the picking process. Let one of your hands hold the vine gently and with the other hand, pinch off the pod.
- Harvest the plant in regular intervals. This will force the plant to produce more seeds and you’ll have a better yield.
- It’s best to harvest once in every two to three days, but only after the plants begin to produce pods.
- If its fall, the wise decision would be to pick as many peas as possible before the climatic conditions go unfavorable, shutting down the production.
- If you want to have the crispiest of the peas, pick them in the morning after the dew has dried up.
Storage
After harvesting the peas, remove the peas by carefully opening the slit of the pods with your fingernail or small knife.
If commercialization is not your purpose, adding the fresh peas to your meals as soon as possible is the best. Else you can wash them off and pack them in air tight containers. Place these containers in the refrigerator and the peas will be fresh up to 7 days.
If you wish to store peas for longer periods (as long as 9 months), freeze them.
- Just give me them hot and cool treatment.
- First, blanch them in boiling water for about two minutes followed by plunging them into ice water.
- Pack them in airtight containers as they cool down.
- Place the packed peas in the freezer.
How to grow peas in containers
Growing Peas in containers indoors
Do not be sad if you just have a small yard and no big gardens. You can still have that satisfaction of growing peas in your own house.
Peas are amongst those veggies that can be easily grown in a container with minimum input. Here are the tips to have the most out of those containers.
Peas growing tips
Choosing the variety
As a matter of fact, there’s no restriction on the variety you want to grow indoors. But dwarf and snap peas grow well in the containers.
- Obtaining seeds
Peas are prone to several diseases, most of them being uncontrollable. So buy seeds from a reliable commercial store or a local gardener center that can assure disease free seeds.
- Preparing for the food
Peas growing in the container will have nutritional requirements that will be met by the soil.
So prepare the soil by adding a cup of organic matter plus grass cutting and manure to the potting soil.
- Make arrangements for support
Being tendrils, peas will need a support to climb on and curl beautifully around your window. So arrange for pea netting which can be tied to some tall sticks inserted into the container.
- Planting the seeds
Plant seeds about an inch deep into the soil and 2 inches apart.
Maintaining the plants
- Water the seeds sparingly just enough to damp the soil.
- When the seedlings have turned 4 inches tall, train them to climb around the support.
- Take the pots outdoor regularly for self-pollination.
- Pick the peas as soon as they ripe to encourage further growth.
Related Video: Growing Peas
Best varieties for peas
Choosing a plant variety that is resistant to diseases is always the wisest step to healthier crops and good yield.
Here are the options
- Snow pea – Edible pods with plant resistant to fusarium wilt
- Snap pea – Short vine with edible pods.
But then deciding which variety to go for depends on the characteristics one is looking for in his plants.
If you wish to choose peas for shelling, these are the best ones
- Dual – Bush type with significantly good 10 to 14 peas per pod.
- Garden sweet – Vining type with comparatively more sugar content.
- Maestro – Excellent diseases resistance with several consistent bush-type plants.
- Novella II – Excellent resistance to diseases.
Other options
- Karina – High yielding, mid-season variety with good flavor and taste.
- Hurst Greenshaft – Tall mid-season variety with average sweetness but high on pea flavor.