Storage boxes are highly essential for our home, as they keep things clean and organized, which make our house more presentable, isn’t it! We have learned to make storage boxes from several objects, earlier, but, have you ever think of using a shoe box as storage before? If not, then let us lead you towards that processing with some simple steps along with even simpler elements! Recycling procedure is the main foray of our site, thus, we are narrating this making process with the reclaiming method. People, who are looking for some proper storage for the study room, this file caddy cum storage box will surely complete their hunt in a delightful way! Check this out-
DIY Organized Storage Idea with Recycled Items
Steps:
How to Make Cute Storage from a Shoe Box:
- At first, assemble the things you need in this procedure and they are, 1 shoe box with the hard board, sharp pepper cutter, a scissor, sellotape, stapler, designer paper, and some glue.
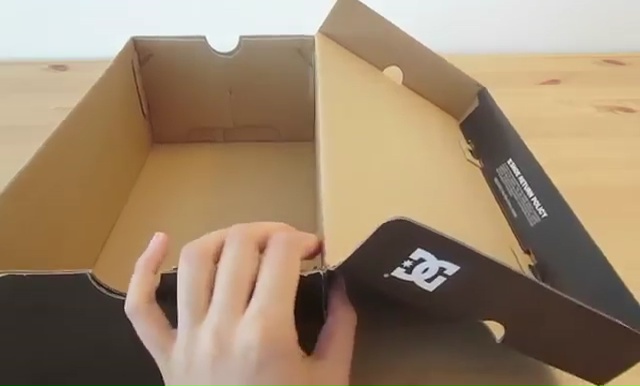
- Take out the cover of your shoe box, by cutting it off from the major box.
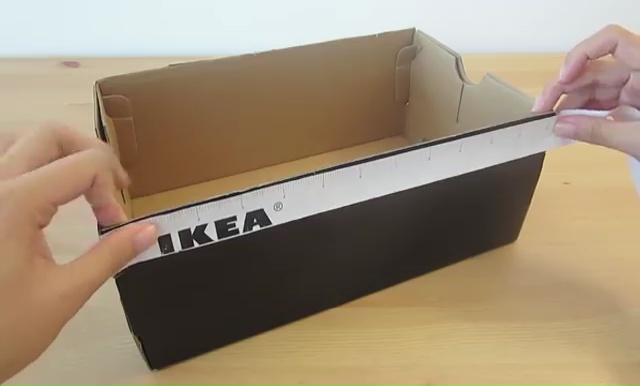
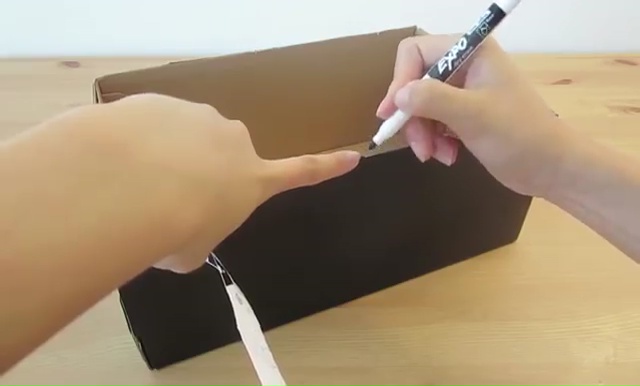
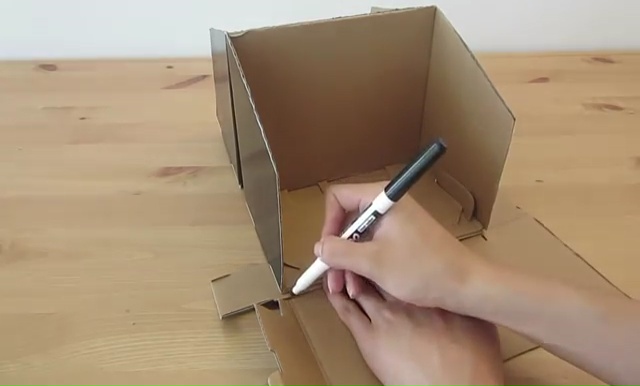
- Then, take the apparent size lengthwise of the box to the set the exact middle section of it!
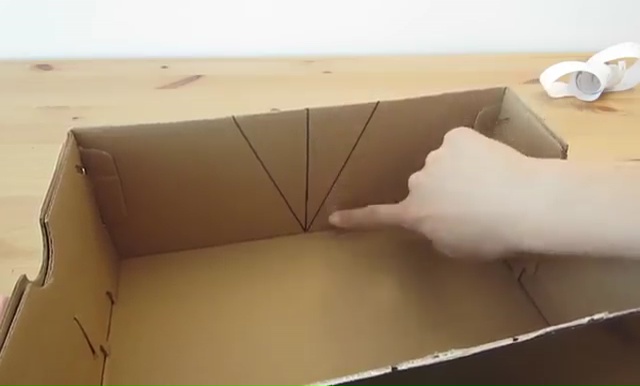
- On the middle part, draw a straight line and make a sharp triangle over that line. Make this type of triangle on both sides of the box, which must be a draw on the length-side of your box.
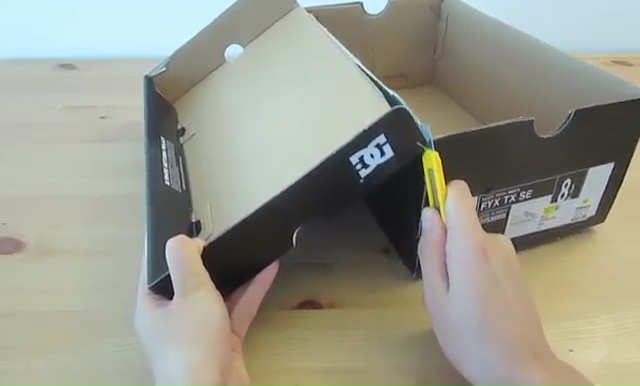
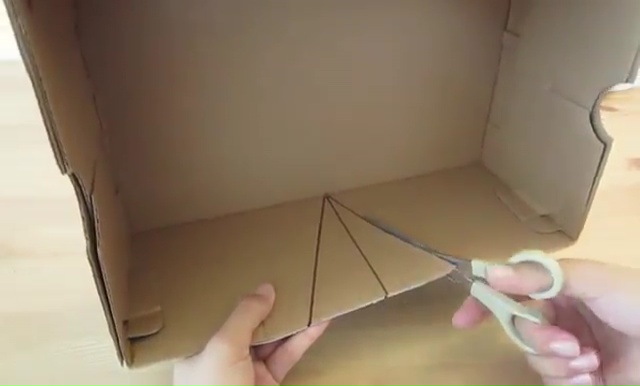
- Now, use a scissor to cut out those portions from the box.
- When the cutting would be done, you will get two deep V shapes on the both sides.
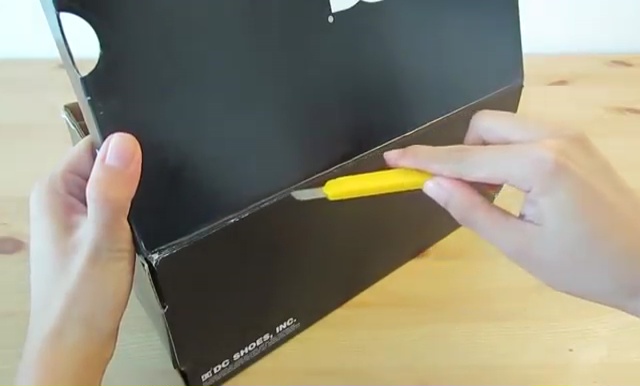
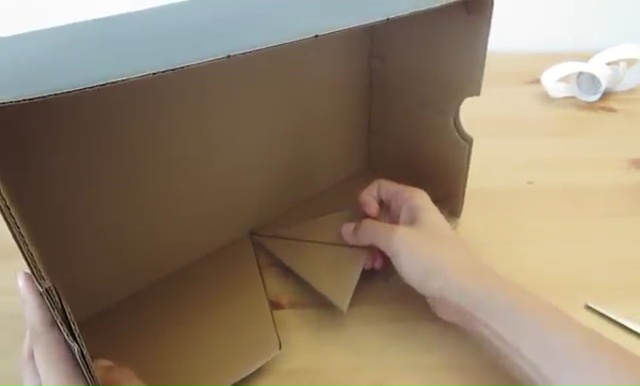
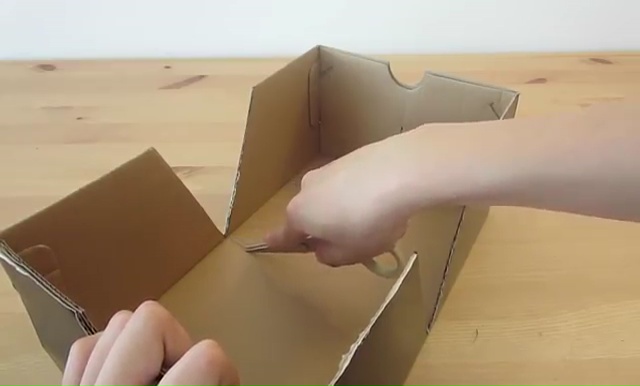
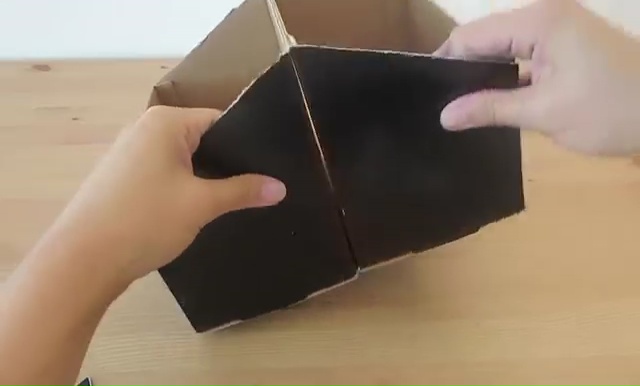
- Then, drive your cutter slightly from one V side to another and you will cut the box in a half way.
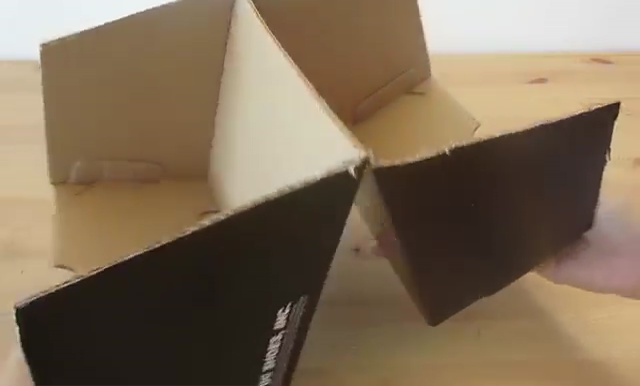
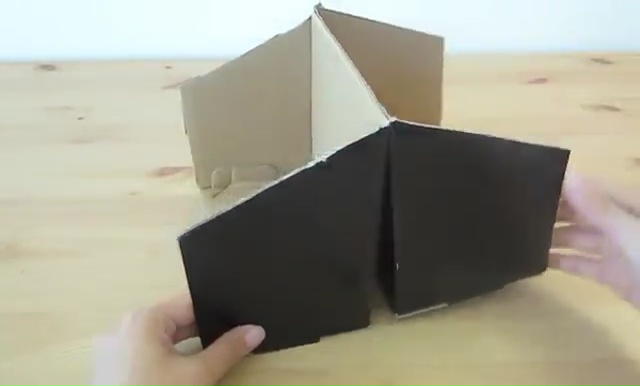
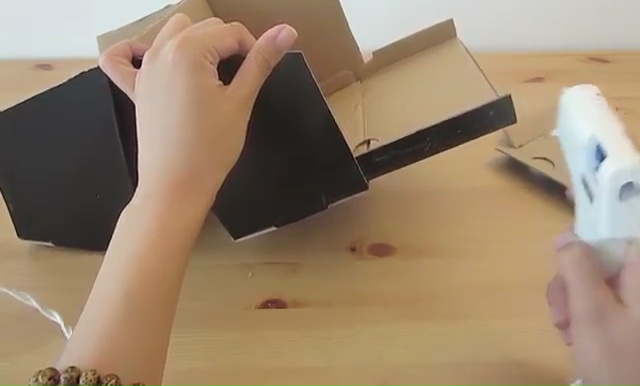
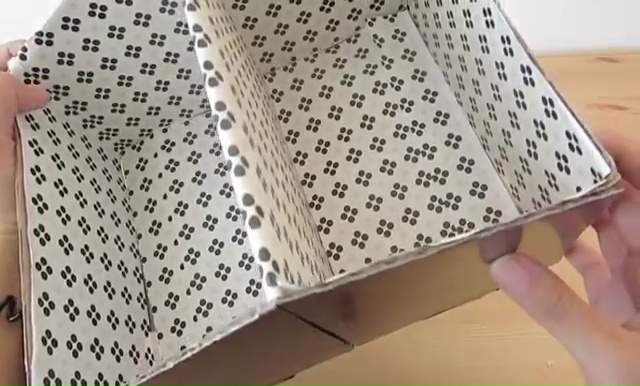
- Bend it in a reverse way and attach the back of those separated parts together.
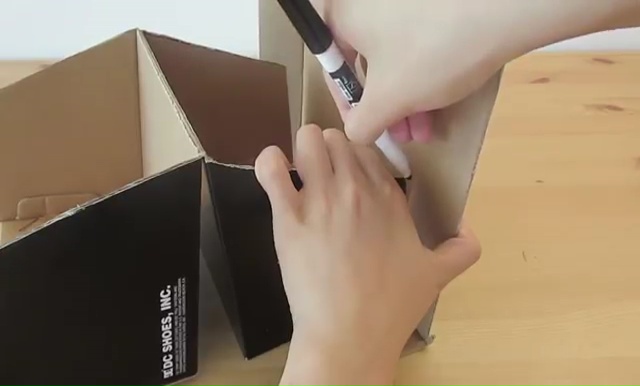
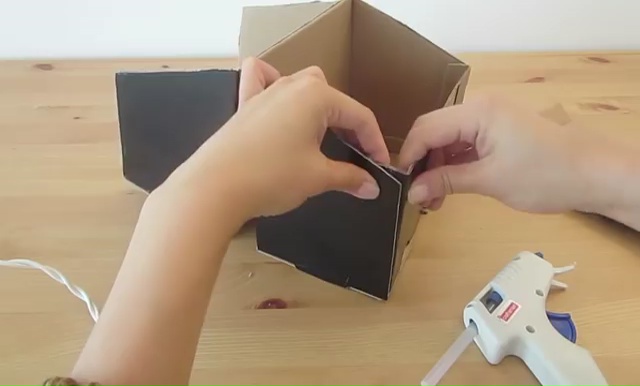
- Now, get back the cover again, cut out two envelope pieces from that board to cover the open sides of your bent two sections. Make sure that you are taking the proper measurement, before cutting out the cover!
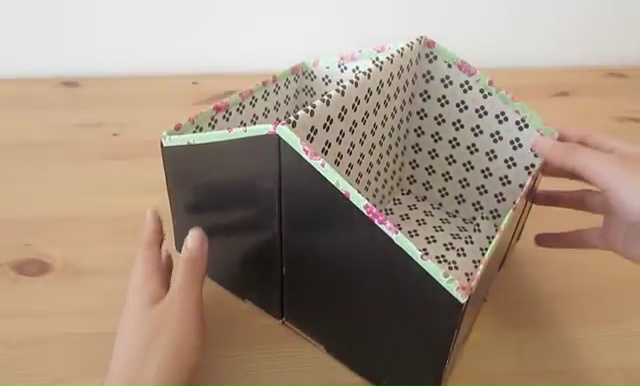
- Use your stapler to staple those cover parts on the both sides appropriately.
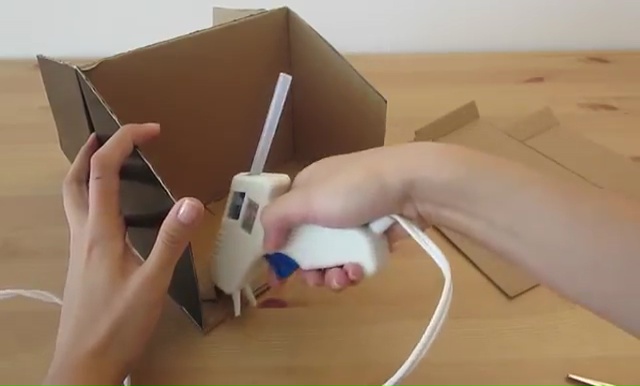
- Once you cover up the box, we will recommend you to use sellotape on every joint, to make the attachments more stretched or tight.
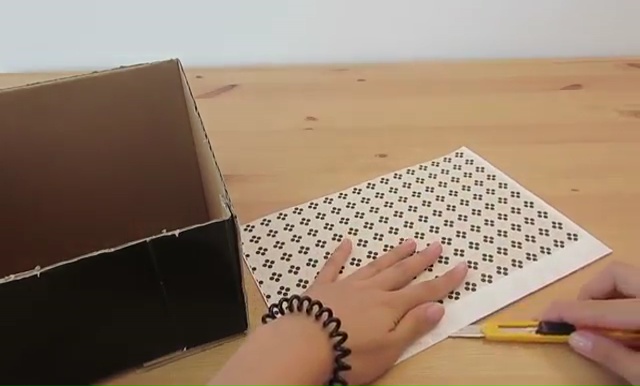
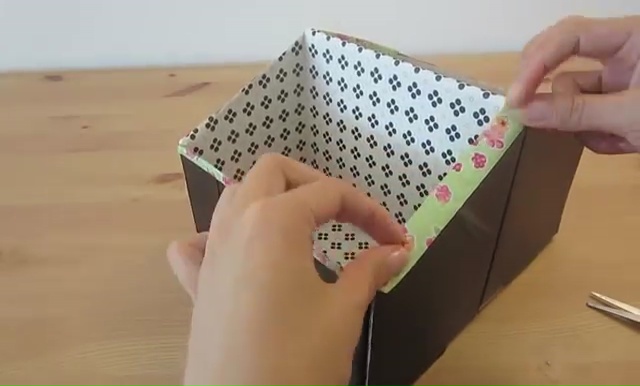
- After that, Take the exact inside dimension of your storage box and cut out those designed paper in the shape.
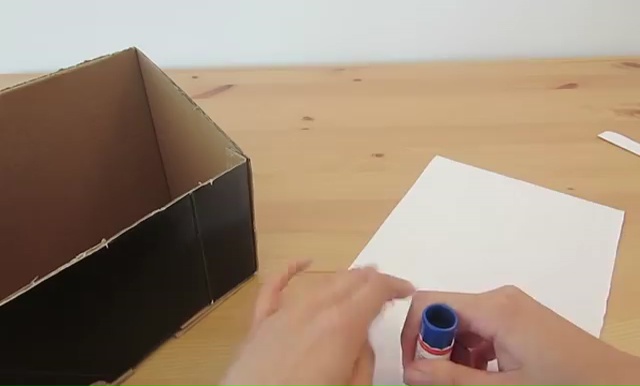
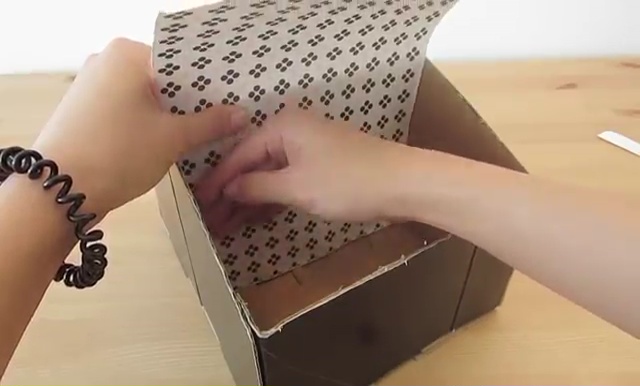
- Now, all you need is just stick the paper in both the section with glue and keep it untouched for dry properly. Once, the entire components dry out accurately, you can use this box as any kind of storage object in any area!